
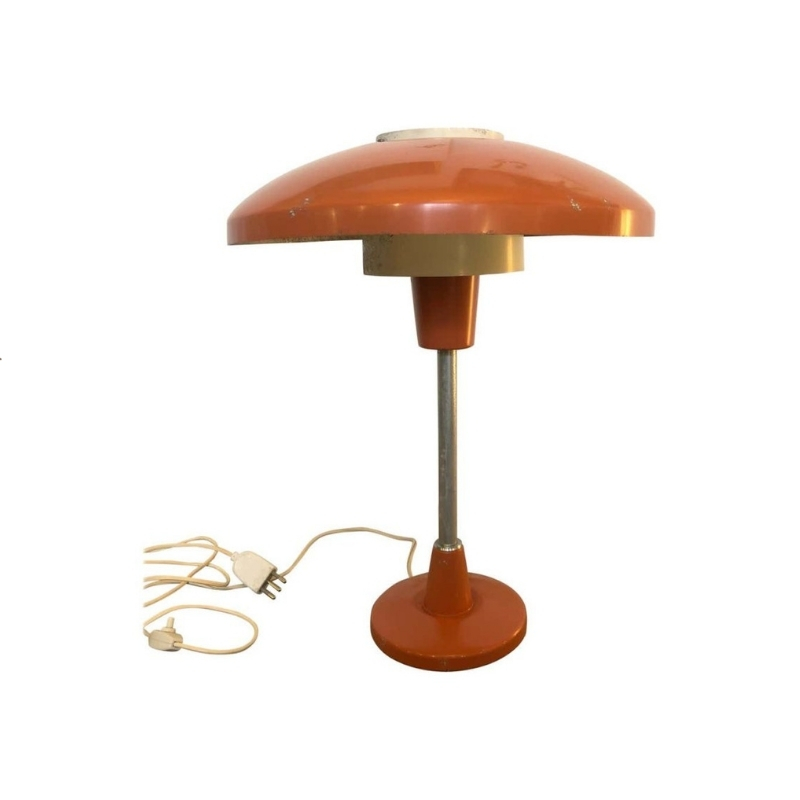
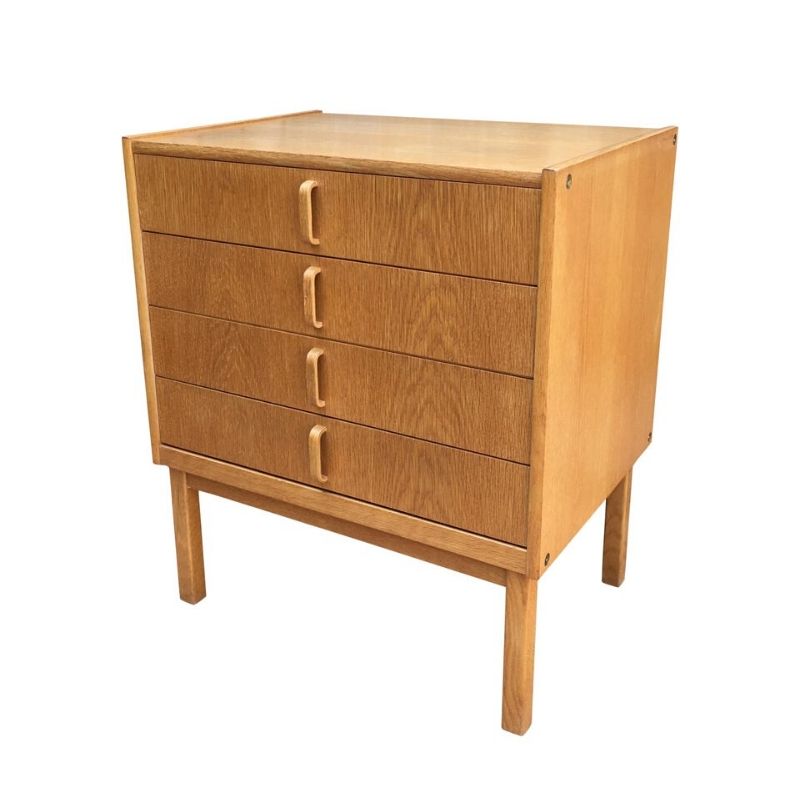
I'm stripping and refinishing a Drexel Precedent chest and, typical of mid century American furniture, it has mixed wood types. I think the top center section and drawer fronts are elm and the trim around the top might be beech. I'm hoping to get a color similar to the one shown in the second picture. Any advice on best practices for prepping the wood for stain and the best type of stain (or oil) to use to get an even look on these wood types? Thanks.


@tktoo2 Thanks for the reply. I just tried lacquer thinner and denatured alcohol and neither appears to remove the original finish. I don't have naphtha at the moment but I wiped on some mineral spirits to the corner before taking this shot. BTW, the chest had been painted green and then black so I still have some work getting the paint remnants out of the grain.

If the blond honey look is what you're after, I'd recommend a couple coats of de-waxed blond shellac (mixed fresh from dry flakes to a 1 1/2lb cut) followed by a 2 or 3 coats of clear brushing lacquer slightly thinned (Deft brand is good but there are others) and rubbed to satin sheen with #0000 steel wool on a block when fully dry.
Spraying is always recommended for lacquer, but you can get good results brushing if you're good and use the stuff designed for it. Work fast, use a quality brush made for the task, and wear an organic-vapor respirator.
Good luck!
@tktoo2 I finally got some time to work on this project and need some advice on how best to proceed. After stripping and sanding I went with Brooklyn Tool Blonde shellac in a 1.5 lb cut. But after a couple of coats I decided to go a little darker and switched to their Garnet, also 1.5. Turned out great on the drawer fronts, which I did indoors around 78 degrees. But the top and sides are coming out blotchy. I don't know if it's because I didn't sand enough or maybe the air temperature is too high (I tried to do in the mornings when it was still in the high 70's here). Should I sand it down and start over, or would additional coats, maybe in a lighter cut, even things out?

@mark737 One of the great things about both shellac and lacquer is that they dissolve in their respective thinners (solvents). It's what makes them so much easier to repair than other film finishes that polymerize when curing like resin-based varnishes.
The splotches may be the result of applying the darker grade over lighter as each coat will dissolve, to a degree, the previous coat. I'm sure you've noticed this as well as the other challenges of working with thinned shellac. To start, I'd try loading your brush with denatured alcohol and saturate the entire area, let sit for a moment, and then tip off to see if that evens things out. If not, wipe off the entire side with alcohol and rags until it looks even and let dry before reapplying shellac mixed to the color and thinned to viscosity that works in your environment.
I love working with shellac, but there is definitely a learning curve. One trick I've learned for reducing drips, sags, and runs on case pieces is to keep the working surface as level as possible, allowing to dry, and rotating between coats. This is of course impractical in production situations (hence spraying) but I've found it saves a lot of time slicing off drips, etc. afterward.
@tktoo2 Thanks for the quick reply and helpful advice. I will try wiping with alcohol and see how that goes. Speaking of alcohol, I was reading, I think on shellac.net, about using a 190 proof alcohol, but couldn't find one in my area. How important do you think that is? I ended up using Startex Denatured alcohol, which had the highest Ethenol % of any I could find near me (70-90%). Also, do you need to let the shellac sit for a day or two or can you use it as soon as all the flakes are dissolved? I've never used real shellac before and am enjoying experimenting with it and can see how useful it will be on a lot of the "blonde" furniture I come across.
@mark737 To be honest, I've only ever used Behkol (proprietary ingredients) for thinning and mixing shellac from dry flakes. I've heard that 190-proof ethanol works well too if you can get that in TX (Everclear?). They've been messing with denatured alcohol formulas lately and it's unavailable in some US States from what I understand, but I've used the Kleen-Strip brand to strip old shellac with good results.
@tktoo2 I just checked and 190 proof Everclear is available in my area, though it's about triple the price of the Startex. There's a budget version for about double the price so I'll try that.
As for your editing issues, try using another browser. I was unable to reply or edit using Chrome and had to switch to Explorer to use the Forum. DA says they are in the process of migration. Thanks.
After getting distracted by many other projects I finally got around to completing the Precedent chest. I'm pretty satisfied with how it turned out. It's still a little uneven on the sides, which I think is a result of not getting all the old paint residue out of the grain. But it's a huge improvement over how it looked before and I learned a lot about shellac that has already proved useful on other projects. Working in cooler temps and wiping with a balled-up cloth, rather than brushing, were two key things that worked for me. Thanks again, @tktoo2


@mark737. Nice job.
Back in the good old days , I signed up for a antique furniture restoration night class which I really enjoyed. As the furniture was" antique", we were shown how to use French polishing as a finishing technique. We used cotton wool inside a cloth, rolled into a ball shape. It worked very well. More recently,I used this cloth ball method ( using Danish oil) to finish a rosewood Arkana side table, with great results.
Knowledge shared is Knowledge gained
@lexi Thanks. Yes, I saw some videos on how to make a "proper" cloth ball for French polishing but I just took a cloth square and folded in the corners 3-4 times to make a smooth pad. I found it much easier to get a smooth application than with a brush. And as tktoo2 recommended, turning the piece as you work so you are applying only on horizontal surfaces.
@mark737 Looks good! Glad if I helped at all.
@lexi Do you remember what your French polishing instructor called the wrapped cotton ball? I've heard pad, fad, rubber, and tampon. If the technique did in fact originate en France, I suspect the latter would be most accurate. I'm also curious if they recommended using pumice and/or oil at various stages to help smooth the surface and lubricate the tampon(?) to keep it from dragging.

If you need any help, please contact us at – info@designaddict.com