Thanks for the suggestions spanky, I like the idea of a dark heather charcoal gray or olive green. I will see what I can find on that website.
I agree Leif, black leather is super slick, unfortunately I don't think it would fit the look of my place.
Any tips on getting the little caps off that cover the screws or what time of foam I should use? Is 1 inch foam for the seats and 1/2 inch for the backs seem right?
Two more weeks of school then I can start actually working in them : )
Yes on the foam thicknesses.
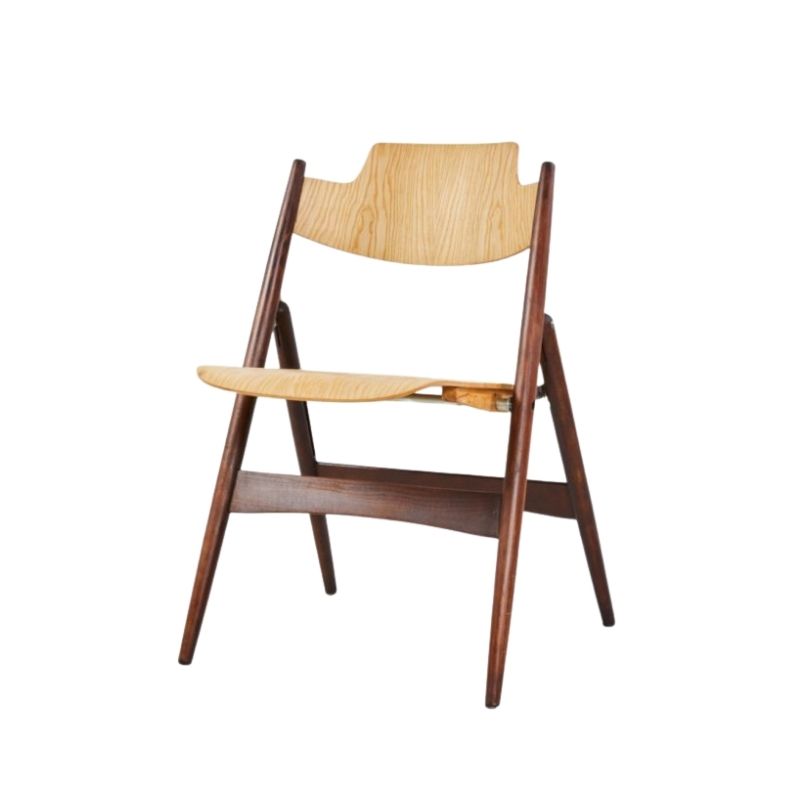
I get the screw caps off by sliding a thin, flat blade under the very edge, making sure to keep it flat against the chair frame so that it doesn't scratch the frame, and then just work the button out very, very gradually. If you do get any scuffs on the frame, they will disappear with oiling. A mat cutter blade is ideal but anything like that will do. A box cutter blade might be good (not in the knife, though).
Leif, have you redone these in leather? I know the cardboard backs were originally glued on but my first attempt at that was such a horrible experience that I gave up and have been sewing them on ever since. I used contact cement and brushed it on to both surfaces but that stuff is so viscous and goopy that it ended up getting where i didn't want it to, even though I was being super careful! It was only a few drops here and there but it was a horrible, messy experience that I never want to repeat. (Plus, fumes---that was before i got a respirator. Duh.)
Some of the contact cement started losing its grip after a few years, too. That was really disheartening because i thought that stuff was really, truly permanent.
I think the originals had to have been done with rigid masks that clamped onto the chair backs. The cardboard piece was less of a problem.
Anyway, now I cut the fabric for the cardboard backing, notch the corners to get rid of bulk, lay it right side down on a sheet of paper (using a new sheet for each backing piece) with the cardboard backing in place, and apply spray adhesive. I move the cardboard about 1/4" off center in each direction as do the sides so that there's a 1/4" perimeter of fabric that has no glue on it. This is because sewing through adhesive is very difficult.
Then I fold the fabric over onto the cardboard, let it dry, and tack it to the chair back with a half-in staple near each corner. Then sew in place with a ladder stitch. Gluing the whole thing would be quicker but I know that the stitching will hold forever and it's what I'm most comfortable doing.
I have never actually had the pleasure of disassembling one of these with the original upholstery. Only ones poorly redone. So I've always just hand stitched the backs on there. (They had been redone with the metal toothed fold over flex strips, not sure of the proper name). In my case I did not use any cardboard as I didn't know, just a bit of cotton batting underneath and stitched the back on. Leather would be harder to hand stitch, but I've been upholstering a lot in leather lately, and it really is not so hard to work with, and the result is very worthwhile.
Ponyboy, it looks like that fabric is an old re-do, but it's hard to tell from the photos. I've redone quite a few of these with original upholstery and have never seen cotton batting under the cardboard. They have always had a scrap of beautiful wool fabric! You need something to support the cardboard so that it doesn't cave in when the chair is pushed from the back. It just gives it a more substantial feel, more solid. The Danish upholsterers used whatever scraps were lying around and so far I haven't seen any that matched the fabric of the chair so it's always fun to see what's in there. Usually it's something that's no longer made. I would kill for yardage of some of the things I've seen.
Save the cardboard if you can. Just peel the fabric off very carefully. If the cardboard isn't salvageable, tape it together enough to use it as a template for a new one. The exact stuff is called chipboard and upholstery supply places carry it, but you could use mat board in the right weight, too. Don't use corrugated cardboard.
Leif, the metal strip stuff is called Curve-Ease (or Ply-Grip for the version used for mostly straight areas). It probably isn't the greatest for dining chair backs because they get a lot of handling and the metal tabs could end up lifting a bit on the corners. But upholsterers use it because it's a really fast way to cover a back or do other parts that would have to be glued or hand sewn otherwise.
I have sewn leather by hand---it's not that bad in the right weight and with a 3-sided leather needle. I'm just a fabric person going way, way back so that's my first choice for most things---if I have a choice! Sometimes it has to be leather and I'm fine with that.
I said above that you need 3/4 yard for a pair of Buch chairs, but that should be 3/4 yard for ONE chair. Sorry about that---I added the correction above but thought I'd better post it here too.
That amount does not include any for cutting errors or wrecking fabric by getting adhesive overspray on it. Be advised.
Thanks for the clarification on the yardage needed. I was going to buy more than I needed as I figured there would be mistakes made as I learn. I really appreciate the feedback from both you (Spanky) and Leif. I could ask a million questions but I ordered the book Sunset Furniture Upholstery (read that it was a good place to start) to read so i don't annoy anyone with said questions!
You need to get the joint fully open. This might mean buying a dead blow mallet and tapping the other solid joint apart. Steam will help if you need it The clean old glue off the parts (PVA glue does not stick to dried PVA glue). Steam really helps for this. And the holes can be cleaned with a quick pass with a drill bit of exactly the right size. Then re-glue. If you squeeze a LOT of glue into the hole with the crack, when you insert the dowels, it should push the glue out into the crack reasonably well. Next you will put a clamp on to close the crack (preferably one with plastic pads so you don't indent the teak). Then you will put clamps on to squeeze the dowel joints. Clean off squeezed out glue with a damp/wet rag. Wait 24 hours to release the clamps.
If you need any help, please contact us at – info@designaddict.com


