hello,
I am replacing some broken handles on a teak desk. I will be covering the area almost completely with a new handle so it does not have to be perfect but would like to strengthen and clean up the area for sure.
I need to use the method I have seen mentioned here before where you save the bits of teak/sawdust and then use them to color your filler/ repair medium.
I am sorry I cannot find the discussion I read about it and there are some many teak repair threads I am at a loss here.
I want to fill the hole in the drawer front where I have removed the broken teak handles....what should I be mixing the sawdust with? Just a wood putty? Can you suggest a brand of product? not very repair savvy... thanks for your time

Thanks for throwing in tkt.,
well, I really was just hoping to fill in and then cover the area of concern with a new handle.
This is not a particularly important desk...its just a little desk I am trying to give new life and the wood handles were designed poorly in that each of them eventually broke apart at the pull/ lip from the weight in the drawers and the pulling action...I am hypothesizing...they we're broken when I got them....the previous owners glued and nailed the lip back on but it still broke further.
I was just hoping to fill in the gap that was part of the hollowing of the old handle...maybe use oil or tint to just make it look similar so that the little bit you see from the side is homogeneous .
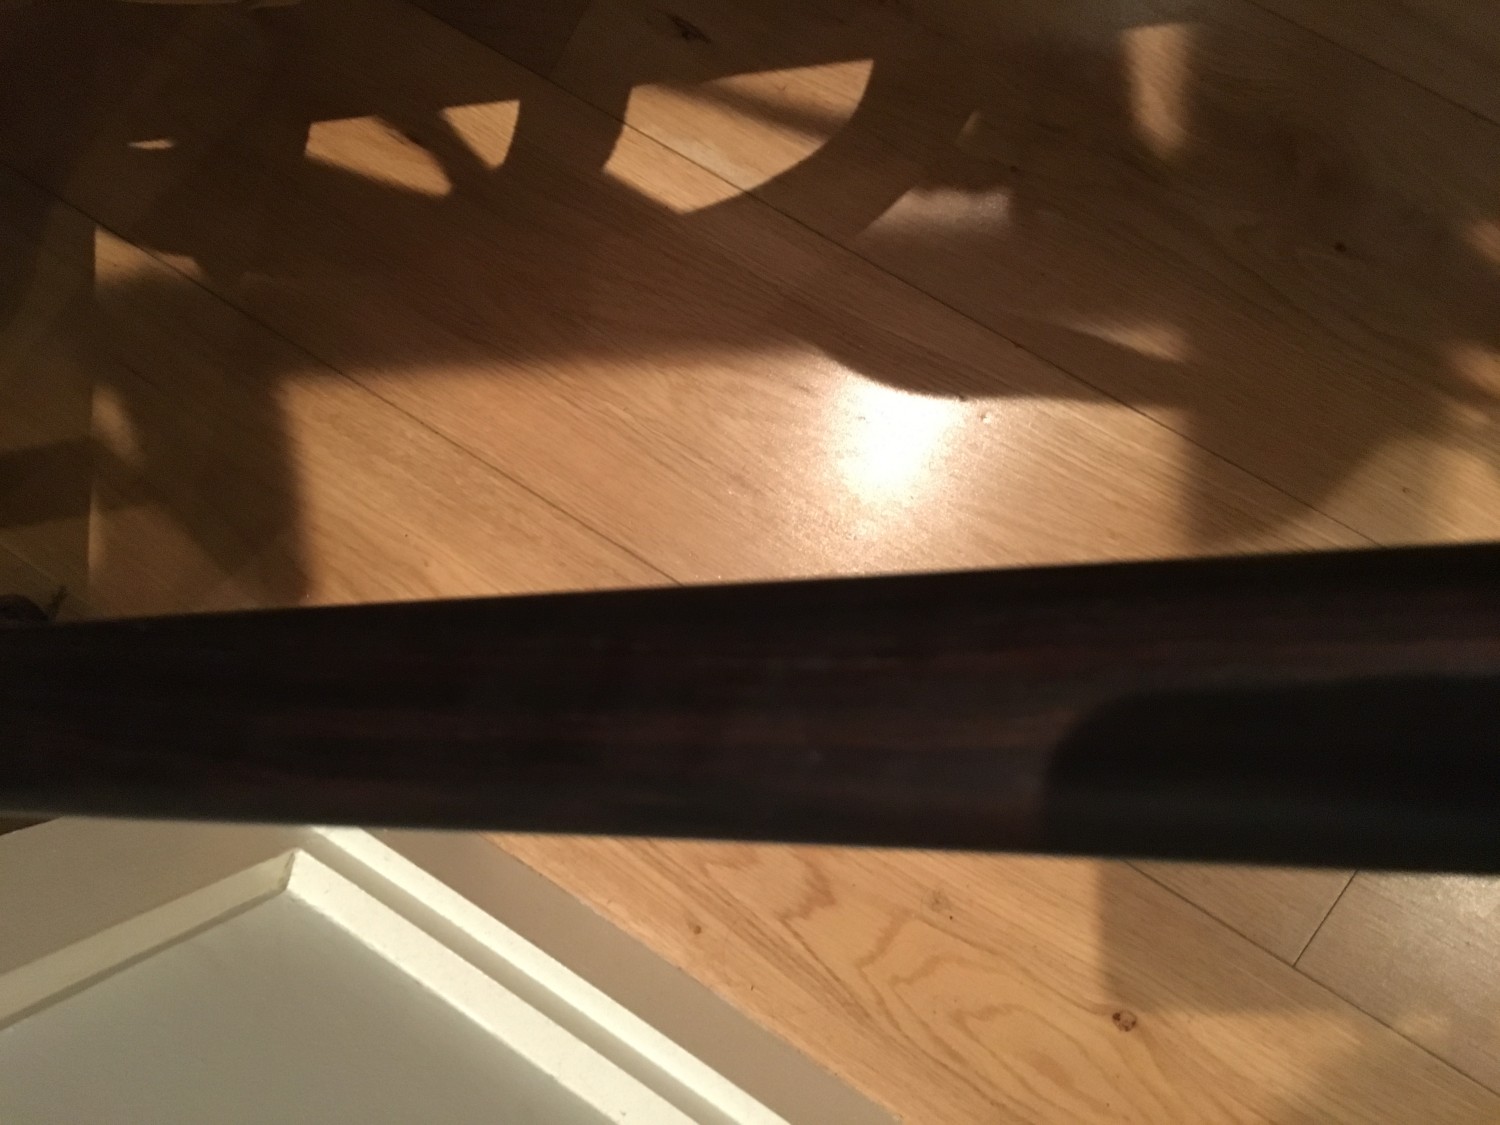
In the picture attached the handle is moved over a little to show where it is covering the gap...it can fully cover the mark from the top but you would be able to see a little of the scar from the side .
I was hoping by filling in the centre, sanding it I would have a new surface to attach the new pull onto and would be a relatively decent fix without moving too far past my skills.
**sorry side shot photo is poor but I just wanted to show that the new handle floats a little from the surface thus giving a view of the scar from the side at a certain angle 🙂
The Bondo stuff starts to set up pretty quickly so prepare to work fast. Mask off the surrounding veneer that's in good condition with blue painter's tape and try to level the filler while it's still pliable with a putty knife or spatula. You can refrigerate the filler and catalyst to delay the reaction somewhat, but it's important to thoroughly mix the two components and get it in place as quickly as possible. Mixing proportions are fairly forgiving, but, generally speaking, the higher the percentage of catalyst and the higher the working temperature, the sooner it kicks. Remove the masking tape before the filler hardens and level the fill by sanding carefully with a block soon thereafter, again before the filler fully hardens. If you have to make two or more applications, wait a day between and wipe the surface with a rag dampened with fingernail polish remover or acetone to help with adhesion between coats. You'll need to re-oil the entire drawer front, perhaps twice, after everything fully cures and before inpainting the fill. Post with update of your results and/or for tips on inpainting if there's need. Bon chance!
Oh, and, if you think of it, spread some leftover filler onto a piece of scrap wood or stiff cardboard while you're working and you'll have the ideal surface onto which you can experiment with inpainting techniques!


If you need any help, please contact us at – info@designaddict.com