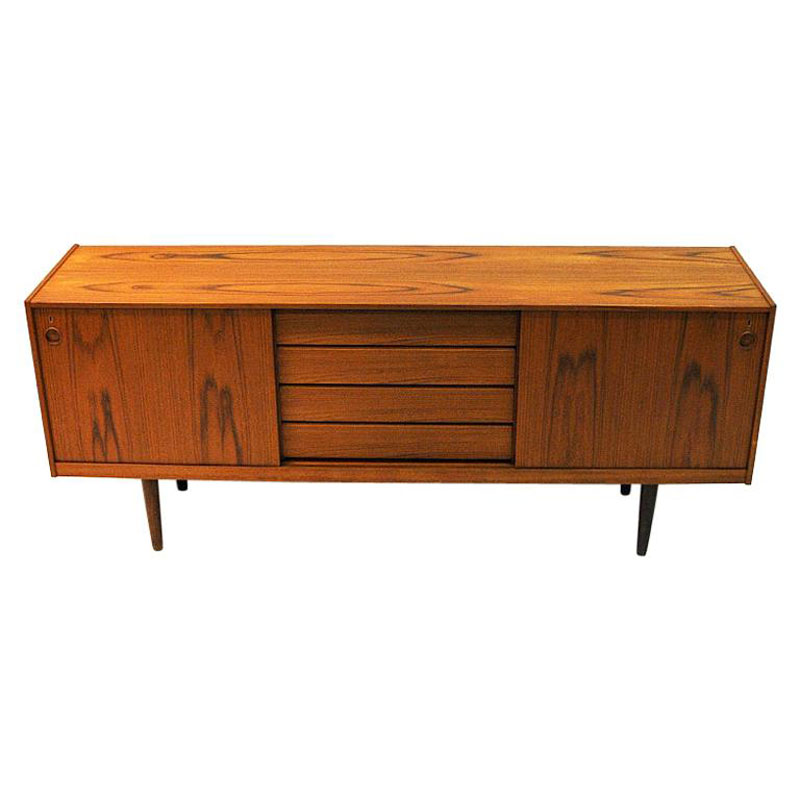
Hey all - I recently picked up this Kindt-Larsen FD501 - an earlier (?) version that has a solid teak top, which was a relief as it needed to be refinished. There are a few other repairs, but the top is giving me the most trouble.
I first wiped down a spot with acetone and it just gummed up the finish a bit - I'm assuming it has conversion varnish. So I decided to use the citrus stripper I have on hand. I've applied it three times now, each time wrapping it in plastic and waiting about 4 hours. After scraping with a plastic scraper, I wipe it clean with turpentine.
The top still has a fuzziness - I'm not sure if that is still some finish remaining or if the wood itself is wet and fuzzy. I hope the photos capture what I'm describing. Any recommendations at this point? Another round (or three) of stripping? I know @leif-ericson has recommended scraping the surfaces of varnished teak with a razor blade. Should I go that route? Should I sand or avoid sanding altogether?
Thanks in advance. Hope everyone is safe and healthy.
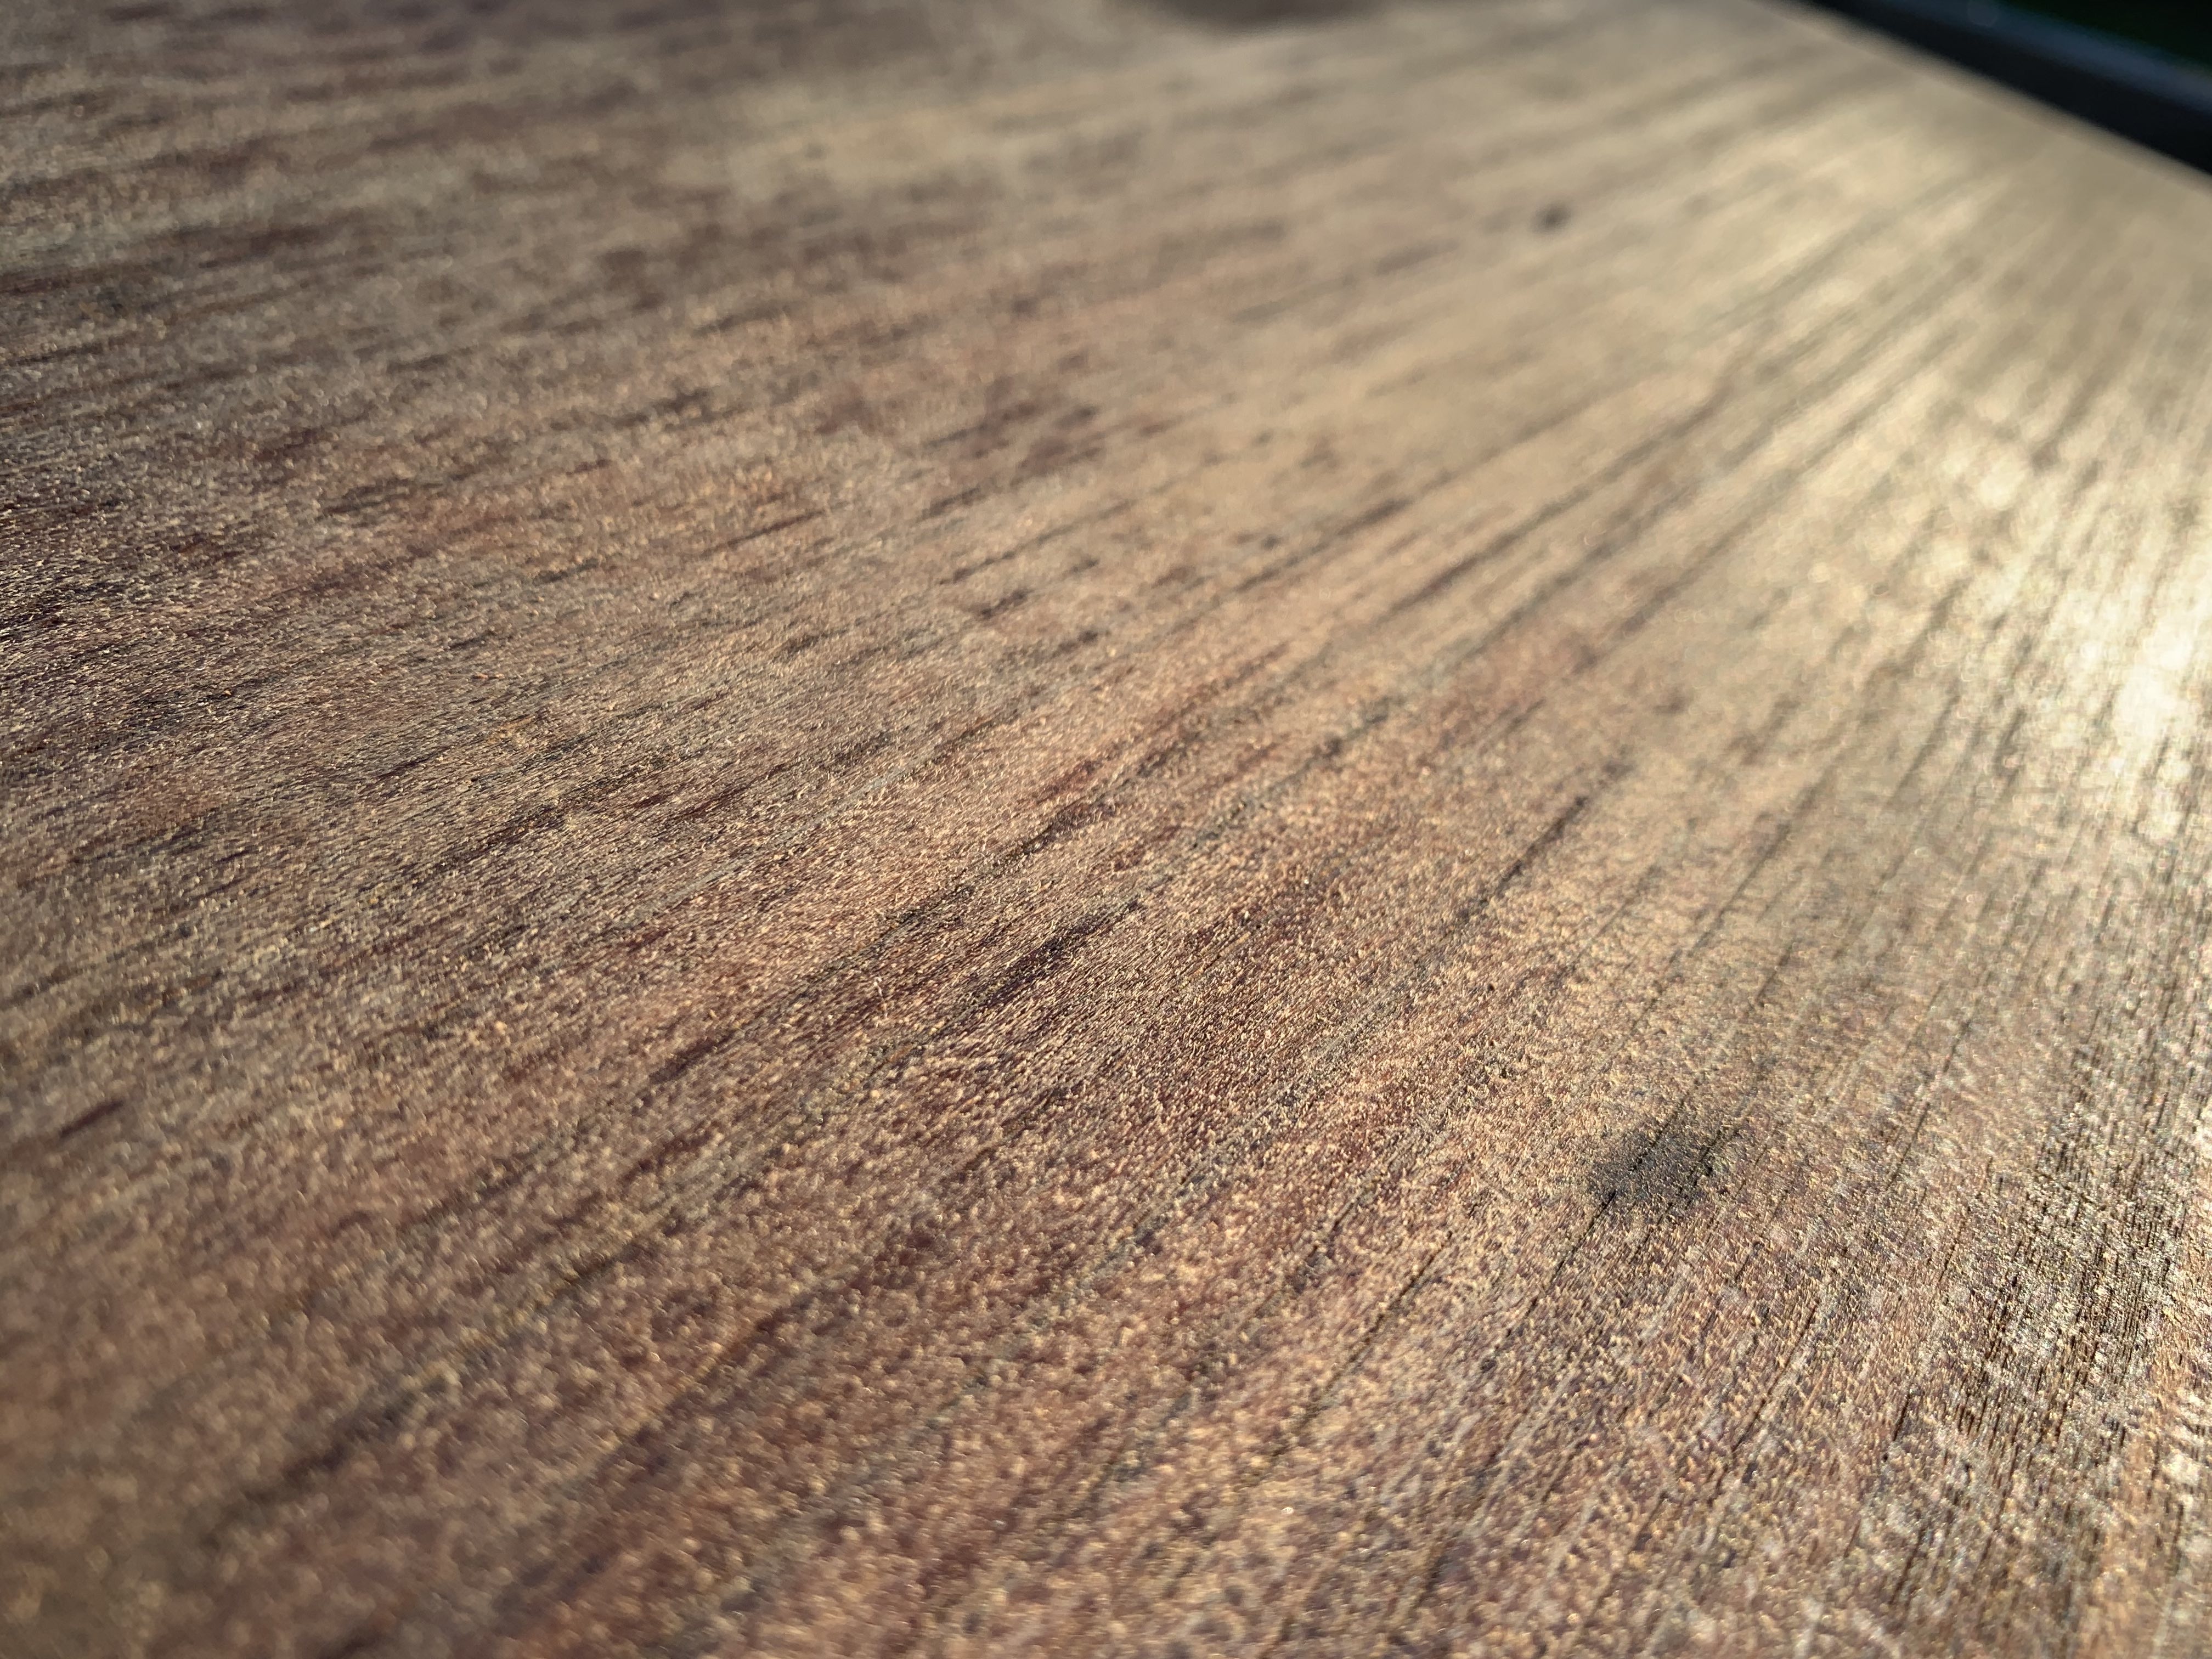
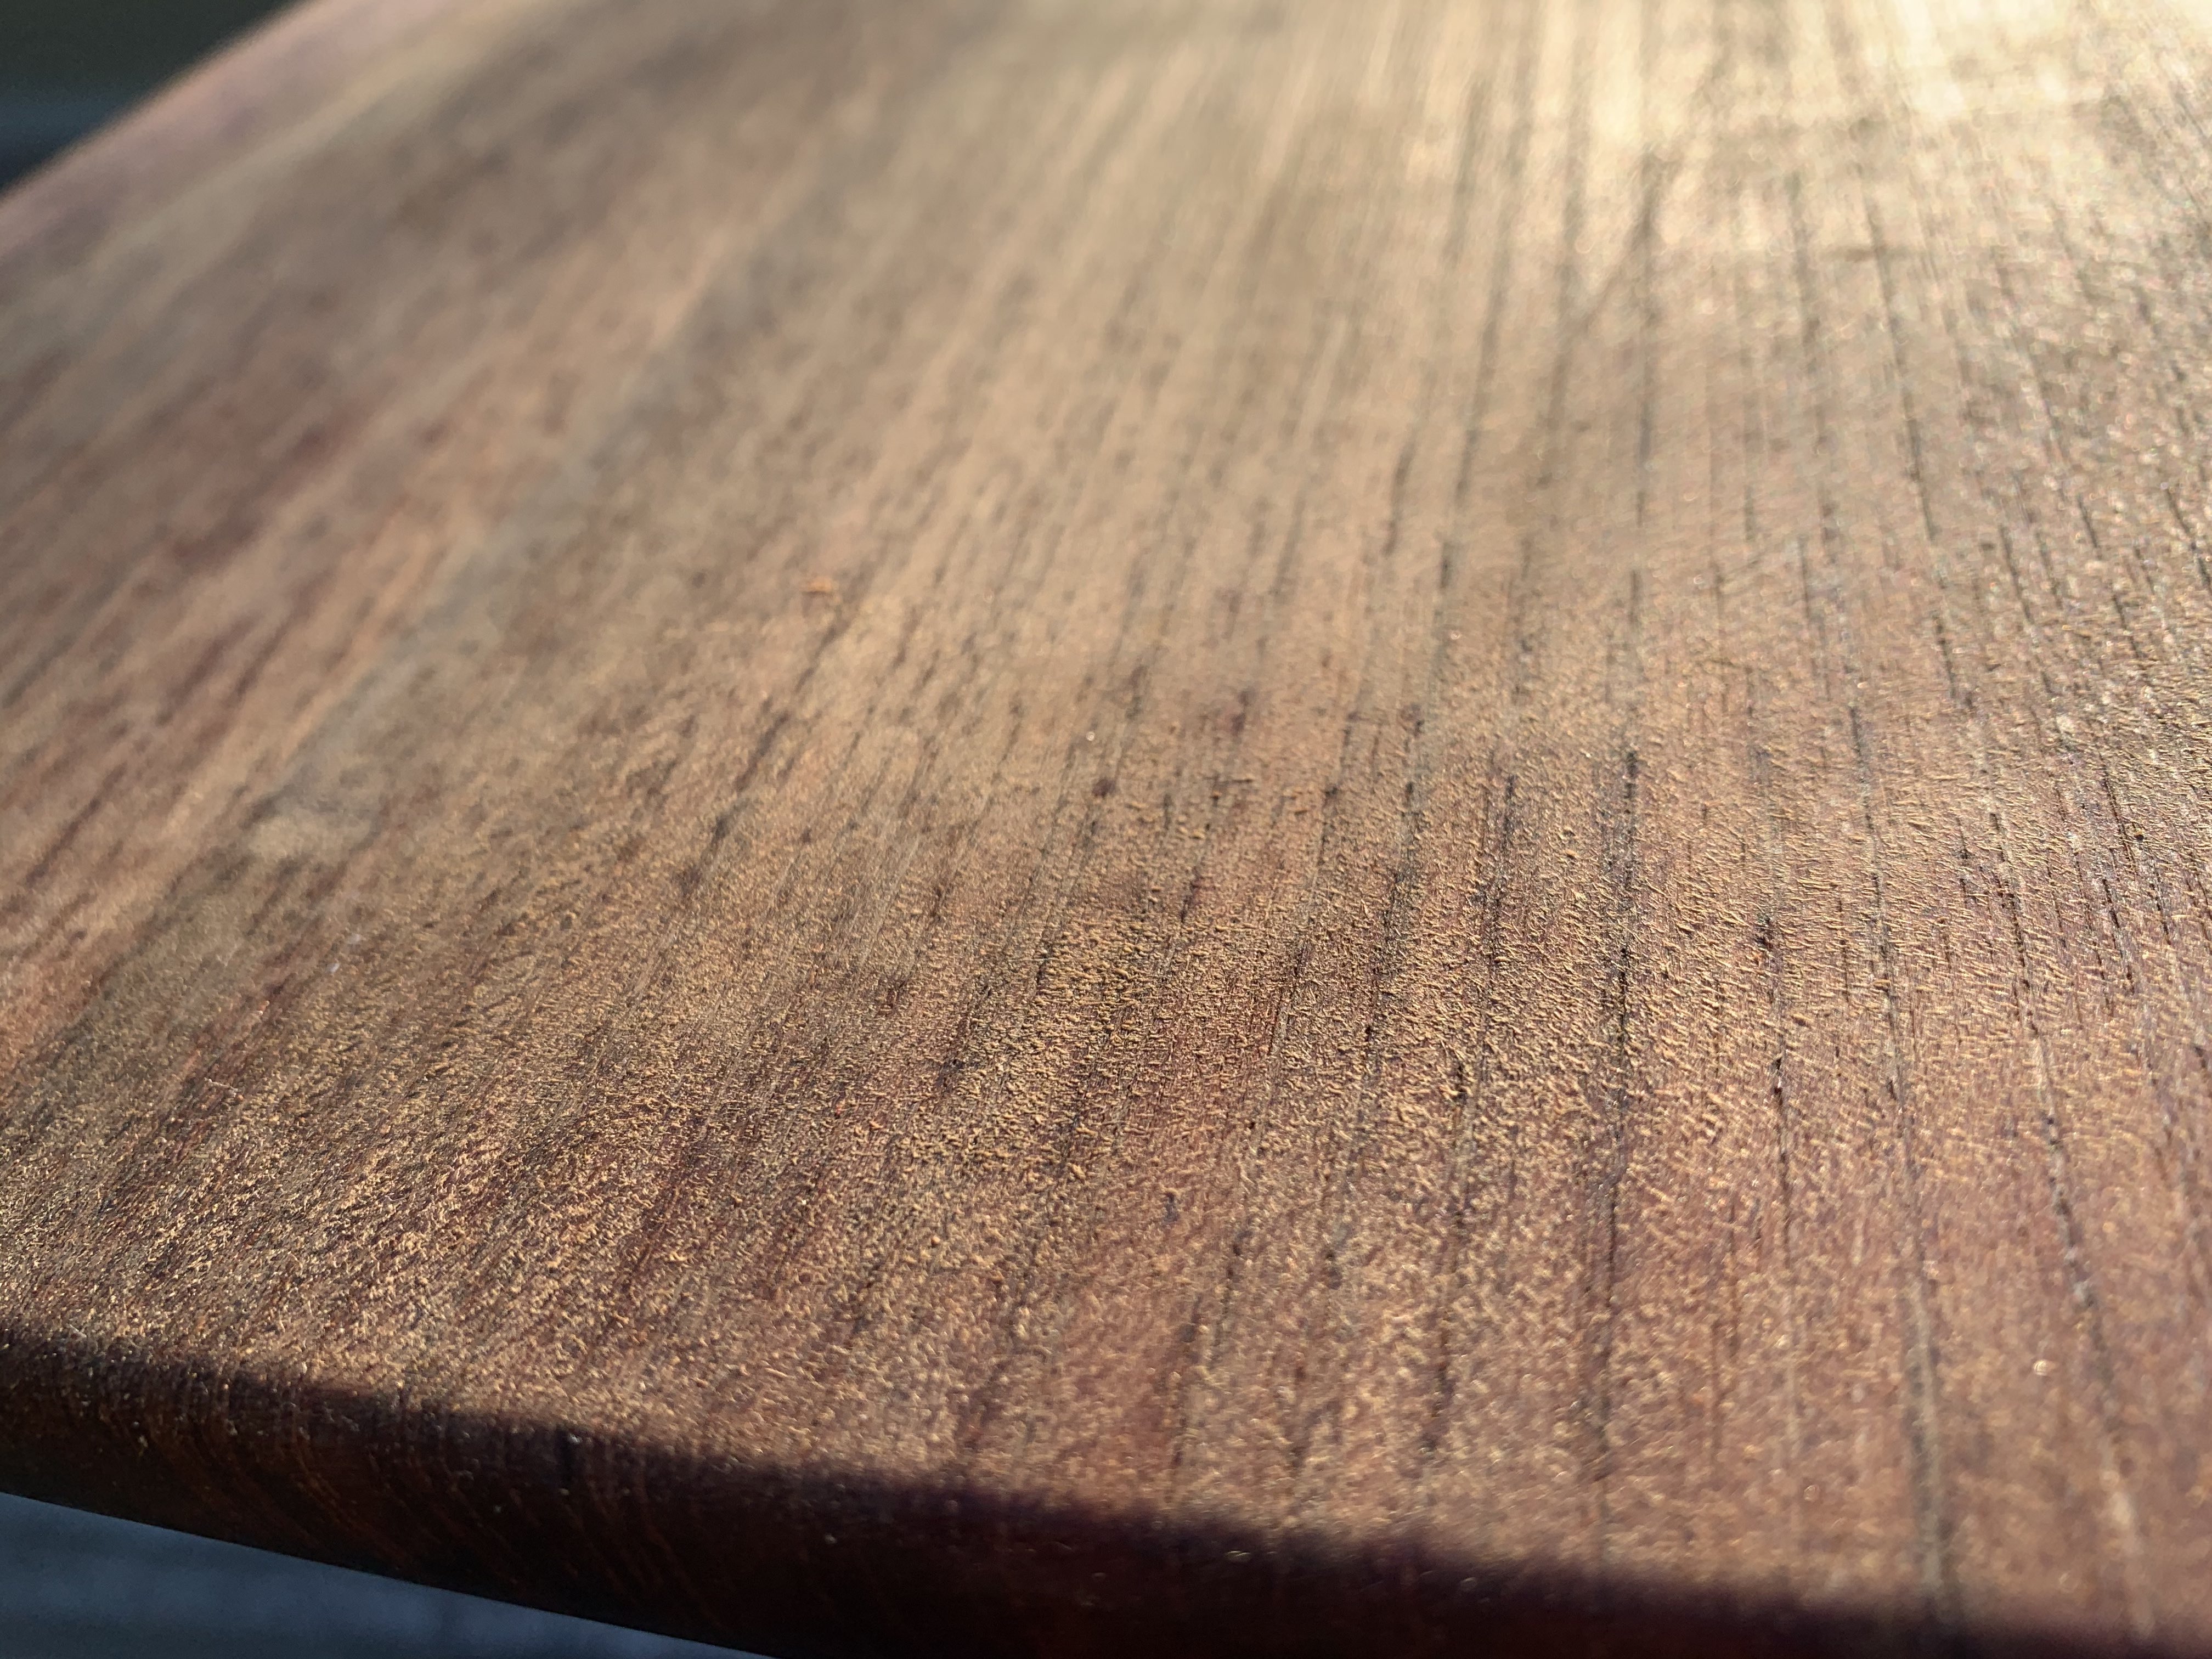
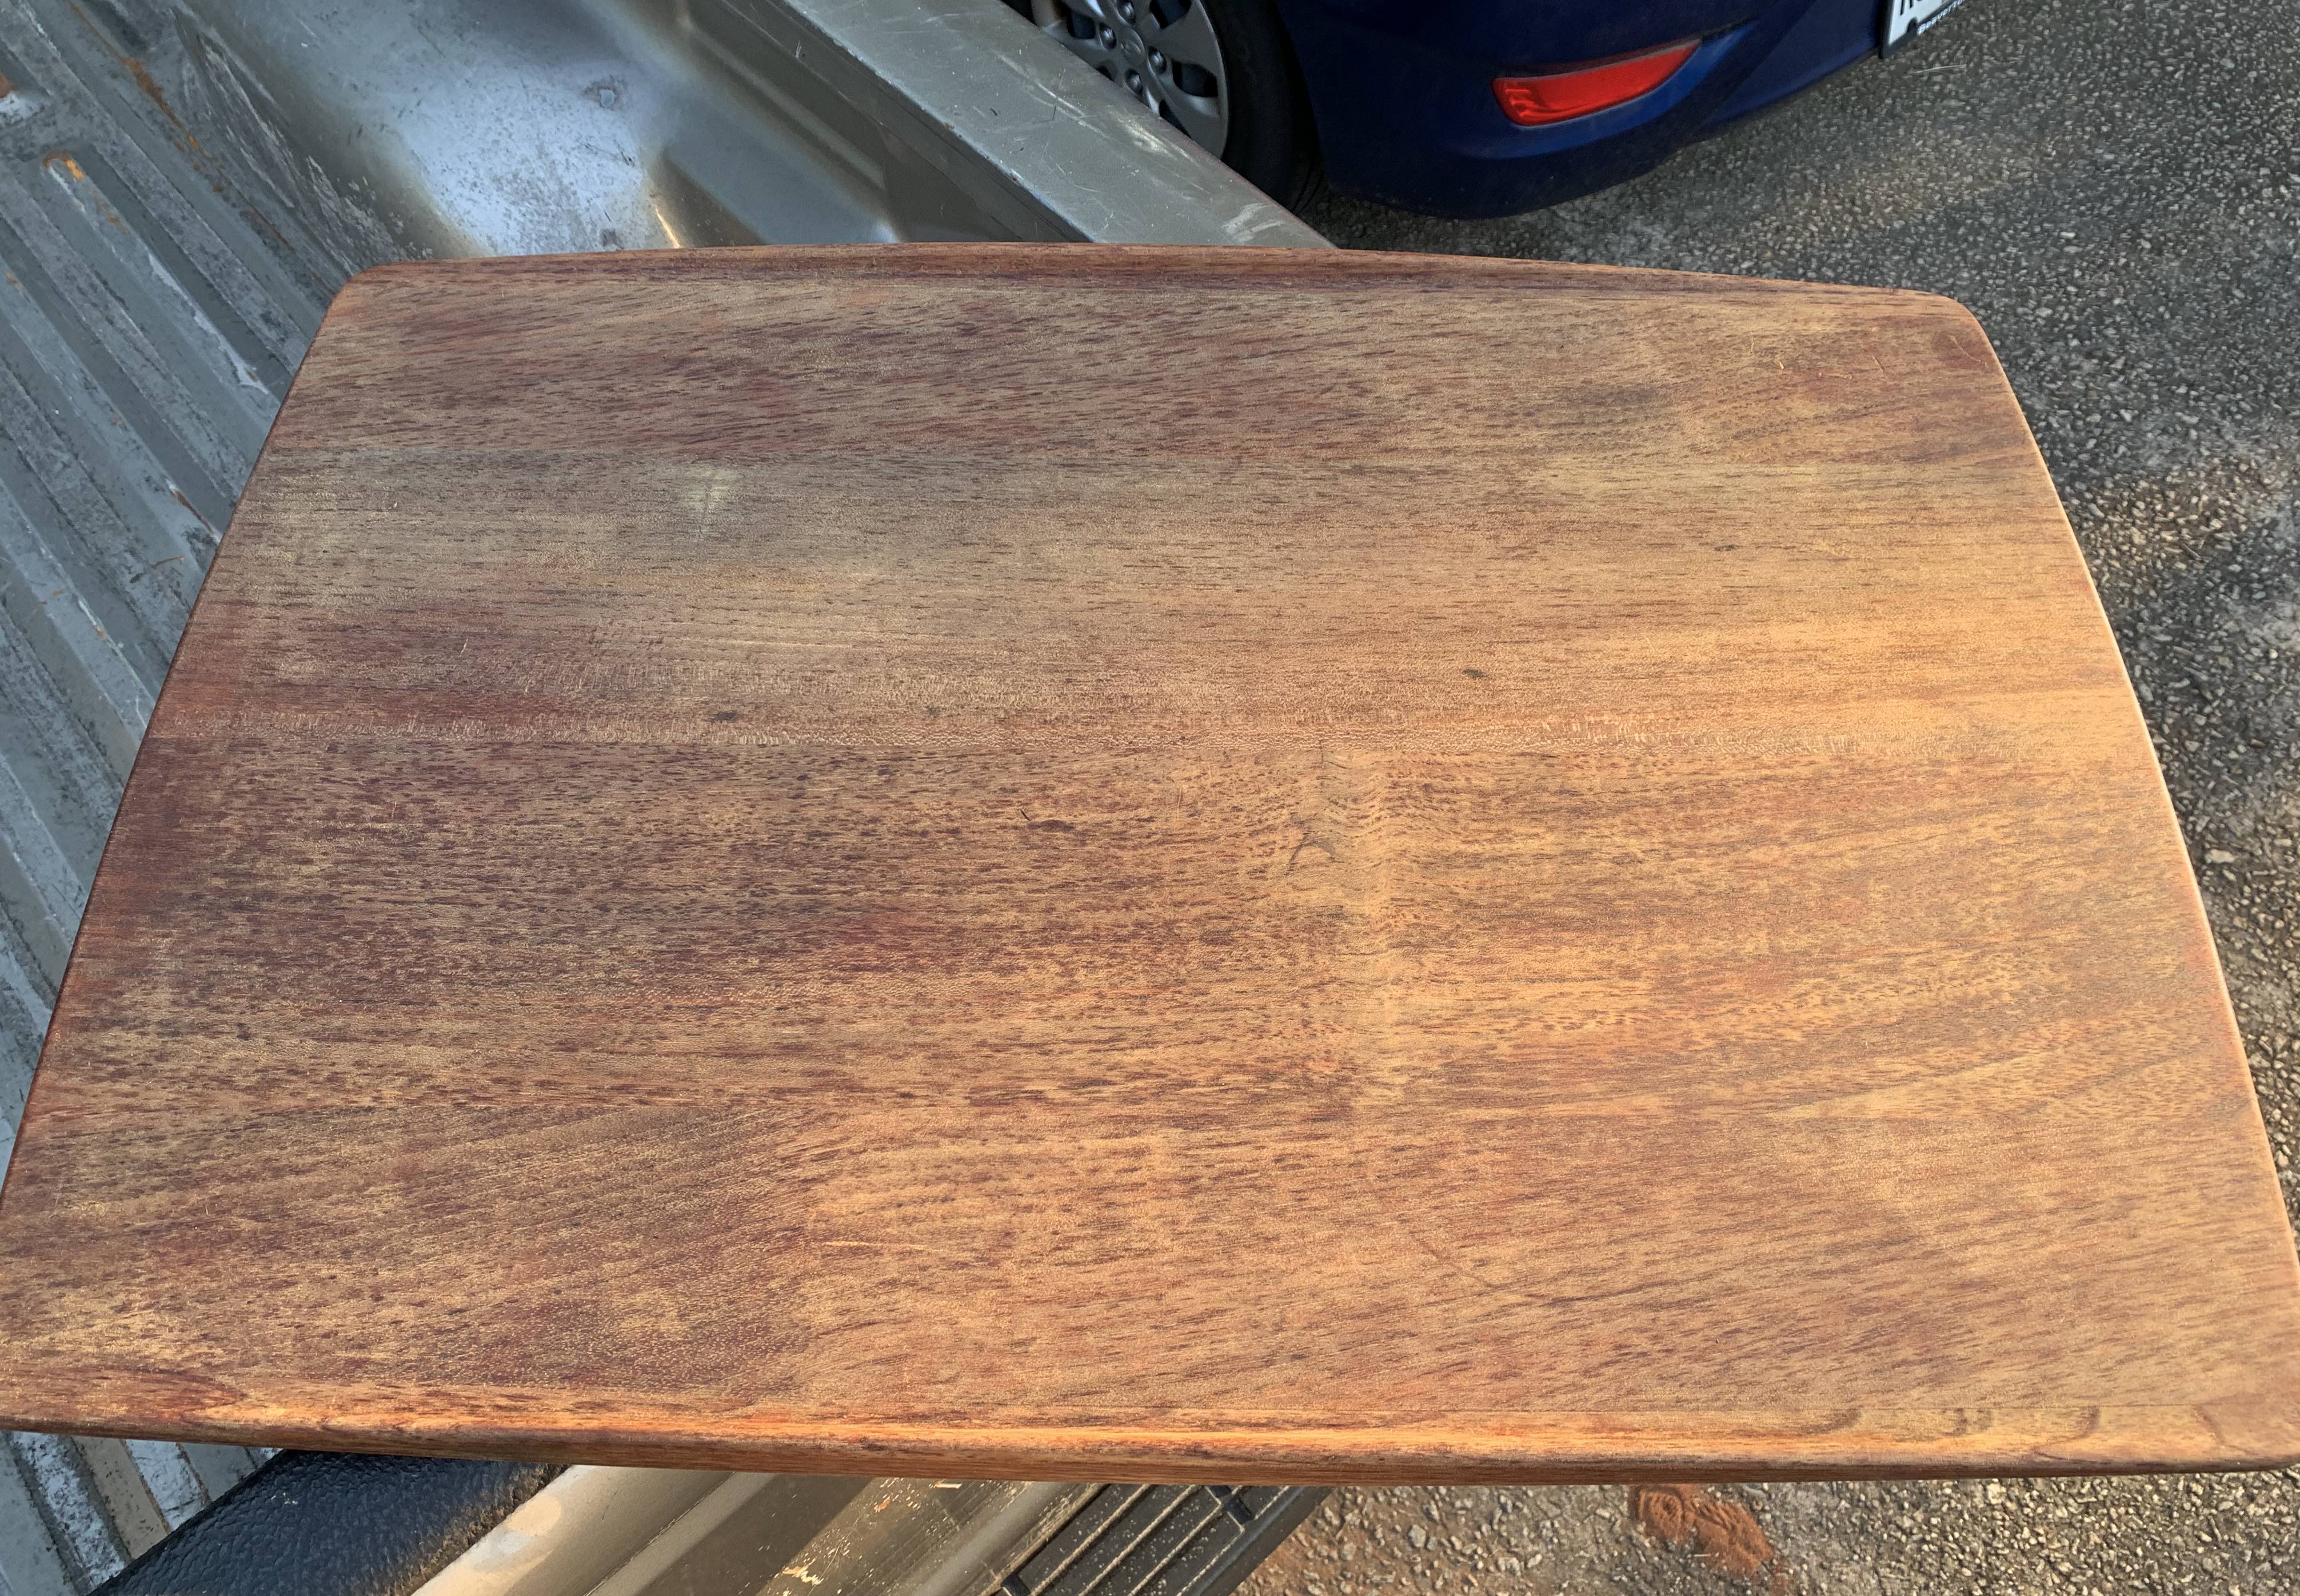
It's raised wood fibers. Sand with P280 on a block padded with a layer of felt and light pressure. I like to vacuum the dust with a brush attachment before finishing, but a rag dampened with white spirits will get most of it off, too, without re-raising the fuzz. Professional finishers will often raise the grain of raw wood with water and scuff-sand when dry, sometimes more than once before finishing depending on specie.
Thanks @tktoo2 - looking at it again this morning, now that it is drier, that seems even more obvious to me. I don't want to remove too much material by sanding even though it is solid teak, but you can probably see some remnants of water ring marks, and I'd like to get rid of those. They've already lightened a whole lot during the stripping so I'm hoping that aren't very deep. Would starting with a coarser grit take care of that or will I need to use some oxalic acid?
Thanks again!
@frankielemmons, If the rings are darker than the surrounding surface, try spot-treating with a slightly weaker oxalic acid treatment or two. If it's the other-way-round or ends up looking splotchy or uneven, treat the entire top surface once or twice. It doesn't always work, but worth a try. Definitely keep sanding to finer grades and to a minimum on teak veneers, especially on pieces from the late 1960's and later. Good luck!
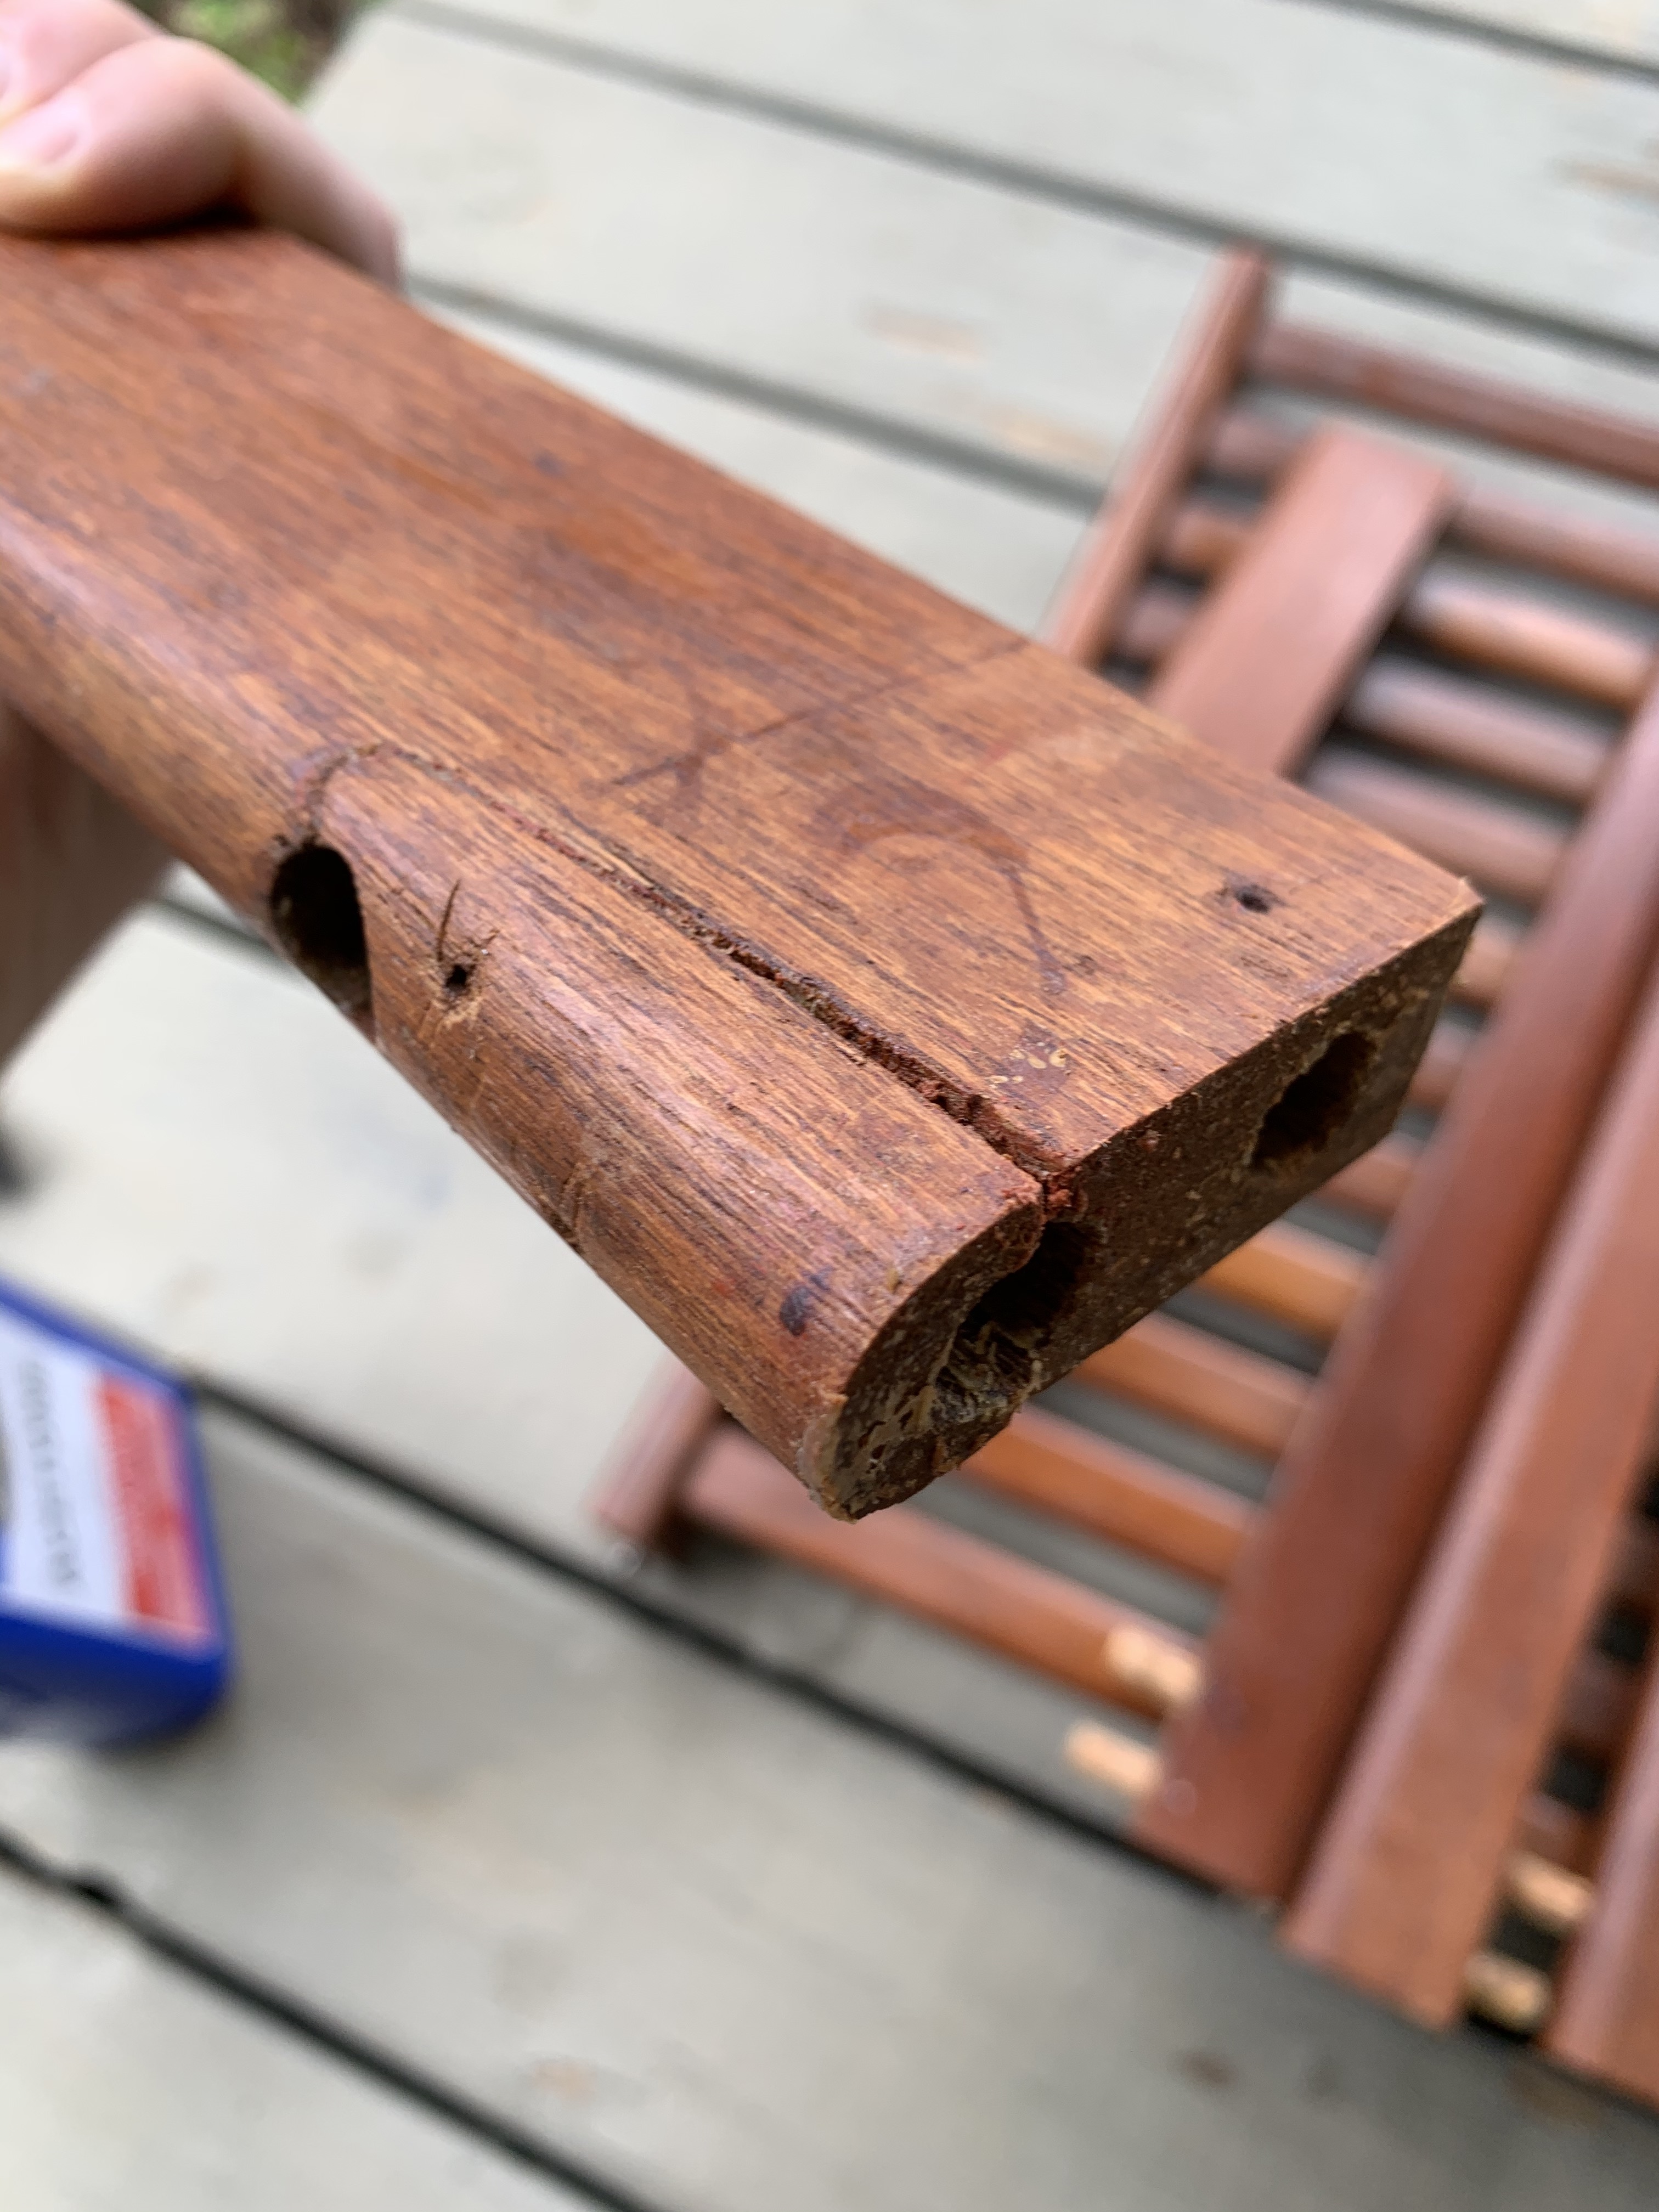
Another issue I'm dealing with on this table is correcting a bad repair. On one of the side rails/aprons the bottom dowel from the leg had broken through. I've successfully removed the many small nails and cleaned off all of the old adhesive. My question is if this is as simple as gluing and clamping everything? The worse of the two spots this happened at don't fit together super snugly, a gap now exists at the edge (essentially the gap you can see in the photo before I got it apart). Would an epoxy be better in this case? Should I add a small nail?
@frankielemmons, Sorry for no reply. Must've missed it.
So, if the split is a not a failed previous repair, simply work some yellow wood glue in there as best you can, clamp closed (moderate pressure) and done.
If the split is a failed previous repair, the protocol would be to try to remove as much of the failed glue residue as possible without disturbing too much the mating surfaces. Tedious and nearly impossible, right? If there's not a lot of old glue residue in there, I'd go ahead and treat it the same as if it were a fresh break and hope for the best.
Easiest way to deal with the doweled joint is to go up one size in dowel diameter, drill out the mortises accordingly, glue, reassemble, clamp under moderate pressure, done.
@tktoo2 it wasn't failed when I got it, but "repaired" so sloppily that I took it apart - removed the nails, separated the broken piece and have removed all of the old adhesive. Like I said, it all fits back together but not 100% perfectly.
I think I will just glue it all back up and clamp it and hope it doesn't fail. It doesn't seem like it takes so much stress that it will, being a side table and all.
Thanks for all of the advice.
@frankielemmons. I agree with that approach, though yellow wood glue works best when the parts mate well and does not perform as well as epoxy for gap-filling applications. Typically, I avoid epoxies and polyurethane glue on fine furniture because neither are reversible if/when future repairs might be needed. Lucky that this area is relatively hidden in normal use and, as you said, shouldn't need to bear much stress. Bon chance!
Here's the nearly finished product. Thanks again for all of your help @tktoo2! After the oil cures, I think I'm going to add some paste wax to the top just for a bit more resiliency and a bit of sheen.
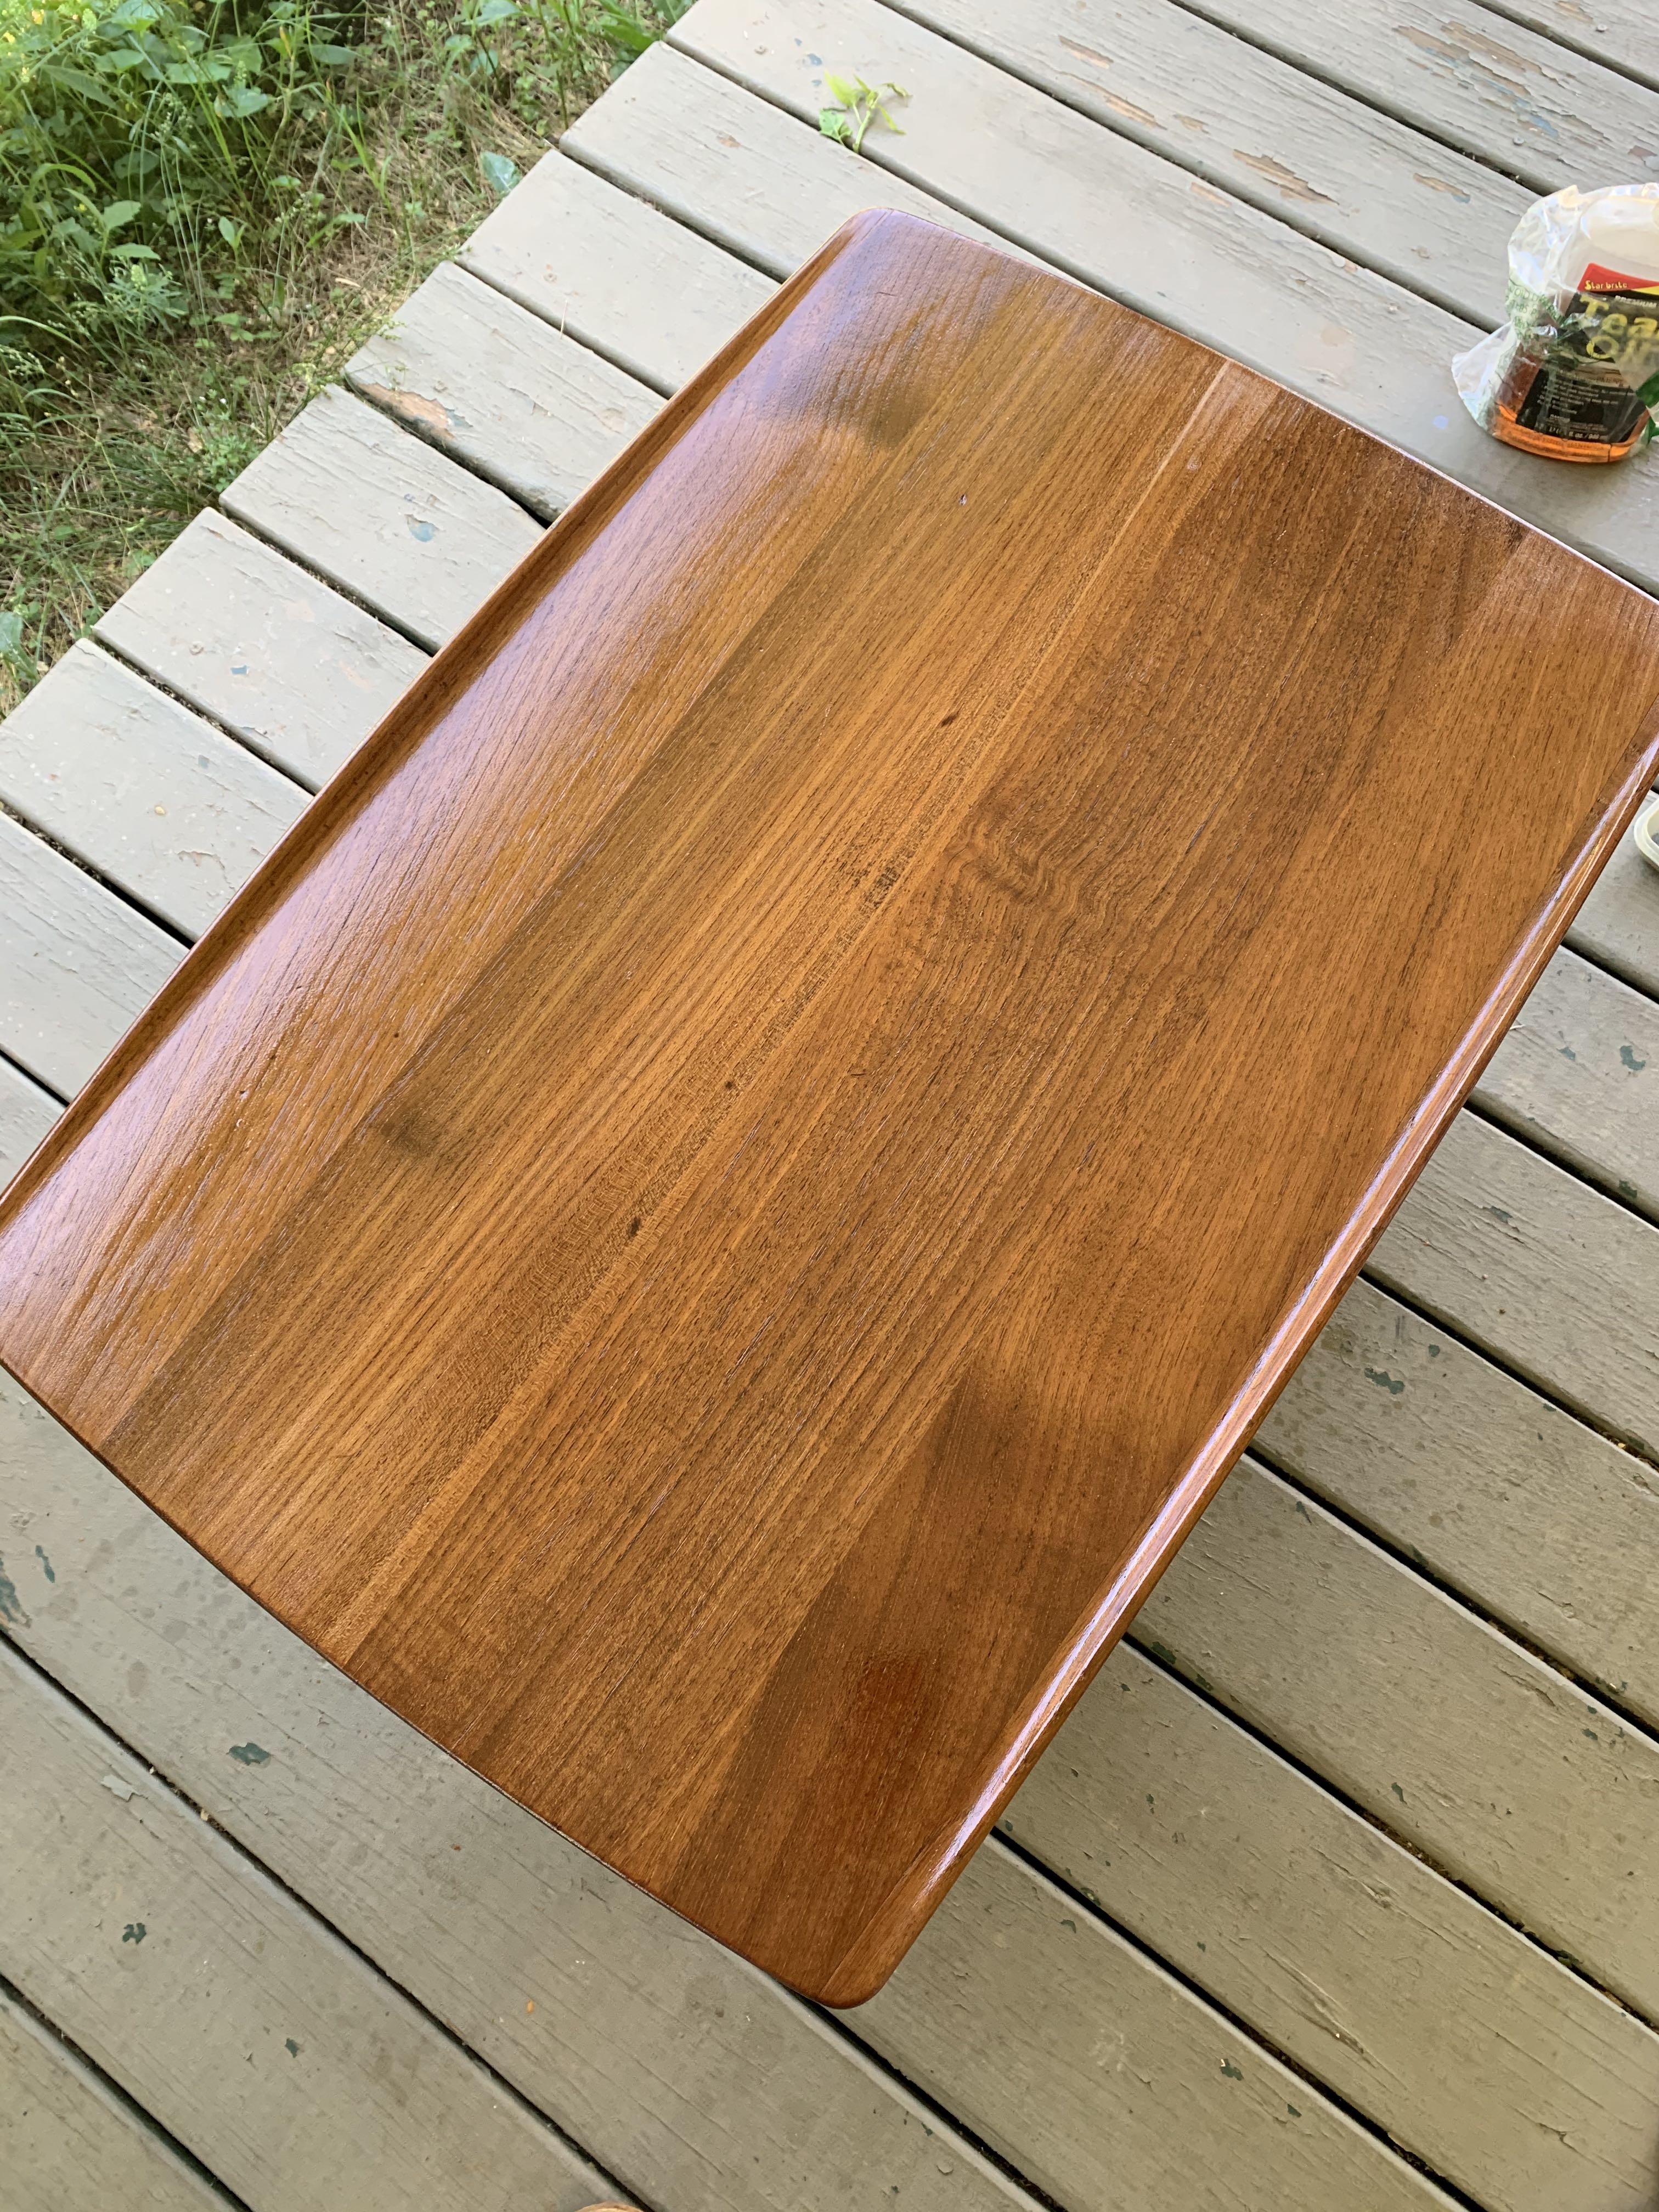
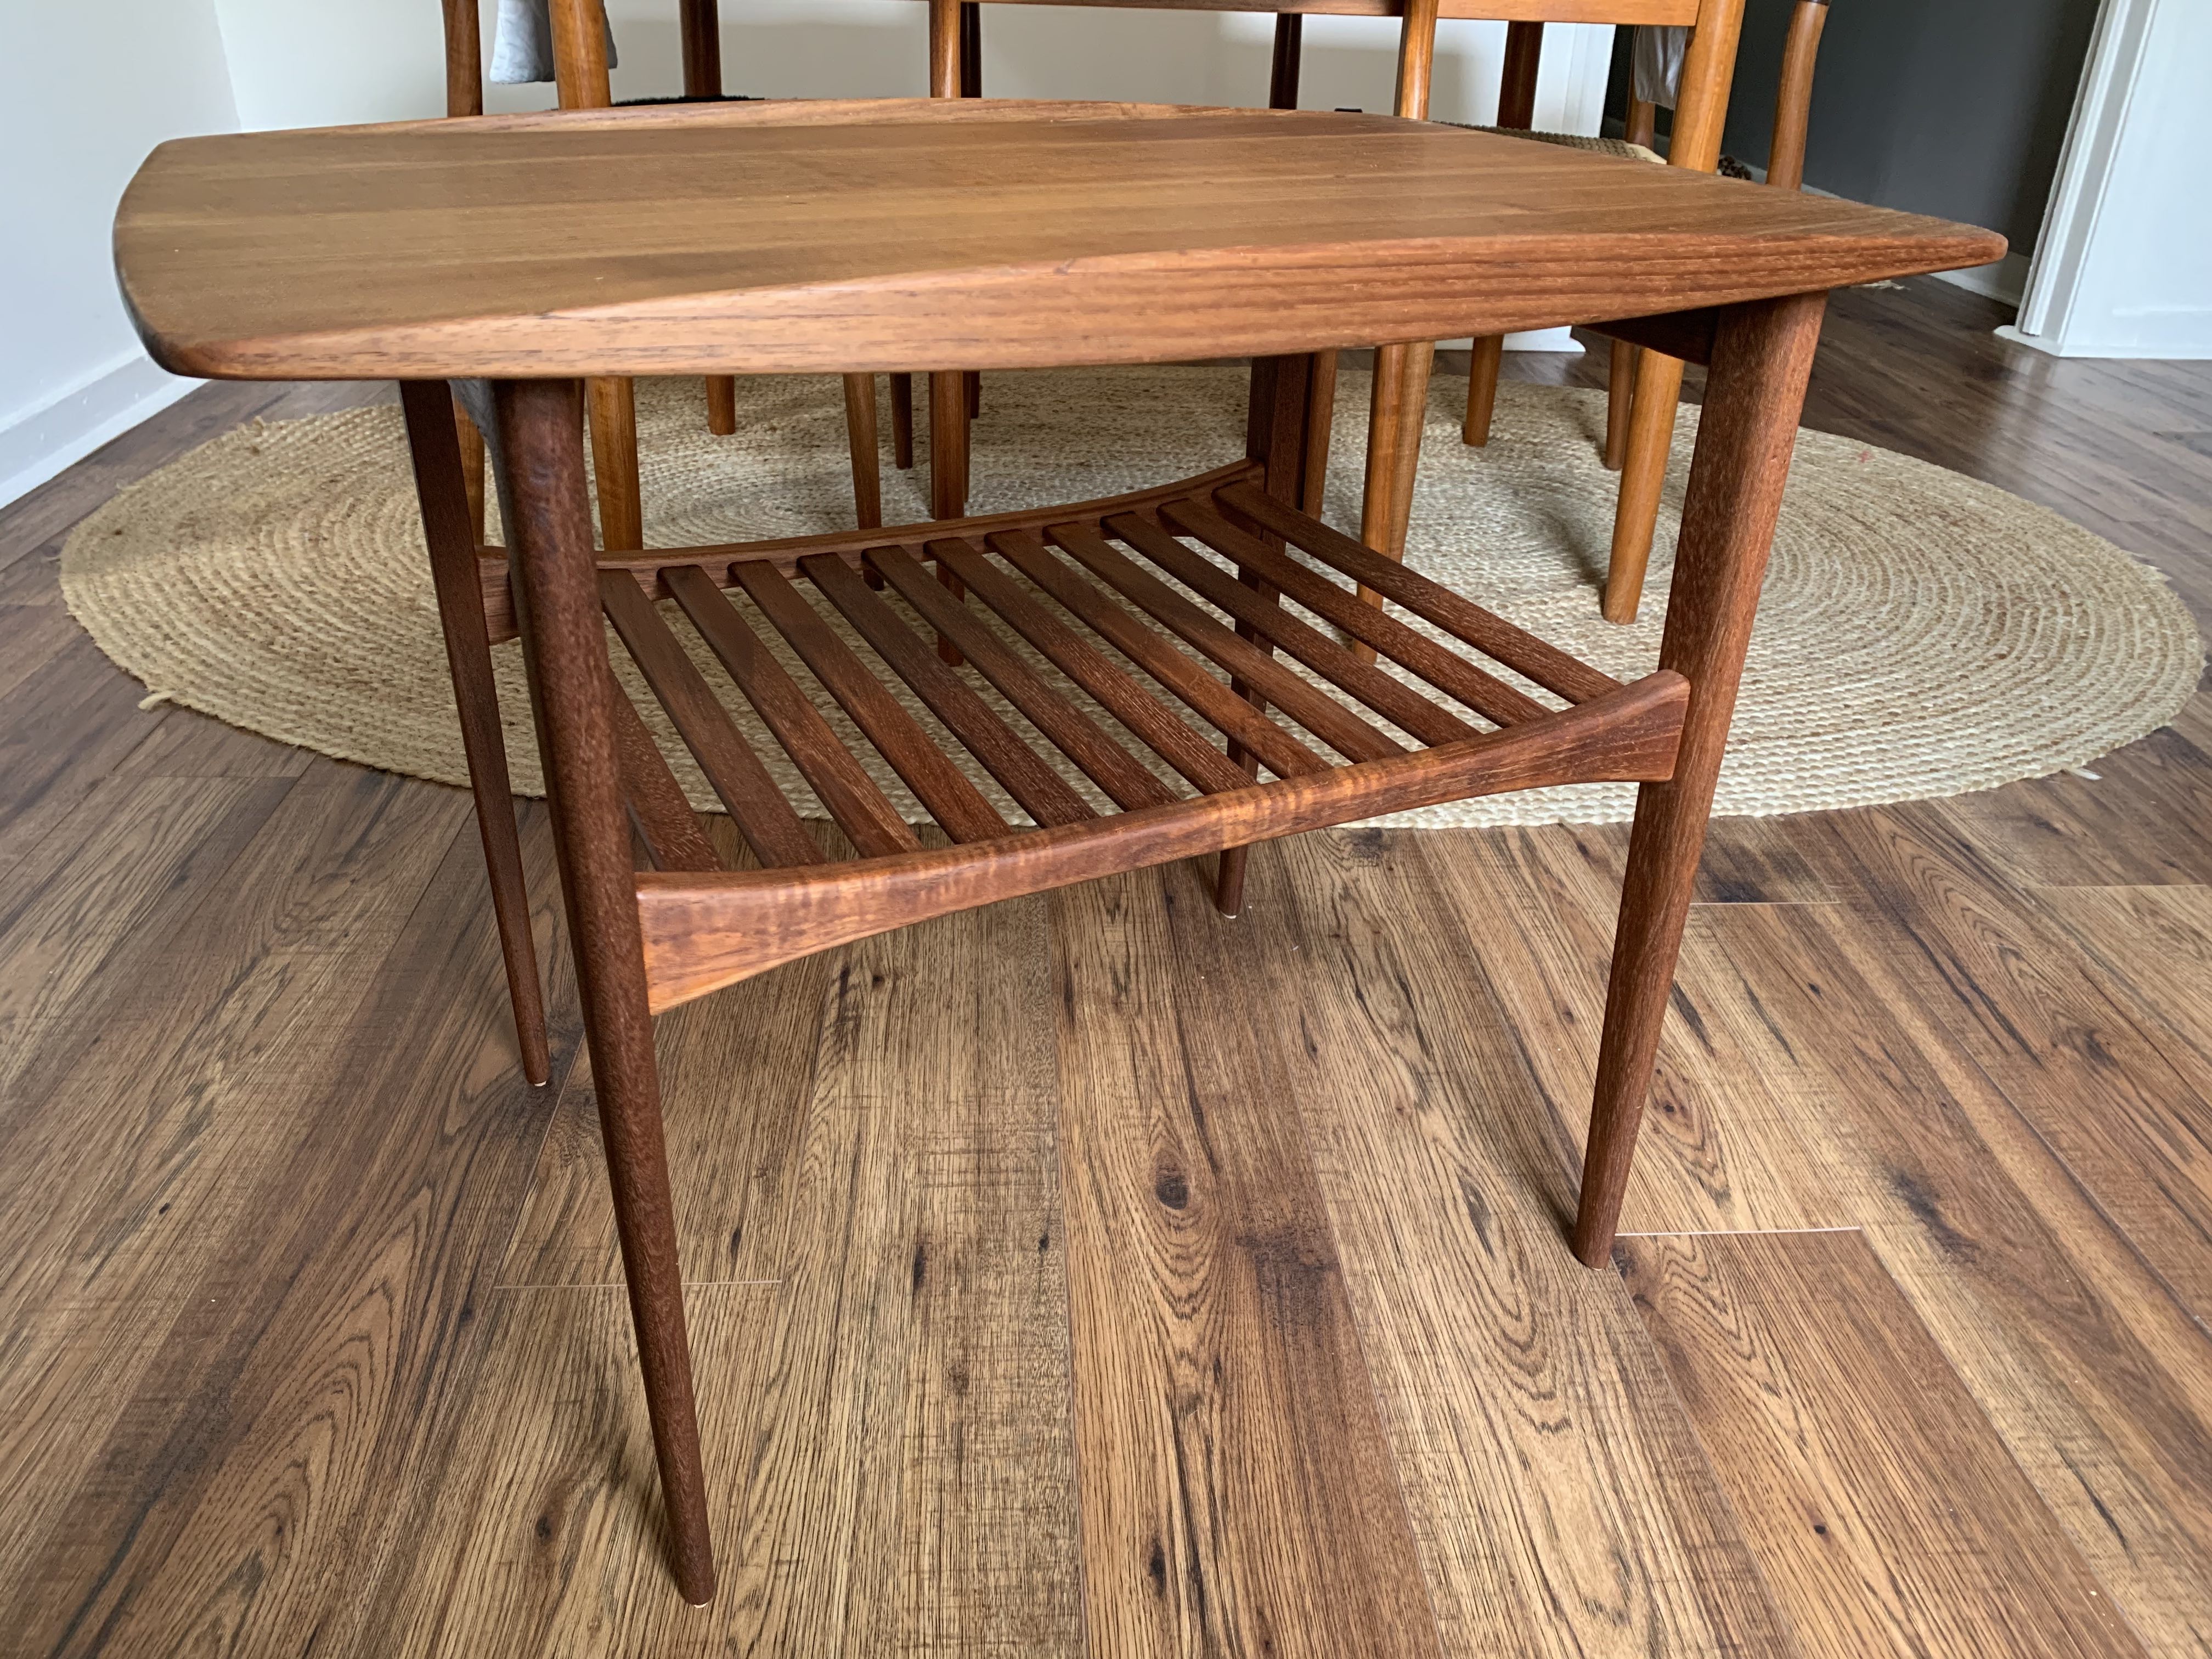
@frankielemmons, Yes, looks fantastic! Remarkable how oil really helps to 'pop' the wood grain, eh? Congrats on great results of all your hard work.
So, depending on specific oil product applied, I'd recommend at least 10 days cure time before waxing. Paste wax will provide some additional protection but not much. Some advise harder natural waxes (carnauba) for top surfaces, but I like synthetic micro-crystalline products such as Renaissance and buffing with a horsehair brush to medium sheen (relatively easily removed with naphtha or white spirits if/when re-oiling is needed). Even waxed, oil finishes are easily damaged, so keep those drink coasters handy. Cheers!
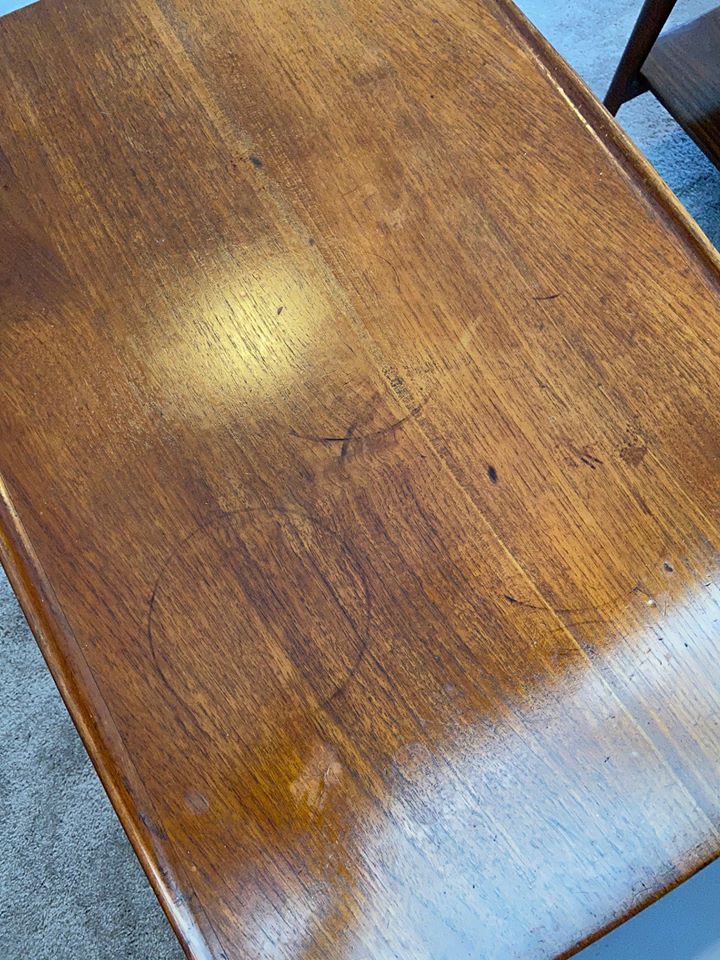
Thanks @leif-ericson and @tktoo2! The grain really did pop. I reglued everything, including the slats in the shelf, and its rock solid now too. I realize I never posted a before image with the failing finish and many marks and stains. Attached one here.
I had never considered Renaissance wax on wood, but, as my wife is a metalsmith/jeweler we already have some on hand. Do you apply this as you would a paste wax - light and even application, let dry for 15ish minutes and buff?
Yes, same as any paste wax. Might just be my personal bias based on nothing more than my early training. Renaissance wax is pricey, but worth it for certain applications especially when it takes so little. I've used it on stone, bare wood (rosewood, ebony, African blackwood, etc), and even painted surfaces. And if it's good enough for Her Majesty, well then...
If you need any help, please contact us at – info@designaddict.com


