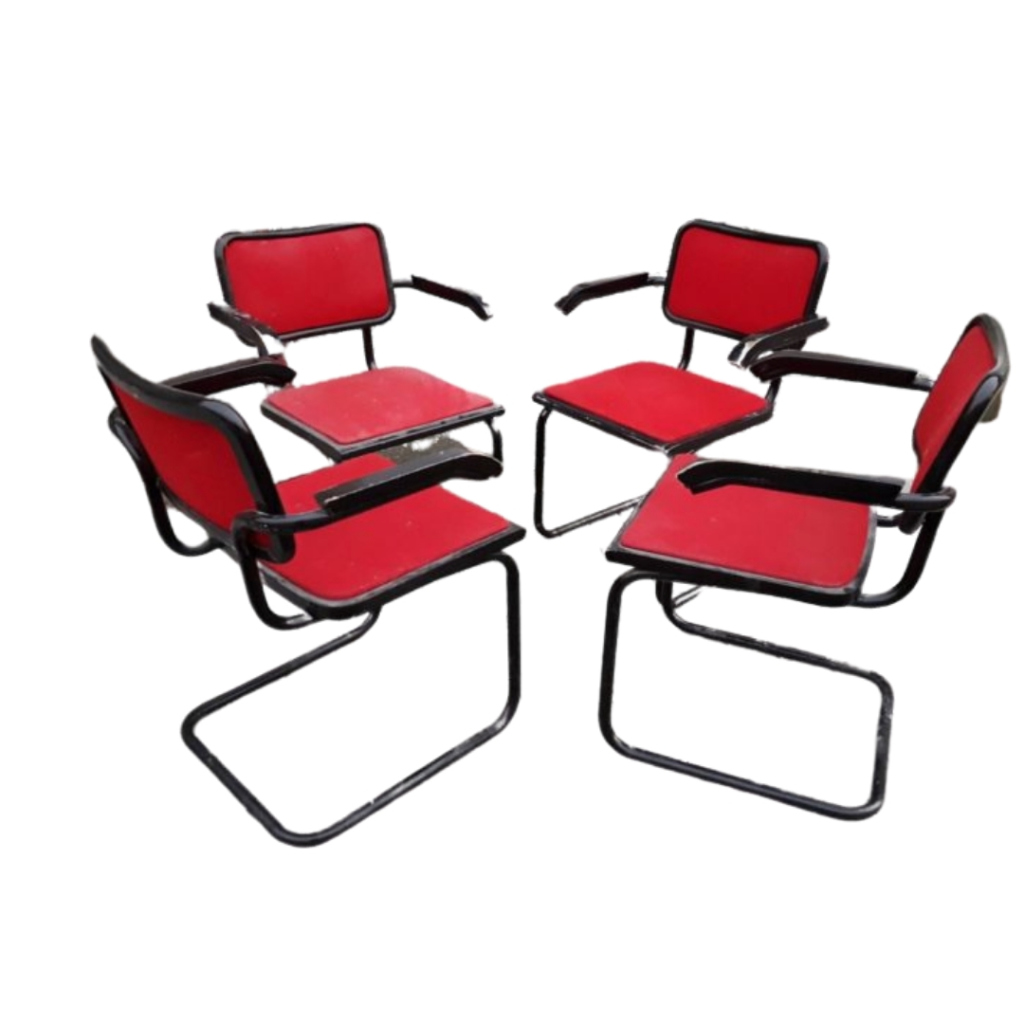
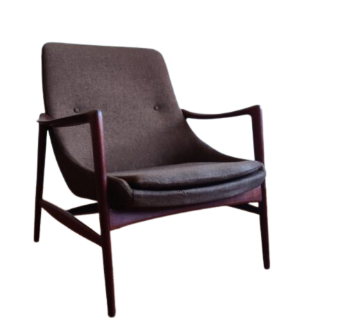
The Selig Chairs were almost always teak frames (arms, legs, stiles, cross pieces, etc.) with beech seat and back. You could redo the seat with leather as is was previously, but I think it will be more comfortable (and affordable), to just use the common elastic-nylon webbing or jute. You could also use the Rotex or Pirelli webbing, but again, a more expensive option. I would also use 22 ga upholstery staples as opposed to tacks if you go with the elastic webbing.
As for your question on the screws between the seat and the leg, as CD said, these are not necessary, and I have never actually seen these utilized in a Selig chair before. The holes are always there for them, they were just not ever used. On the other hand, the same screws have been present on every DUX chair I have worked on. These are all typical knock-down construction, so adding the screws will stiffen the chair up considerably. I am working on a pair of Selig Z chairs right now, designed by Poul Jensen, and I will be fixing these screws upon final assembly, just because these chairs tend to put so much pressure on the leg-arm joint, and I had to steam those joints and re-glue them on the ones I am restoring. Adding the screws will help take some of the stress off the afore mentioned joints.
A 1.5" to 2.5" screw is probably needed, but this is entirely dependent on how deep the holes are inset into the seat frame, how much gap there is between the leg and seat frame, and how thick the leg is. #8 or#9 wood screw, like you pictured above, should be fine for this purpose. Note, I would probably try to find a screw with a slightly longer shank than the one shown above, as you don't really want any thread engagement with the seat frame, only the leg. You should also drill a pilot hole, so that you do not split the leg with the screw, 3/16" should be ample for the #9 wood screw (go down a 64th for the #8). You state above that there are no threads in this one existing hole, and that is fine, you are using a wood screw, not a machine screw (which would require a threaded insert). Also, drive the screws carefully, probably by hand if not an accomplished handy person. You want them to just start to pull the leg toward the seat frame, not suck the two parts together (if there is an existing space), since often the seat is 1/8"-1/4" gap between either side of the seat and the legs.
Finally, make sure all the joints are tight before running the pilot hole and the screw. The seat fram should be clamped tight to the cross piece that it rests on and the cross piece should be fully and tightly seated in the slotted metal bracket of the legs. you want the whole assembly to be carrying the stress together. If it is all loose when you run the screws, you risk putting most of the stress on the screws you are adding, which could lead to split legs, and you definitely do not want that.
Good luck.
Thank you so much for the response, I really appreciate all of the info. I think I would like to go with the Pirelli rubber webbing, however because there are only grooves going vertically and not horizontally on the base, will it be ok to just have the webbing going vertically? If that's ok, how many straps or how far apart should I have them? Also, do you have any advice on removing the remains of the tacked on leather webbing to avoid damage as much as possible? Thank you again.
Your best bet is to get one of those screwdriver-type pry tools; looks like a flat head screwdriver but the blade is forked fr prying out small tack, nails, staples. I find it is one of the more delicate ways to do it.
i would crisscross the straps for comfort, but you can certainly give it a try just one way, and add the cross straps after if need be.
Thanks for the tool recommendation. Regarding the straps though, as you'll see from my photos there is only a groove on the top and bottom side of the chair base for the metal clips of the webbing to go into, therefore it would not be possible to place straps going horizontally or across unless they were tacked on right? So I think my only option is to just have them go vertically one way. And if so, should I just add as many straps as possible to compensate for not having them crisscross? Thank you.
If you need any help, please contact us at – info@designaddict.com


