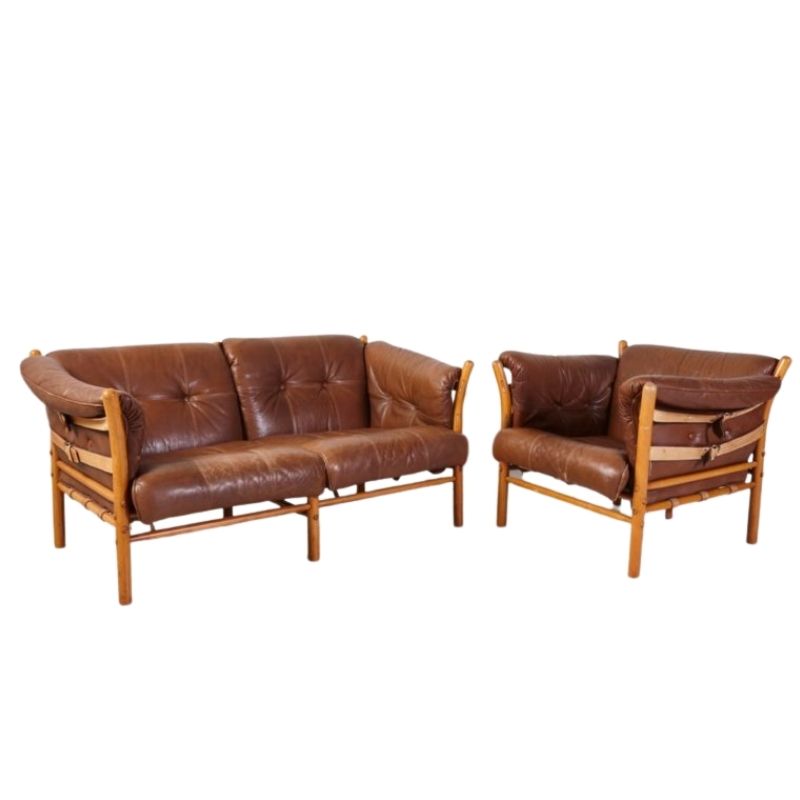
I have reupholstered similar chairs in fabric and I've worked with leather but I've never done that particular chair in leather. However, I can tell pretty just from those photos that it's 2" thick foam in the seat, some kind of loose fill in the back, and the welt is the standard diameter. The cushions are machine sewn. The button tufting cords are probably punched through the shell of the chair and secured on the outside, at least on the seat. The back cushion and maybe the seat cushion too may be the attached type that looks like a loose cushion--can't tell without seeing more details.
More importantly, though---have you done any machine sewing on leather before? It's best to use an industrial sewing machine that is specifically designed for sewing leather, one with a compound feed walking foot. This is so that the layers of leather don't slide against each other a tiny bit with each stitch, resulting in puckered seams and skipped stitches. Some leather is worse than others---depends a lot on the type of finish it has. A lot of home sewing machines also don't have the requisite horsepower to sew through four or more layers of upholstery leather. And with leather you can't just rip out a bad seam and do it over. The needle holes form permanent perforations, and the leather can end tearing along those lines. You pretty much have to do it right on the first pass.
Here's a great little video showing how the compound feed walking foot works. This guy is sewing belting leather but even glove leather can slip and slide maddeningly in a home machine. This machine is also good to have for regular fabric upholstery work like cushion covers where you want to keep multiple layers in place without tedious pinning and basting. It enables you to sew more accurately in less time.
Thank you Spanky. I am indeed familiar with sewing leather and run an industrial Pfaff machine with a walking foot.
I guess my question was aiming more for the specifics of how this particular chair was originally put together... Thought maybe someone out there had done one and documented it ( close-up, specifics). My Klein chair is as far from original as it gets. So I have no patterning, disassembly observations or foam scheduling (My chair was already in the process of being "refurbished" when I snagged it (and I use that term very loosely). I essentially have a frame.
Thank you for your information!
Oh--ok! I get a lot of emails from neophytes who want to plunge into some restoration project that looks easier than it is, and I kind of lumped you in with that group! Good to know that you've got experience and the right tools.
Are there any small holes that go all the way through the shell where the buttons would have been? That would be the first clue, I guess. If there are none, then the back and seat may have been attached cushions. These aren't too hard to do but they're kind of hard to explain without diagrams. The old Sunset "Furniture Upholstery" book shows how, in addition to having very thorough general upholstery instruction for anyone who's interested.
http://tinyurl.com/z3x3dcq (Amazon listings)
Can you snap a few pics for the Furniture Skeletons thread before you get start redoing it?
No worries.
Yes, the chair does in fact have the aforementioned holes where the buttons would have been. If you look closely on the 1st Dibs pics in the link I'd posted, they appear to actually be large, horizontal stitches and not buttons (I'm also not entirely convinced the chair in the 1st Dibs pics is original but I like how it looks).
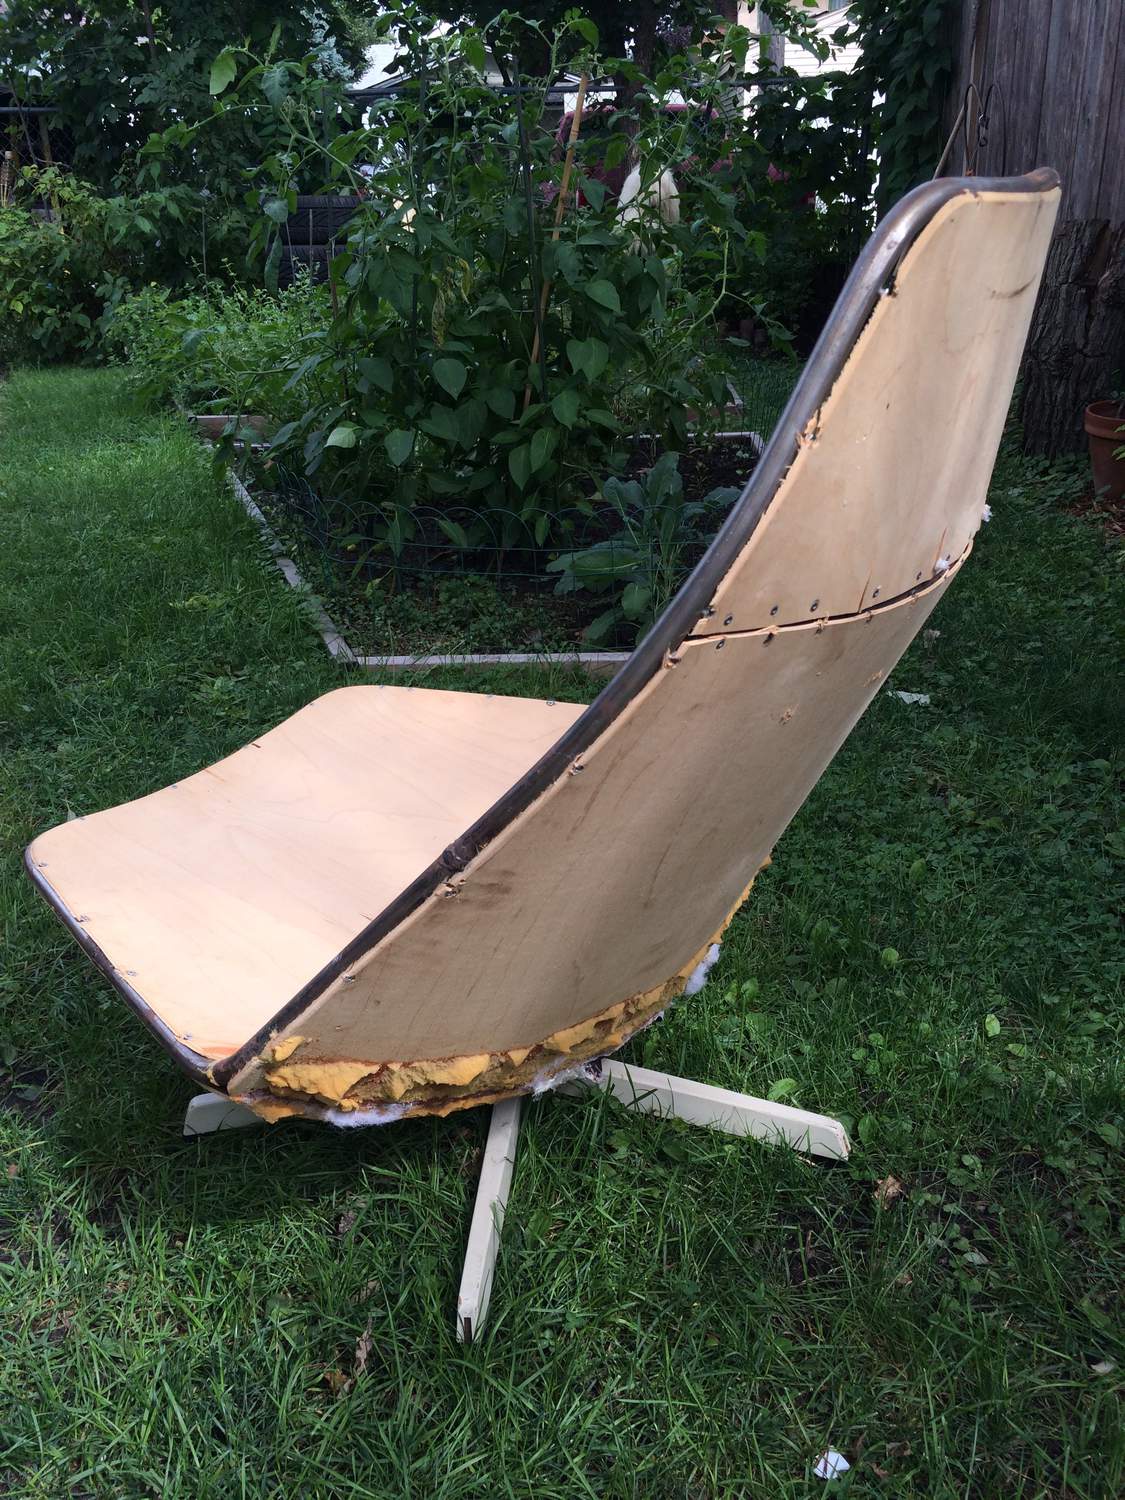
If you look at the wood skin in my photos you'll notice they've been sanded. The only foam (and reddish glue residue) you see are in odd places, as if they just stopped sanding one afternoon. I am leaning towards the idea that the entire "skin" was foamed originally.
I have to insist the cushions can't be original. Newer batting, cheap foam with outlines drawn with permanent marker, etc...
The skin will be easy to replace.

If you need any help, please contact us at – info@designaddict.com


