Fellow woodworkers and addicts
My stepfather and I need a little advice. Right now, he's working on a lounge chair and wants to try the steam and bent wood technique for the curved armrests.
The first one he made (see thread "The last thing you made, part 3"), he cut the curved shape of the armrest directly into the solid lumber. No problem with convex shapes, but his tooling wouldn't allow him to design concave shapes. (Of course he can do concave if the shape of the armrest isn't curved)
He thinks the wood must be steamed and bent before giving the piece its final shape (hence: no possible concave shapes either).
But AFAIK, it's possible to cut the shape first, then steam and bend, then sand.
Any advices and useful links appreciated.
Species and thickness?
Have you considered laminating thin strips as opposed to steam-bending? You need a form and clamping strategy either way, but there's less spring-back with laminating and, of course, there's no need to devise a steam box.
Otherwise, sure, you could certainly do some basic shaping before making the bend and finish sculpting the arms afterward.
http://www.finewoodworking.com/how-to/bending-wood/118053.aspx?channel=3
Steam bending for amateurs?
There is quite a bit of advice on the web which I used to make a small curved plywood replacement handle for a plywood desk - see elsewhere in this forum - its the top drawer pull. I rigged up a small steam box using a stainless steel roasting tin and a steam wallpaper stripper - but larger pieces like arms are i.m.h.o.best left to experts or as suggested above built up from laminates against a mould/former using a good quality PU glue.
Surface cracking of plywood when steamed and bent is a problem which I solved by combining both techniques and laminating the top of the thicker steam bent piece with a 1/64 ply in the correct timber. I bent the thick piece along the grain then steamed and bent the 1/64th ply across the grain prior to clamping and glueing using Gorilla Glue. This gave the correct grain run for the drawer pull - its near impossible to bend thick ply across the grain without breaking the fibres unless you use a special ply (expensive hard to source), designed for bending. My drawer pull is not perfect but I'm pleased with my achievement. Exposure to sunlight should eventually match the colour in.
Thanks! A few precisions
Thanks!
He uses black locust for that project.
It has about the same technical specifications than teak, and it's considered a very good choice for bending projects.
Maximum thickness of the piece: 1" inch
Armrest will be assemble to the feet with a mortise / tenon joint
(I sometime saw wooden pegs/ dowels assembly on such piece. Seems easier, but doesn't it have a tendency to break more than glued tenon / mortise?)
My stepfather already thought about the laminating technique, but he really wants to use his steam box. Though he started furniture making recently, he's really an experienced craftsman.
Form and clamping strategies are no problem to him: he knows how to handle both.
I was wondering: don't you have aesthetic problem with the laminating technique on such pieces as armrests? I mean, if you look at the piece from the sides, I imagine you can see the different plywood coats? (I noticed it on a hanging lamp)
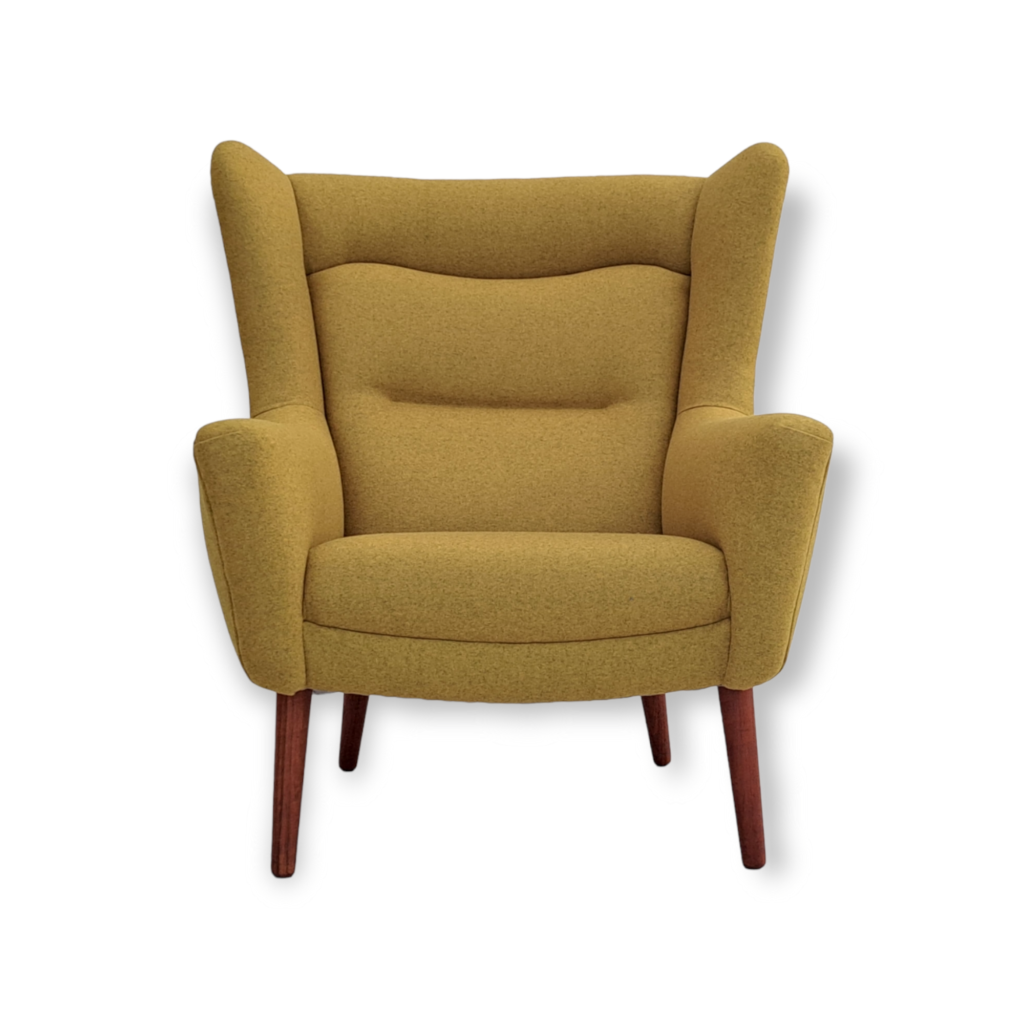
If if may help you in your comments, here's a is a picture of the kind of armrest shape he's supposed to do.
And as a bonus, I found two videos of a the cabinetmakers while working on a Wegner chair.
http://www.dailymotion.com/video/xgcbwb_la-chaise-paon-de-hans-wegner_cr...http://www.dailymotion.com/video/xg6n13_the-chair-de-hans-wegner_creation
Cheers
The reason I asked about species
is that some respond better to steam-bending than others. I don't know how black locust fares, but at 1 inch of thickness, I would think you would want to test a piece before putting a lot of work into shaping only to discover that it's too stiff or brittle to bend.
I have no personal experience with the process, but I understand that spring-back (the tendency to return to natural shape) is almost always an issue and needs to be compensated for.
As for bent-lamination, if the individual pieces are ripped sequentially from the same board, the glue lines are often barely noticeable.
If I were building that arm,...
If I were building that arm, I would do as tktoo suggested and just slice the wood sequentially, bend and glue. Perhaps I would invest in one of those micro kerf saw blades because why not? If you want some steam bending fun, slice it thick enough to have an excuse to steam bend it.
But there is also the absolute perfectionist's way, which is to cut thick (compared to normal veneer) bending veneer, bend and laminate. Thus there is no grain loss because the wood is cut with a knife.
I am not really suggesting this is what you should do, but I find it fascinating:
http://www.shakerovalbox.com/finished/SlicingVeneer.pdf
Another example.
Thomas Moser's iconic continuous arm chair also made with 1/10" sequentially knife-sliced veneer. I've looked at these and the glue-lines are visible if you look closely, but not otherwise noticeable.
To efficiently make 20 or so pieces of 4"x40"x1/10", the home craftsman would need a band saw with a good re-sawing blade, a jointer, and a thickness planer or sander for tools.
http://gearpatrol.com/2011/06/01/high-chair-making-the-thos-moser-contin...
.
"The reason we use steam rather than direct heat is to avoid burning the wood or drying it out too much. You are right, it is the heat that does the relaxing of the fibers not the moisture, but the moisture prevents damage to the wood. Guitar and violin makers use hot pipes to bend the wood but they first soak the wood for 30 minutes before doing so. Even then, it is easy to burn the wood on tight curves."
http://forum.woodenboat.com/showthread.php?94327-Bending-Oak-Without-Steam
From all your inputs,
I understand that bent lamination would be the best way to go.
I'll discuss that with my stepfather and let you know.
Because, after all, the key question is: wich method would allow him to deal with concave shape? And at what point of the process should he do it?
A little reaearch
reveals that straight-grained black locust responds very well to steam bending after all. It turns out that your stepfather's inclination toward that method is indeed well advised and at least one of us should have simply poked around a bit before offering his uninformed opinion. For that, I must apologize.
The question of putting a convex or concave surface onto the board before bending it is a good one and I understand why one would want to try it. It might be that the clamping form would need to have a correspondingly convex or concave mating surface to help minimize any twisting that might occur during a hurried clamping operation. Again, perhaps a test run or two with scrap material would be a good idea in case any modifications are necessary.
I remain impressed by your industrious and creative nature and I wish you the best of luck with this next ambitious project. Please post a report of the results... with pictures!
thanks tktoo
At first, he made the sofa and the wall unit for us because our wall was 20cm too short in width to put "the real things" on it.
And now that friends like the result so much that they ask him to make more, he wants to improve his work and get rid of the two major flaws he encountered at first:
1. the fact that his tooling doesn't allow him to cut concave when the piece already have its curved shape.
2. Somehow I have the feeling that the armrests, (and maybe the feet) could be about 20% thinner, hence my question about tenon/mortise versus dowel joints (he always fear the construction won?t be strong enough to hold on time)
But taking inspiration on photograph to draw a model is always tricky, and though the general proportions seem right, we might be fooled by camera lens effects on some details.
Some stills from our sofa...
Competent work, cado.
And pleasing to the eye, too. Once again, I am impressed.
An alternative to dowels might be to use "floating" tenon joinery. That is, a loose tenon that fits into mortises cut into adjoining pieces. If your stepfather needs an excuse to buy another power tool, Festool's "Domino" system might be one to consider.
http://www.youtube.com/watch?v=e71MitCy04A
If you need any help, please contact us at – info@designaddict.com


