I know where original wrapper tucked end...
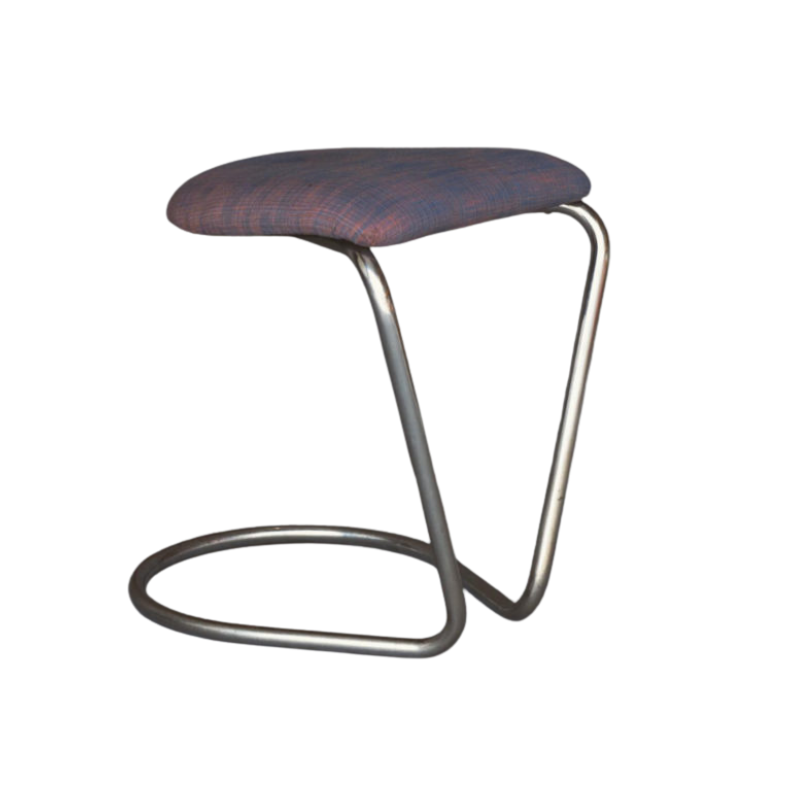
I have been trying (endless frustration without a shuttle, so thank you for that tip) to re-wrap two of these Umanoff chairs. In unwinding the extant rush wrapping (I think it was original), I found that the wrapper-person had started at one end and tucked the starting end of the rush into the beginning of the crease where the two iron back strands come together. The original wrapping person did not knot anything. Merely wedging the starting end of the rush in this tight corner made a very secure place from which to work outward.
I also found that the original wrapper had been able -- apparently -- to do the job in one go, with no joins anywhere. That's what made it look so nice originally. I know because (not having a shuttle) I was forced to put some joins in my one of my first attempts and they looked terrible. There was no good way to hide them.
Then the whole thing was definitely covered with some kind of clear coating. I will definitely do this if and when I am ever finished with this Sisyphusian job, so if anyone comes up with a good coating please post it in this thread.
idea for wrapping with a single cord
Wrap it from the left up to the center. With tension this should be doable, because the taper will help you push the wraps down on each other. This is the easy half.
Then from the center down to the right, get two vise grips, one for the top bar, one for the bottom. The vise grips will be re-positionable stops on the steel bars for the cord to press against as you wrap down the taper. So with each wrap, you will reposition the vise grips a cord width (maybe a hair less) down the arm, and the new wrap will squeeze into the gap.
leif,
that's what I was saying but with spring clamps.
Shellac would be the clear coating, but test it first on some sample wraps around a board. I used spray shellac once on a paper cord seat that I'd just finished (a very tedious job, too) and wrecked it. It got blotchy and would not even out no matter how much I sprayed. So maybe brush-on shellac was what I was supposed to do, I dunno. (Paper cord is the same material as fiber rush, just a different twist.)
Amber shellac would give it a nice yellow cast.
Keep plugging away at it! In my experience, the first chair or two of a new technique are horrible, hair-pulling exercises in frustration. But then I get past the learning curve and from then on it goes pretty smoothly. I hope you find this is true for you, too.
spring clamps
could work. I put a lot of tension of the cord when I do this sort of thing (usually danish cord), and I think I would push the spring clamp around. But I know vise grips would hold on there beyond my ability to man-handle them, and yet they are still as easy to reposition as spring clamps.
Completion
Thanks for all of the helpful advise. We tried a little bit of everything to complete them. This is what worked for us: First soak the rush in hot water for two minutes, allowing the water to absorb (do not over soak or the rush will break down). Spool the rush around the wood shuttle. We made a number of these ourselves and quickly realized they need to be at least 1/2" plywood or they will break. Hardwood will be best for a longer lasting tool.
Do not start from the middle as it will just slide toward the narrower point and bunch up. Start from one arm and work toward the center. First place the rush on the inside of the arm then wrap around it to insure that it will not unravel. Glue will not be necessary. You can reuse or replace the cardboard on the inside but in the end it didn't affect the tautness.
It is important to pull the rush VERY tight. Brace the chair with your feet at the lower cross supports and clamp to a work bench. As you advance the rush may start bunching up towards the ends. Using multiple spring clamps you can hold the rush in place. On further inspection of the originals you can see the dents made from clamping.
When you reach the middle leave excess and loop around the seat or leg to keep that tight while you work the other side.
As you loop you may have to stop and make adjustments to the pitch and angle to make sure it's perpendicular when you reach the center. It is best to do this as you go than wait until the end. Making the adjustments after the chair is wrapped might loosen the rush.
When starting the next side make sure the rush is looping in the opposite direction of the other side so that the two sides can meet up and a very, very tight knot can be tied, the ends clipped and the knot tucked away. All of the chairs we have had a knot in the back which appears to be original.
The final step is finishing. The original has a thick, almost waxy build but I wasn't sure how to achieve this. We made samples and tried shellac (aerosol), sanding sealer (aerosol) and an oil based sanding sealer (brushed on). The most accurate looking was the brushed on sanding sealer and two coats of semi-gloss spar varnish which was tinted with amber TransTints. With scuffing in between coats and a final white scotch-brite pad to remove and dust.
Everything looked great and on budget for labor time considering the learning curve. We bought a entire roll of rush which I think was 1/32" larger diameter than the original. The original is 5/32". With our turnaround time looming we weren't able to get the proper sizing. But everything turned out great.
If you need any help, please contact us at – info@designaddict.com


