
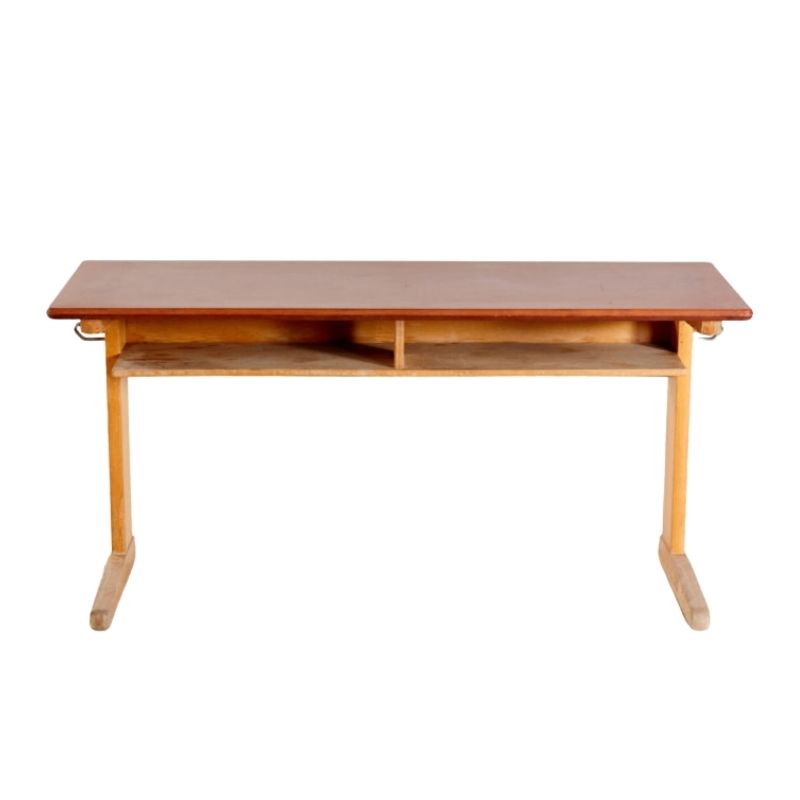
jesgord
I just this minute finished the last Wegner chair and I did just that---shifted all of the weft cords row by row until they looked pretty even straight on. I also nudged the warp cords a little because they tend to drift to the right for some reason. I probably yank harder on them in that direction by a little bit. I dunno. Sometimes they're just a tiny wavy.
One thing that is really starting to drive me nuts is this giant 15 (?) lb coil of cord. I'm pulling from the center but at some point the pulled strand caught a couple of loops from the rest and now it's impossible to undo. The more length I pull out on the free end, the more it twists up with the caught loops. I tried several times to pull the cut end out from the other side of the loops, but that doesn't work either.
This happens with the small 2-lb coil too, but usually only when I would get near the end of it. I still have a lot left on the huge coil and if I don't get it undone, it will just continue to be a problem until the thing is used up. Unless I redo the entire coil, but then I'd still be dealing with the tangled loops. OH WELL. I wish it was on a spool.
Spanky
There's a coil-winding method that prevents the twisting and tangling that's plaguing you. It's used for coiling long microphone cables so they'll lay flat when you throw them out.
The idea is to alternate normal "over" loops that twist one way with reverse "under" loops that twist the other way. The photos below are from the linked URL; the first photo shows a completed "over" loop and the second photo shows an almost-complete "under" loop. If you search the web for "over-under coiling" or "flip coiling", you'll find more descriptions of the process.
Note that if you do coil your cord this way, you MUST NOT accidentally pass either end of the cord through the center of the coil, as that will produce one knot per loop as you pull cord out of the coil.
http://www.techno-fandom.org/~hobbit/flipcoil/howto.html
Congratulations jesgord. ...
Congratulations jesgord. That looks very nice indeed.
I saw some #79 chairs like yours on an Ebay auction, which showed some detail images of the weaving, which was purported to be the original cord. The back rail of the #79 chair looks a little thicker and more chunky than the #71 chairs I have redone, and maybe that adds a wrinkle to the process of fitting in the final weaves of cord.
In any case, if you have the cord tightly packed together all the way along the side rails of the chair to the back legs, I would think that is the best that can be done.
With my #71 chairs, I remember using the back side of a butter knife to pack together the cord on the side rails of the chair, working from front to back, to try to make more space for the final weaves.
Thanks for the coiling tip, f...
Thanks for the coiling tip, fastfwd. That might work except that I have many hundreds of yards left on the coil and I can't face the prospect of rewinding the entire thing.
There's also the second aspect of the twisting---that the cord itself is made of twisted plies that get twisted more tightly as you work if you don't regularly turn the whole working length. And then the looped ends in the hank form get caught up in other loops, though I think the solution there is to use a shuttle. I made a few trial ones out of cardboard in various lengths and widths with different depth cutouts to accommodate the layers of cord, but none were quite right. Then there's the problem of the loops getting caught on my shoe or the chair leg or the hammer laying nearby. I think the only solution is to book a trip to the Fritz Hansen factory in Denmark to see how they do it! Yeah, that's the ticket.
I think I advised someone way upthread to use the butter knife to pack cords in. I've now switched to a teaspoon! The curve where the bowl meets handle matches up with the curve of the rail pretty well and it is less likely to slip. I start pretty much from the beginning of the rail and work to the front. Sometimes I will drive a tack halfway into the rail to hold the cords tight if it seems like they're just going to slip forward again after all my hard work. I don't tack through the cord, just right up tight against it.
I get the side rail cords packed so tightly that there's no possible way to fit one more--let alone two--in there and I STILL have enough room for another double cord across the front. That's when I just shift all the weft cords a little bit to fill in the whole top evenly.
spanky and jesgord
I had the same problem trying about having room for more weaves but no more room on the siderails. The other day I saw a different type of chair that had the same problem and also a solution I never thought about.
I've attached a photo, but I don't know if it's clear enough to see. Basically when it starts getting to the end and there's no more room on the rails, the weave starts using the warp strands as 'rails' and just loops around and goes back to compensate for the empty space left over.
This chair had a woven back and seat that met, so you wouldn't really see it unless you got close and looked, so I'm not sure how it would look on the typical dining chair, but at least it's something! Next time I do a chair I might give it a shot just to see how it looks (and if I do I'll be sure to post a photo).
Hope that's helpful!
Finally started stripping...
Finally started stripping the upholstery from my ten black Moller #75 chairs. I have one done so far. Definately not a pleasant job removing the sheer number of staples that Moller used on these chairs - not just on the fabric, but on the mesh support material underneath it. I would rather weave a chair with new cord than face the job of removing upholstery from one. The staple removal tool suggested by Spanky is a big help however.
I think it will be a project that takes quite a long time, working on it when I have a chance. I am probably going to weave the chairs in a typical, natural colored cord, but have not ruled out black cord, or some other color.
thcp, I feel your pain. ...
tchp, I feel your pain. Amazing how many staples they used....not to mention the areas they double up and the smaller staples. Huge PITA...but worth it in the end. I think the chairs are so much nicer in cord than upholstered. You also get to start banging in all those L nails soon. I made paper templates that I taped to the rails to get the spacing correct and even.
Yeah, not to mention where th...
Yeah, not to mention where they tripled and quadrupled their staples at times. I just finished my fourth chair. Damn. Six more to go. Might also spend tomorrow on the project. I also have some paper templates for marking the nails. I will experiment with drilling slightly undersized pilot holes, instead of just hammering the nails in directly, and see if that makes things easier.
A little tip Jesgord
As I see on the chair you made jesgord, it seems like you started weaving in the front and went all the way to the back of the chair?
Thats not how its done at Møller, we start at the back, and work half the way forward, turn the chair and start in the front and weave to the middle.
Remember also that the 4 or 5 first turns in the "side to side" weaving are loose, as you go on, they will tighten up.
I use a blunt big flat screwdriver to "straighten" the pattern when I am finished. NB! On the underside offcorse 🙂
As far as tools for removing up holstery, i only use simple hardware tools.
Stanley knife to cut off what i can, then a "syl" , dont know the english word, but it looks like an small icepick with red plastic handle on.
And a simple wirecutter (plier??) and a metal ski wax remover.
The "hjortebånd" i cut in the middle of the chair, and pull of as hard as i can, many of the staples comes of, saves a lot of time.
I use the syl in the middle of the staple, and break it in half, then the plier to take the two remaining staple parts up.
The ones that breaks, use hammer, the glue i remove with the ski wax remover. Place the chair lying down, place a pillow on the leg, and put your leg on the pillow. That will hold the chair in place when using muscle to scrape the wood clean.
Workposition is also important, otherwise your back and shoulder quickly will begin to complain, my workstation is a low table with carpet on, i use extra blanket to protect the wood, when removing staples since the chair is lying down.
Espen
Sorry fo my bad english 🙂
Thanks firkel
I had seen this image online, of weaving being done at the factory, and I assume it refers to the method you mention. I will give it a try when I weave some chairs soon. Your other techniques also sound interesting - especially being able to pull staples out along with the old upholstery.


If you need any help, please contact us at – info@designaddict.com