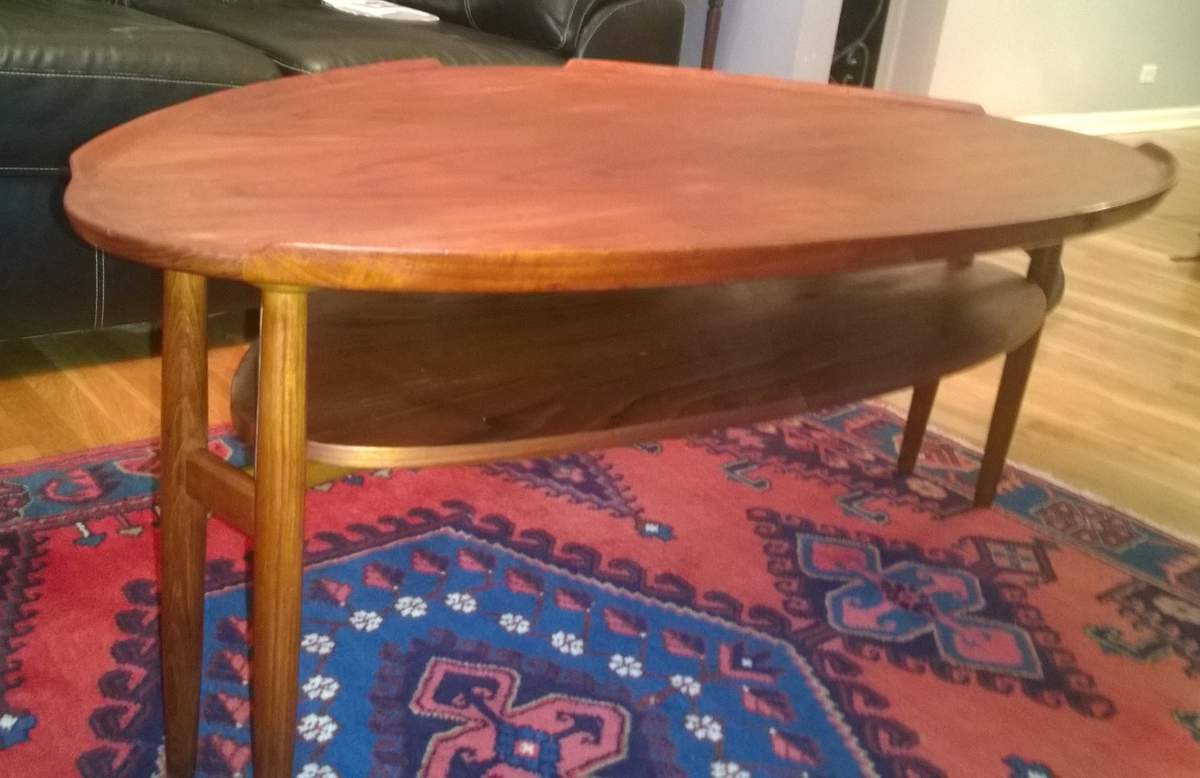
I recently purchased an Arne Vodder asymmetrical bi-level coffee table in teak that had years of neglect. After cleaning and finding some deep stained spots that wouldn't come up, I hurriedly sanded it by hand without a block. The rest of the table came out fine, but the spot where the stain is was sanded through to about the glue line There is a little veneer left, but not much. I thought it was solid wood so I went by hand and learned a lesson. What advice does anyone have in repairing sanded through teak veneer other than replacing the table top.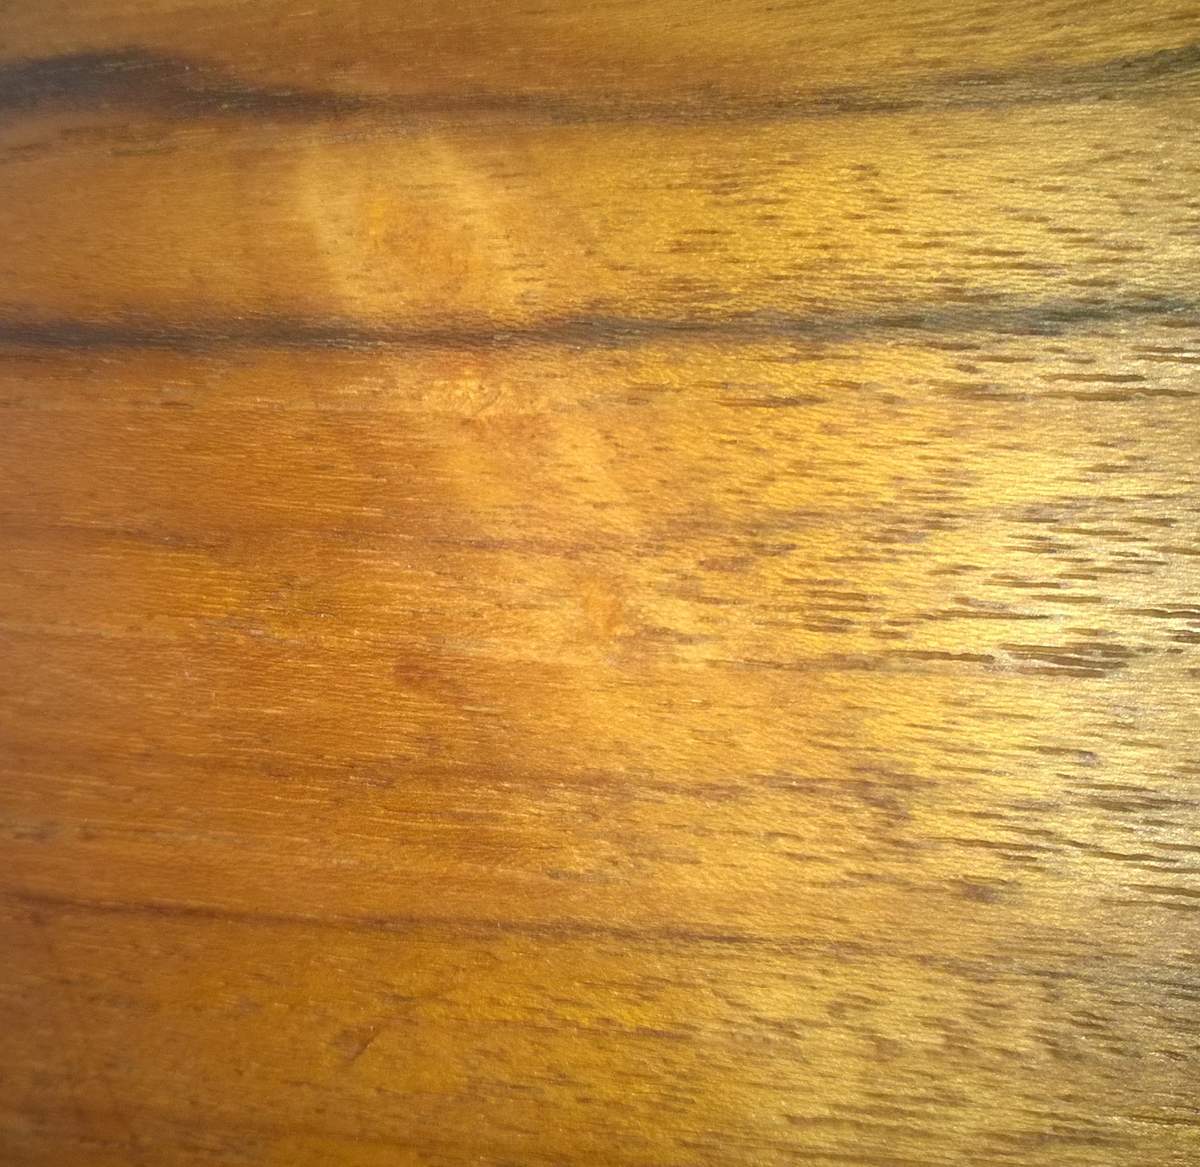
 <img class="wpforoimg" src=" http://d1t1u890k7d3ys.cloudfront.net/cdn/farfuture/gtAe5bbvJVLajCsd
There really aren't a lot of good options. Faux painting of the sanded through spot is one option. It is not a perfect fix and the table will always have a stigma from it. If you want to keep any value at all, you probably need a professional, and a good one at that.
If you are willing to put in a lot of money to truly do it right, there might be a way to remove and replace the veneer. It might either be done with heat (especially if the veneer is applied with hide glue, which is possible, especially if the piece is earlier). Or perhaps with a router rig for flattening a table top such that the router slides on rails elevated above the piece and within a custom cut frame so it can't cut into the edge banding, then it can cut 1/32 inch deep or so, leaving a perfectly flat substrate, and just deep enough for the new teak veneer to sit flush with the existing edge banding.
It is a very delicate job either way.
If I were in the position to be looking for someone to do it, I would look nationally, or even internationally, because the table top could be easily sent somewhere. And go with the _highest_ bid you can find.
Thanks Leif, have you ever seen a job done such as you have described ? I have not seen any examples on the web of this process being done, but I would love to see how well the results came out. It sounds really delicate. I'm not in the business of selling, just collecting and sometimes refinishing. I got it for a fraction of what it goes for online, only to make a amateur mistake myself. One person whose repair work I have seen online from Denmark is Peter Leth. Not sure of anyone stateside.
I don't think one can easily get teak veneer that would even somewhat match that. If someone know's of a source then please post it. As for you repair, how big is the burned through area? If it's not bad just use some filler with oil paint and live with it. Any pro is going to want to patch in new veneer and then clear coat the piece to try and obscure the patch. Not the best course IMO.
The picture is tough to see clearly... but it looks like it could be worse? I'm sure it looks worse to you, in person. That's always the way it is.
I don't know. I'm not a 'pro' by any means, but if it were me... I'd look into getting some raw, unbacked Teak veneer, on eBay or the like. That's where I've purchased it, anyway. I would try to build it up to level with the rest of the surface in layers, maybe a couple? I'd focus on blending the 'blank' areas instead of the darker grain, which could be added in with a graining marker or something later. Carefully glue these in and level by sanding, and then possibly a small amount of epoxy filler or whatever you're comfortable with. Then I would stain the whole thing a shade darker... I like to use Old Master's 'Cedar' wiping stain for stuff like this. It's got that nice aged color...
Anyway, just a thought. The raw veneer built up would give you potentially less of an obvious line, and could be feathered out by sanding it. Then the color would be more likely to look uniform. Finally, you could darken in the veins if you still wanted to. Hrm. Tough one.
The veneer all around the thin place is going to be to thin. If you want to take a shortcut, you could simply faux paint the surface. It can be convincing at a distance, in bad light, but not to someone who is looking.
I think addin veneer over veneer is going to harder to achieve successfully. The new veneer is guaranteed to be a bad match, since it will be raw wood without 50 years of UV.
Some people will see a special irregularly shaped punch and take a chunk out of the old veneer and then take the same chunk out of a piece of specially selected donor veneer and glue it in. I've never seen this look even slightly good though.
If you do consider replacing all the veneer, you will also have a problem with newly cut wood not matching the rest of the table.
This is the unforgiving side of veneer. Once you sand through it you are ******.
Yeah I mean it's kinda boned either way. Layering raw veneer has worked for me in a couple instances, because it allowed me to blend out the edges of the repair, as long as the glue line isn't too thick. But it does then require that you are able to handle the color difference, and these were on pieces with a spray lacquer finish. Typically I can tint some finish and put it on with a very fine brush, build a layer of clear over that, and then level everything out before the final coat and it's really hard to notice. If you're doing an oil finish here, probably, then that's going to make it even harder.
One method I feel would be to put in a fill plug of veneer. Clever little router attachments are available that enable you to cut a perfectly matching plug patch and a hole to fit it. Rout out the damaged area using a template you can make from hardboard, then using the same template and switching the little router attachment around, rout out a plug of new veneer to fill it. This is also a good skill to have,
i will add that the plug replacement technique looks better if the bad spot happens to extend along the grain. Our eyes follow the grain lines up and down and derive and latch on to the shape that does not fit, like the snake among the rocks.
This particular problem extends perpendicular to the grain. I am unfortunately not being pessimistic in saying that sticking a band-over the spot would hide it better. Or spilling some India ink.
The best fix in these situations would be to re-veneer the entire panel. Unfortunately, the raised lip edge banding in this case makes this process technically impractical. A veneer patch would be the next logical option, but, again, in this case, the size and location of such a patch present real challenges and, likely, unsatisfactory results.
I guess I'd try an overall oxalic acid treatment to try and even out the color variation around the site followed by a toned oil and then simply live with it. Maybe I'd leave a couple or three drink coasters seemingly randomly scattered about the top when guests are expected.
I would say that anything you do to it will make it look even worse.
The only thing i would do, as suggested above, is to even out the color where you sanded through to match the rest of the top.
And if you are a little handy with a pen i sure that you could make it more or less invisible looking from above filling in the grain.
If you need any help, please contact us at – info@designaddict.com


