Hello All,
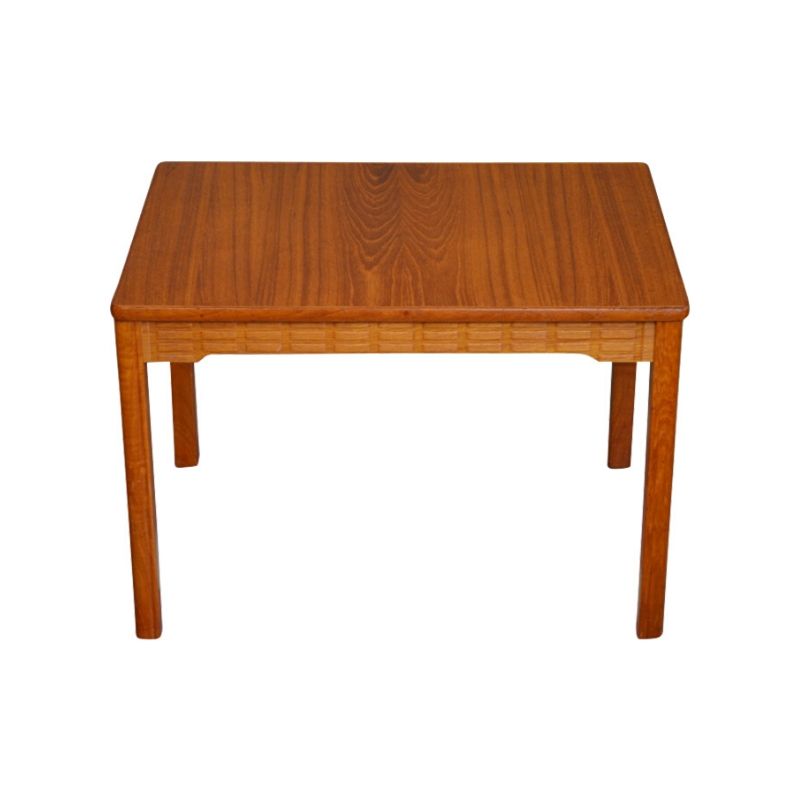
I've been reading the forum for a while, but have just joined. I wonder if anyone could give me some advice on a small repair. I recently purchased a Johannes Andersen for Uldum Mobelfabrik dining table. It's in teak, and in pretty good condition overall. However, the top has wide (cathedral like) grain, and in a few of the bigger grain lines, the veneer seems to have pulled apart, and some of the substrate is peaking through. These are pretty minor, but I would like to touch them up.
I was thinking about trying to fill them with wood repair wax, however I'm worried about making a mess, or messing up the coloration. Any tips on how to remove the excess? Will the oil finish adhere to those spots, the next time I put on another coat? Also, is there a specific brand of wax/crayons I should favor? Or should I take an entirely different approach?
I will attempt to attach a picture. Thanks in advance for your help.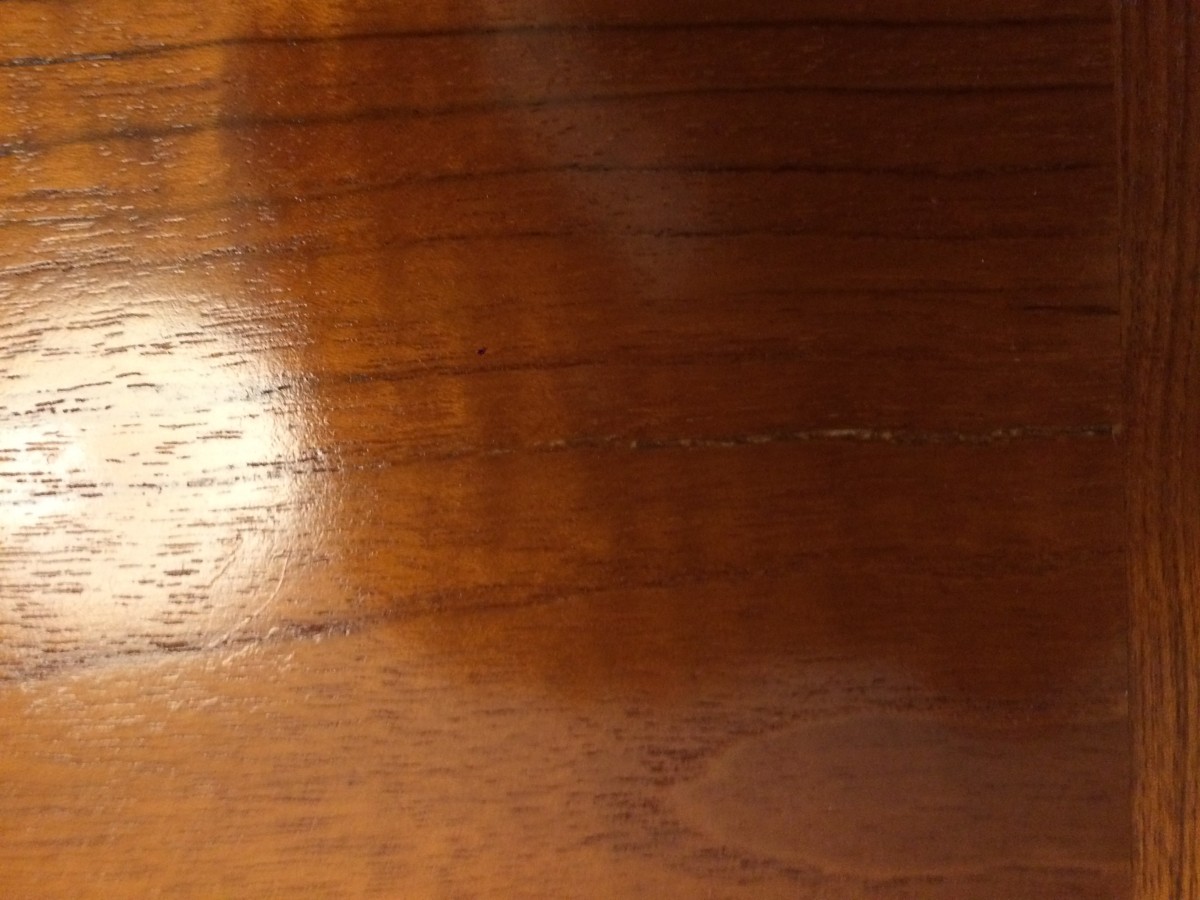
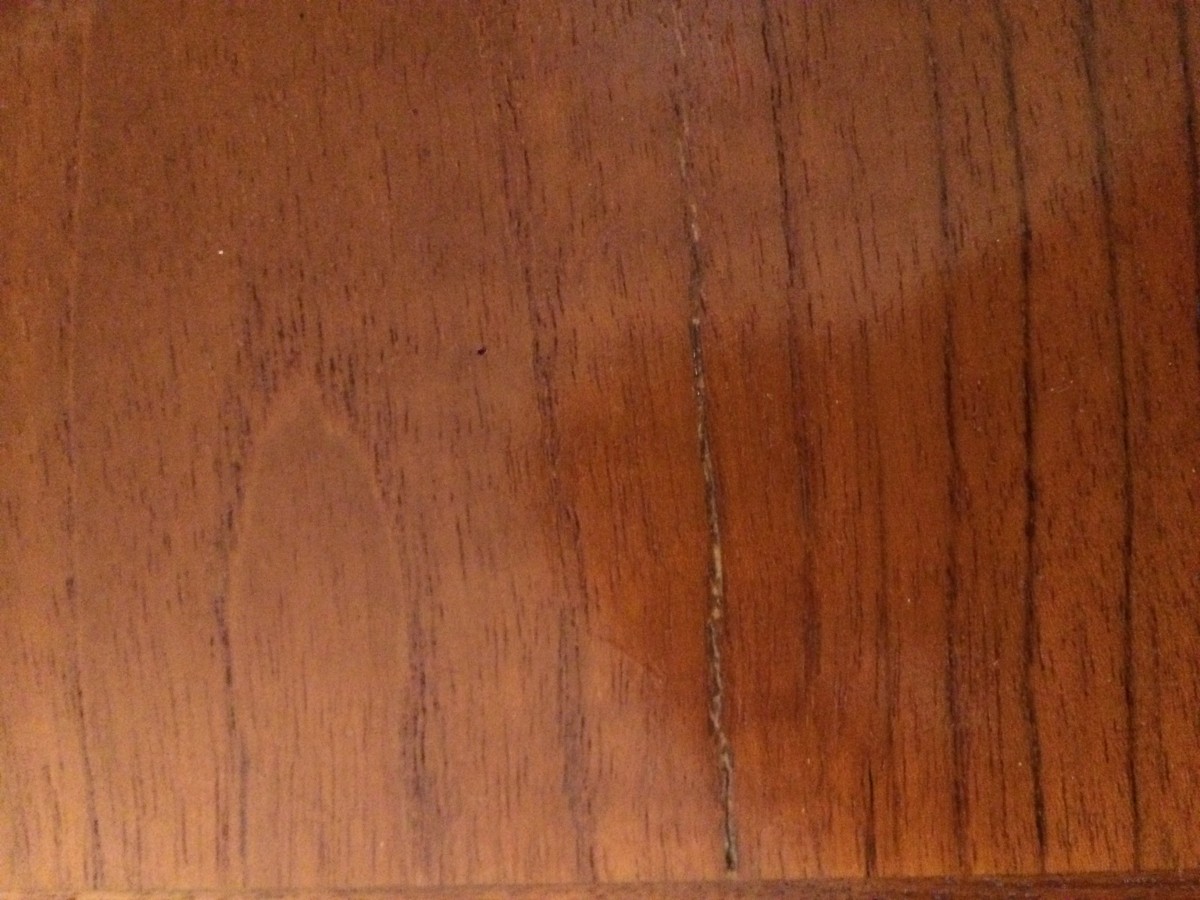
I am not sure what this wax you speak of is, but I am not sure I would use it in this application. Just get some really fine artist or model brushes and a brown paint (or stain) that closely matches the color of the dark streak that is pulling apart. Really all you need to do here is darken the lighter color of the particle board, to match the wood. The crack itself just appears to be grain variation, so I dont think you need to fill it or anything like that. As Leif says, oil and wax are not going to play well together, so once you start waxing the table, any subsequent oil applications are not going to go on as well, if at all. Just color the lighter substrate, and be done with it. This crack is so minor, it just doe not warrant anything else.
A professional restorer might fill small voids like these with shellac burn-in sticks and a hot knife. It's a half-hour repair for someone with the right tools and experience. If they bother you, having it done in your home by a pro would be relatively inexpensive. Higher end antiques dealers and/or household movers in your area should be able to refer someone local.
Also, the photo with the bright reflection appears to suggest either a film finish or excessive oil buildup. A pro will be able to advise a remedy if it's the latter.
Do this a lot. I'd avoid a burn-in or any kind of wax, but that's just me.
I would get some two-part epoxy putty. I like KwikWood. I would also get some pigment. You can use stain, but that works best with pro stuff, heavily pigmented. Pigment powders or oil paints are best. Mix up a small ball of epoxy, and slowly mix in pigments until the color looks close. Remember that the hue will darken with a finish, so staying on the lighter side of things will keep you safe from that... you can always go darker (although with this fine a crack, being along the grain, it probably won't matter). Make sure the epoxy is thoroughly mixed and not leaking pigment (wear gloves when you mix, obviously, and observe when the color stops bleeding onto your gloves as you mix (there will be likely some pigment transfer when applying, but it can be quickly removed with Naptha or the like).
If you want a dead perfect color match, do some small test batches and let them dry, then wet them with solvent or oil. Adjust as needed.
Once the color and mixture is right, carefully push it into the crack across the grain, being careful to avoid packing it into too many neighboring pores. I try to roll out a long skinny noodle, position it along the line, and then press it in with a razor blade or similar tool. The fresher the epoxy, the more malleable and easier to apply. You can push and smooth it at the same time, as you would apply spackle to fill a nail hole in drywall, or you can let it sit slightly proud until it firms up a bit, and then cleanly slice it with a razor blade. For such a thin fill, I would take the first approach and call it good. Any excess that isn't cleanly removed during application can be gently lifted with a razor blade, or finely sanded with 400 grit.
It should dry in about half an hour, and then you can put a bit of oil or whatever you want on it.
I will say that it appears to be a lacquer or film finish on your table, so you probably need to take that into consideration.
Once it dries, if you want to get super delicate, you can carefully carve matching grain into it. This is best done by gently pushing the pointy end of a razor blade, like a chisel almost. Don't get too carried away, though, because you don't have much epoxy to cut into and it's not hard to chip it out, forcing you to start over. Once you have grain likes you like, give them a quick wash with a dark stain and wipe away.
Just read your comment about not being able to feel the crack and I think it is likely that this table was refinished, and that what you are seeing is the original factory fill. I see it a lot when I strip tables. I'm working on a Wegner table now... will try to take some pictures.
Here are some photos from after the table was stripped, sanded, and sealed... there were several thin gaps in the veneer that had been filled and colored, originally. This is the most prominent one, down the middle at one end of the table. First two pictures are before filling and painting, last two pictures are after filling, painting, and final coat. The middle image is of the inside of one of the legs, showing the original fill. I just paint this to match instead of filling it again.
Thanks! It's not super complicated... I think Rosewood and other elaborate grain is easiest for this because there is plenty to distract the eye. I think the fill is important on bigger gaps like this one, for sheen reasons, but on skinnier stuff the color alone is all that is really required, unless you're anal like me.
If you need any help, please contact us at – info@designaddict.com


