I recently picked up an Arne Vodder for Bovirke armchair that I'm restoring
which overall is in excellent condition but has a small indentation / hole in
one of the front legs .
I've had pieces like this restored by a couple different shops in the past but
they never come out as well as I'd hoped .
Does anyone have any advice, suggestions or techniques that I can either
attempt myself or request of my local restoration shops ?
Thanks & any help would be greatly appreciated .

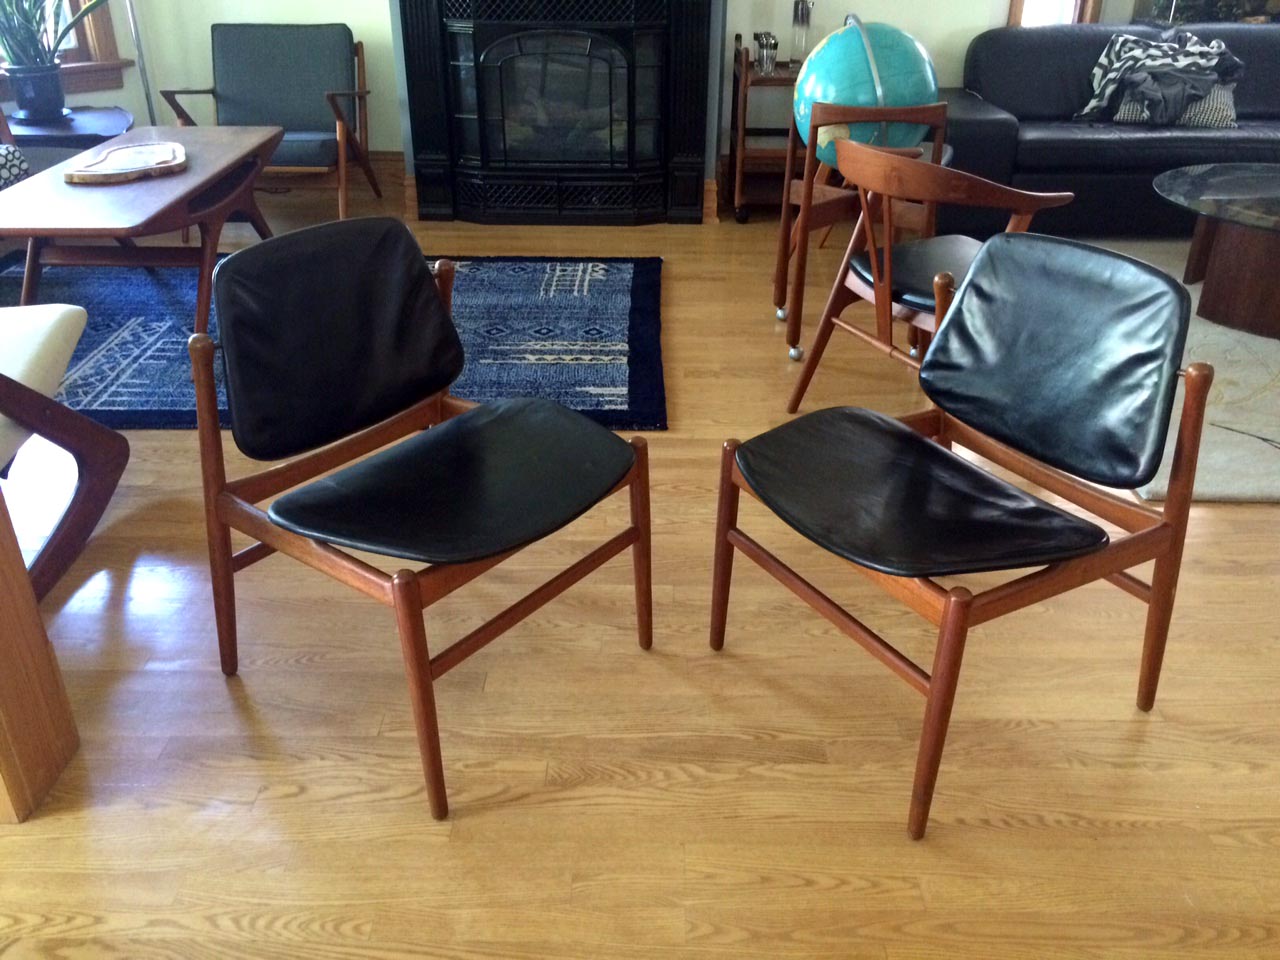
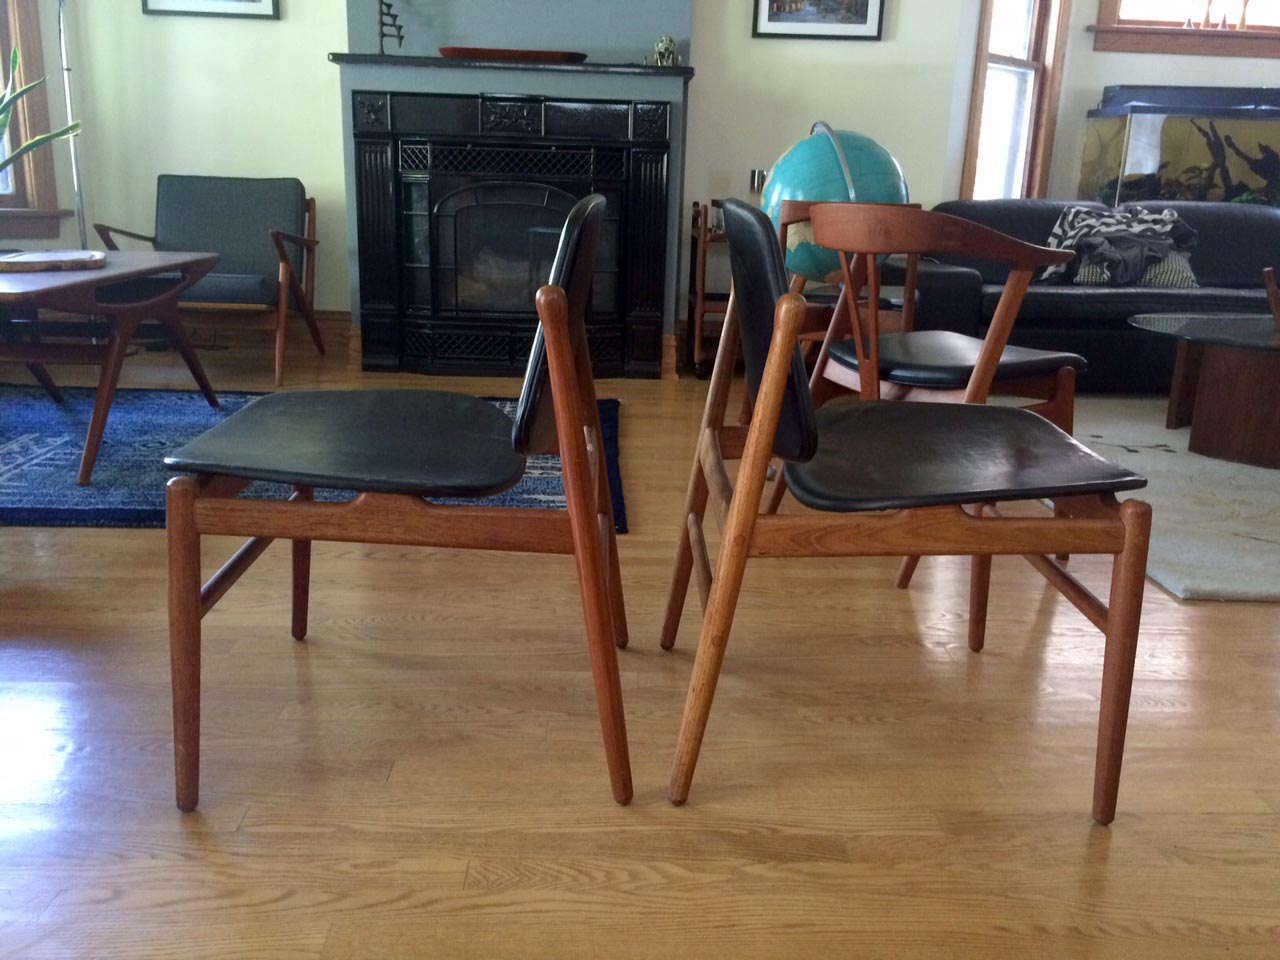
While this thread didn't catch my attention when it was first posted in June, it does now. Recently I had quite a busy acquisition stretch of three pairs of chairs, as well a single Frem Rojle parts chair (no backrest), within a few days. While the Bill Stephens Knoll arm chairs were nice, I was more interested in the Johannes Andersen Jeppesen chairs (discussed in another thread), and a pair of Arne Vodder Bo-92s side dining chairs for Bovirke. From what I've recently read, these Vodder Bovirke swivel back chairs preceded the better-known France Daverkosen design, and are a little wider in the seat and backrest.
The Bovirke chairs just arrived via shipping today, and I was pleased to see the original black leather upholstery was in better condition than I had expected. The only issue with the seats and backrests appears to be the foam has disintegrated leaving some loose wrinkle patterns, very similar to the OP's photos above. Has anyone attempted to remove original leather to replace disintegrated foam? My initial impression is that it would be a little risky, especially for the double sided backrest. I will check with my upholsterer, but just wanted some opinions here first.
M-C, while this reply is a little late, my recommendation for your small hole would be:
1) find a piece of scrap teak and sand on some course sandpaper to create teak dust. Sawdust might also work if you have use a blade with fine teeth. Coarse sawdust does not work as well.
2) add a little wood glue to create a paste.
3) add a small amount of stain to better match the existing patina of your chair (could also be done after application)
4) apply paste in hole and mound out slightly. let dry.
5) sand the fill to match adjacent surfaces.
6) touch stain afterwards as required.
For replacement plugs plugs in the US, Widgetco has a wide variety. Keep in mind that these plugs have Imperial unit dimensions, so you might need to glue into Danish furniture to keep them in place.
Check UK Ebay for furniture plugs in metric sizes. I have seen them and I think even found some teak ones but maybe I hallucinated that part. I know I had 13mm plugs of some sort on my watch list for a long time.
If you can't find any, see about getting someone to cut you some with a plug cutter.
If you do have to make do with the wrong size, I suggest go on the smaller side, which will probalby only be a hair off, and stick them in with Museum Wax. It's a soft, sticky wax that doesn't ever harden. You can by small amounts where candles are sold---it's used to anchor tapers in candleholders. It will hold loose wood plugs in securely but will allow them to be popped out if necessary to tighten joints or whatever.
Upon closer inspection last night, my assumption of disintegrated foam might be incorrect. I now think that the leather was either adhered directly to the plywood seat base, or that there is a thin dense layer between the two that is adhered on both sides.
While there are loose areas of the leather, there are still areas where the leather is solidly adhered to the substrate without any give that you would notice with foam. Also, you don't have any of the "dandruff" falling through the seams that you find with disintegrated foam.
Additionally, it appears that other Vodder chairs online have the same thin seat/back profiles. Has anyone taken a look under the upholstery of one of these chairs? I guess my original question has changed slightly. If it is a feasible option, it would be nice to carefully remove the leather and re-adhere it to eliminate the wrinkles.
Latex foam can compress down to nothing as it oxidizes if it was thin to begin with. I once redid a seat on a Pascoe dining chair that seemed to have no foam at all. Turns out the old foam was only about 1/16th of an inch thick. (pics below)
You wouldn't see any of the sand-like old foam sifting out because it can't get through the leather! I think on fabric-upholstered chairs you most see it sifting through the weave, not leaking at the seams. You might be able to feel loose foam-sand at the bottom of the back rest---maybe? Unless it hasn't gotten to that point of degrading yet, I guess.
I would thing also that the leather has just stretched a bit over the years from body heat and whatever.
As for undoing the leather and restapling it---it really depends on the condition of the leather, I think. Some leather gets pretty dry and fragile as it ages. Other leather not so much. It might also depend on how easy it is to get the staples or tacks out. Even with the Berry Staple Remover tool, some staples are very difficult to remove (tacks are usually easier). I think it has something to do with the coating on the staples and the type of wood, like maybe tannins bond to the staple coating?? I don't know. I had one high end Danish chair where the staples would NOT come out. I ended up just clipping the broken ends close to the wood and tapping them in with a hammer.
The leather is also very likely to be trimmed right up to the staples or tacks, so there won't any to grip when you want to pull it taut over the new foam. All that will have to be done by smoothing from the inside back around to the outside back---which is ok, just another thing to consider.


Thanks, spanky. Good to see photos of what is probably going on inside my chairs. There are old rusted tacks fairly close to the underside edge of the seat, and indeed not much excess leather behind. The original cover fabric is still in place as well, glued to the underside, so there would be removal/reuse issues with that as well.
I'm now more inclined to leave as is, at least for the meantime. It's my first acquisition for both Bovirke and Arne Vodder. Not quite Juhl/Niels Vodder, but I'm getting closer.
CdSilva . . .
Thanks so much for your step by step instructions on how to fill the hole on my chair
& the link to Widgetco, very helpful & much appreciated .
Mid-Centurian
P.S. As you seem quite knowledgable, did you happen to notice my recent ID post
" Rare Hovmand-Olsen chair | ID model no. " & possibly have any info ?
If you need any help, please contact us at – info@designaddict.com


