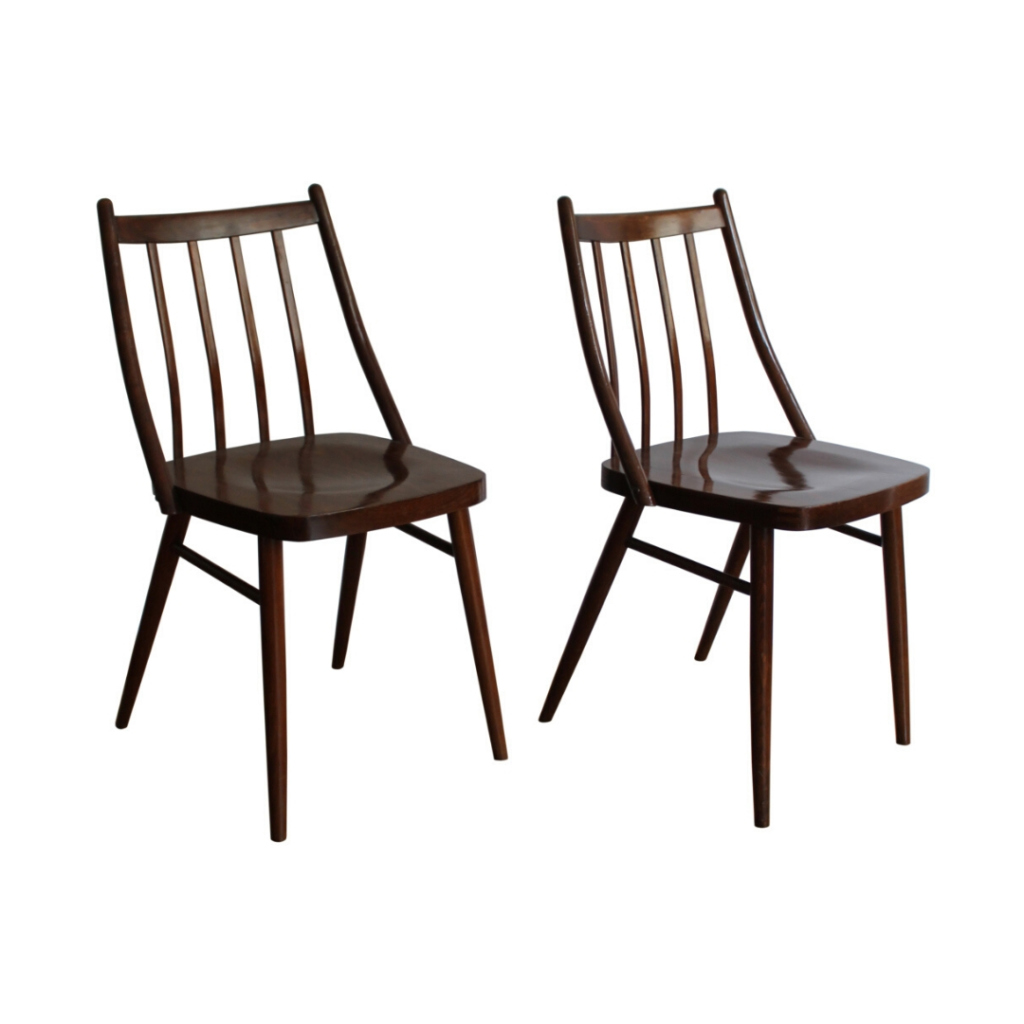
I'm just about to start work on these two Danish lounge chairs, but I'm unsure of how to approach the backs of the chairs. I haven't an original photograph of the chairs as they were so I don't know whether to attempt weaving the back with danish cord. As you can see from the photos the previous owner has attempted to put webbing on the back. Does anyone have any suggestions of have seen these two beauties before?
Ian.

Unless the frame has been sanded there ought to be some evidence of which parts were covered. You might also look for tack holes and see if they are very small round holes from cane nails or if they are larger more irregular holes from tacks used to hold in the end of Danish cord.
I've finally found an example of this chair with the original back. This slots into the bottom frame via two dowels on the chair frame. I would have to build two seat backs to retire them properly, though I'm not exactly sure how I would go about bending the wood to fit the curved top bar on the chair.
Of the two chairs I have one has been sanded and the other still has the original patina. I do think they look good once all the grime has been removed though this might not be to everyones taste.
Two non original seats came with the chairs which I may be able to use. I've also uploaded a picture of the back frame showing the dowels where the chair back will go.
Mmn - where to start!


The light part of the frame is white oak. You could soap finish the oak. (This is probably what the original finish was, considering how oxidized the oak has become.)
The backrest can be built with two thin pieces of plywood, bent and glued. If you are careful and plan it right, you can use the chair itself as the form for the bend. You just need to put some painter's tape or plastic wrap on the chair where the glue will squeeze out so that you don't accidentally glue the backrest in permanently.
Could you use the usual 1/2" birch plywood and bend it by kerfing? I'm not a woodworker but I've always wanted to try this. (Closest I've come has been with upholstery foam--which works beautifully!)
I don't know how it would work with the bottom of the piece having to remain flat, but maybe it's worth investigating?
You can also buy plywood that is already kerfed for bending but if you have the tools to make your own, that would probably be cheaper and maybe quicker.
You could kerf it like that. I think the challenge would be getting the right curve when you upholster it. The fabric needs to be stretched tight, so it might pull the back into a tighter curve. This is what you would need to avoid.
The kerfing trick could definitely be used after the plywood backrest has been cut to the right shape. You would start with shallow kerfs and try bending it. You would add more and deeper kerfs until you get the plywood to bend to just the right curve and still have a bit of tension. The upholstery fabric would then be pulled with the same amount of tension to get the curve to be just right.
I like it!
Ooo, ooo, how about this:
Make a cutout that matches the curve of the top inside back in some scrap wood. Make the plywood back and cut the kerfs. Fit it into the scrap wood mold and screw it in place temporarily from the outside.
Next, glue foam to the plywood back, trim at edges, and then glue upholstery fabric to the foam. My method for this: lay fabric on the foam and align the grain; anchor with T-pins in a vertical line down the center. Fold fabric back on itself so that one entire side is exposed. Spray adhesive to both foam and fabric back, let sit just a minute or two, then carefully fold the fabric back over the foam but hold the edges up and out; smooth it down onto the foam with the flat of your hand. Start in the center and work your way to the edges in all directions and do not hesitate to lift and re-smooth if any creases appear. This will be easier with a help the first time or two, and you should do a dry run first.
When you glue the fabric to a convex curve you don't need to stretch it at all, so no chance of distorting the curve in the plywood. You do have to make sure that the adhesive doesn't bleed through the fabric--most upholstery fabrics are ok with this technique but a few are not. Always do a few very light coats of spray adhesive from a greater distance rather than one heavy one at close range, just to be safe.
Then just wrap the fabric around to the back of the plywood, staple, finish corners in whatever way works with the weight of the fabric, trim excess, and remove from the scrap wood mold. Apply the outside back fabric and hand stitch in place. Done!
If you need any help, please contact us at – info@designaddict.com


