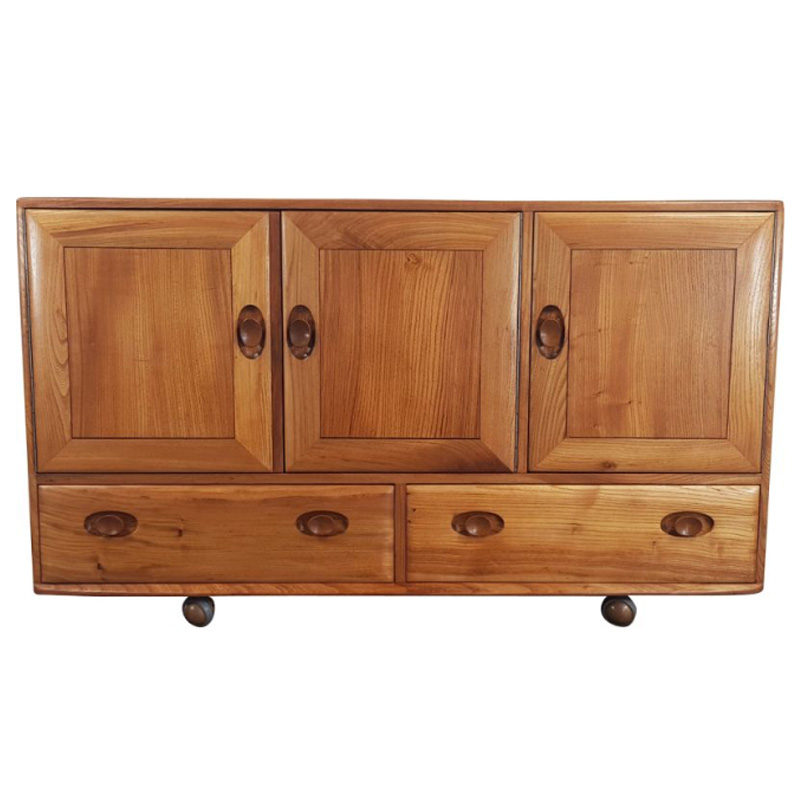
Interesting...
It's been a few days since I checked this thread and things are getting interesting.
Just to respond the previous messages...Brent, you're right, the seat back is in a normal position, it's the lack of rear legs (and lens distortion) that visually throws one off.
Here is a side view for interest sake.
haha, you guys
Mark, next time you bleed on your shirt, just spit on it. Spit eradicates blood somehow.
I stabbed myself with a tufting needle the other day. They are about 30 times the size of a sewing needle. It didn't bleed too much, though---possibly because of the swelling from the blow. Such a dangerous profession...
Rescued a Uniflex dressing table
First proper re-finishing I've done and pretty proud.
Bought a bargain (around £30) Uniflex dressing table from ebay a few weeks ago in terrible condition. Lots of wire wool, teak oil and hard work and its not looking too shabby.
Before and after pics
my latest chair
I redid this one for some friends. The original upholstery was a kind of thin, slubby cotton and the foam was all crunchy and dry.
I redid it in a glorious wool boucle that feels like a little lamb. I don't know who made the fabric but I sure wish I had a few more bolts of it. I don't even know what other colors it came in. They got it at a mill end shop a few years ago.
yes
There's some fabric left over but the chair also has lumbar support built in, in the way of an extra layer of latex foam at the low end of the back. It has an integral headrest made the same way, though it's hard to see it with this lighting.
We're going to see how it feels once it's together and we can sit in it. I have to undo a bit of the fabric at the bottom and shave the foam down a little so that the hinges fit perfectly, then we'll check it out.
The original had a separate small square pillow so I'm thinking the built-in lumbar might not be quite enough.
.
Just a stool/side table project that went on the backburner for a while... mucking about with the computer (first image is a render) and some scraps on the lathe. I stuffed up some of the angles on the one I made but it should all come out okay on the next one, it still feels pretty strong anyway.
The top is a laminated block and I cut a groove through the glue line on the smaller centre cone to disguise it, legs take about 4 minutes each to make, happy about that.
I'm not sure about a padded a disc for the top, might try turning in a concave seat intead. Dowels going in from the top and cut off with a japanese flush cut saw lock the legs in place, so even if the glue fails they still can't be pulled out.
Oh Jesus H, thats one lesson learned, very nearly turned myself into a zombie making stool mark 2...never ever put a not completely bonded glue up on a lathe at high speed, two monster holes in the wall, a smashed jar of shellac splattered everwhere, and a damaged Johannes Andersen rosewood stool to show for my impatience.
coffee table - original design
This was a coffee table my boyfriend created this summer.
Information on it he provided:
------
The table base is fiber re-enforced concrete, with a built in aluminum structure that allows any top to be slid into one side and held there - the table top can weigh up to 300 pounds and still be held in position only on the one side.
The current top is a walnut oval just under 4 feet in length, and with the base added measures 5'4" in length. It weighs 160 pounds in total. Inspiration to make it was taken from a smaller sculpture in the house.
The base also has two semi circles that provide the counter weight to prevent toppling that is held in place by stainless steel rods which project through the main base.
-------
It's a great original piece to have in a living room mostly made up of vintage MCM pieces. He also stealthily slipped in a small power point (which is nearly invisible) into the curve of the base where it connect with the table top - making it easy to plug in a laptop or even a small lamp and not have to deal with cords going across the room.
.
It works super! Not quite finished yet but basically it moves left to right and backwards and forwards on tongue and grooved boards and tracks. It cuts identical mortises for loose tenons
Took a while to work out how to use it properly but going well now, very smooth movement after sprinking a little carborundum powder here and there and pushing backwards and forwards then shellacing the lot.
Will finish the stoppping block and mount the bigger router in tomorrow. Sorry not the most exciting thing but I'm happy with it.
Heath, I like the stool.
Wasn't sure at first, but after third and fourth looks, it's grown on me. Congrats.
During my first year as an art student, I was required to take foundation materials courses at a nearby professional craft school. During that time, one of the full-time students in the furniture program there was killed when a large laminated turning blank flew apart on the lathe. The story, as I remember, was that the blank was glued up days earlier from highly-figured and possibly unstable pieces and left mounted to the faceplate over a long weekend and that excessive turning speed was a factor, as well. A freak accident with tragic results. I recall feeling grateful it didn't happen on a day I was in the shop.
I'm sure you hold healthy respect for your machines and I hope you use robust, well-designed safety equipment consistently. It's supposed to be fun.
BTW, your slot-mortiser looks great, too. That sure is a fancy-schmancy hold-down you've got on there! Using up-cut spiral bits, are you?
Nice looking
stool, Heath. The visual luxury of the closely-spaced leg mounts has a price, namely that the legs must spread at a greater angle from the vertical than would otherwise be necessary -- putting additional stress on the leg-seat connection. Compounding that, you have chosen to spread the legs further at the floor than would really be necessary for stability (in the built stool, not in the renders) -- wouldn't you say ? And this puts a real bending force on that leg connection, it seems to me. But the concept is so lovely -- the shape of the seat and the other parts is just right. Persevere . . .
.
Thanks guys, yeah I do have a lot of respect for the machines, I had my cricket helmut on which makes me look like a dork but eating through a straw would be worse let alone dead.
SDR, they're suprisingly strong even with the legs at that angle, the legs penetrate deeply and the rigity of local hardwoods here is remarkable, they go in 2 inches and its a clean hole cut with a forstner bit, also I could screw them in from the top to reinforce them but the dowel seems fine and looks nice too. I need to work out a better way of drilling it, maybe get an inclineometer, dumkopf! I just have to make an angled box to clamp it to instead of tilting the drill press table....
The UFO snazzines is really only apparant when looking at them from a low angle, from a standing position they look pretty bland. Time to go finish the mortising jig!
PS, just using normal bits, not fun on end grain but aren't the spiral bits a pain to sharpen? Theyre pretty clean and tidy mortises anyway.
http://www.hardwood.timber.net.au/species/ironbark.htm
If you need any help, please contact us at – info@designaddict.com


