Hi Leif, thank you and sorry if I try to get more information on this issue but you are a precious source.
I see that there are 5 holes, so there will be 5 eeeee springs- this is less than what you indicated, I think. The question remains whether I can order those indicated by spanky and just use them, or whether it could be dangerous for the wood frame, which is not teak.
Thank you and best regards,
Ernest.
Hi Leif, the problem is that I would like not to destroy the current setup with the jute, if I am not sure that I can easily install the eeee springs in their original location. I really see that there are 5-6 holes, but not more. Could it be that you remember wrongly, or that the setup of your couch is different?
Thank you again, and best regards,
Ernest.
The jute is wrong no matter what. Go ahead and remove it. It can always be redone pretty easily if you can't make up your mind how the metal springs should be installed, but it would be better to have the metal springs even if they are not attached exactly as the originals were. This isn't a museum piece that muse be restored to its original state; it's a chair in your home, for you to sit in and enjoy.
Dear All,
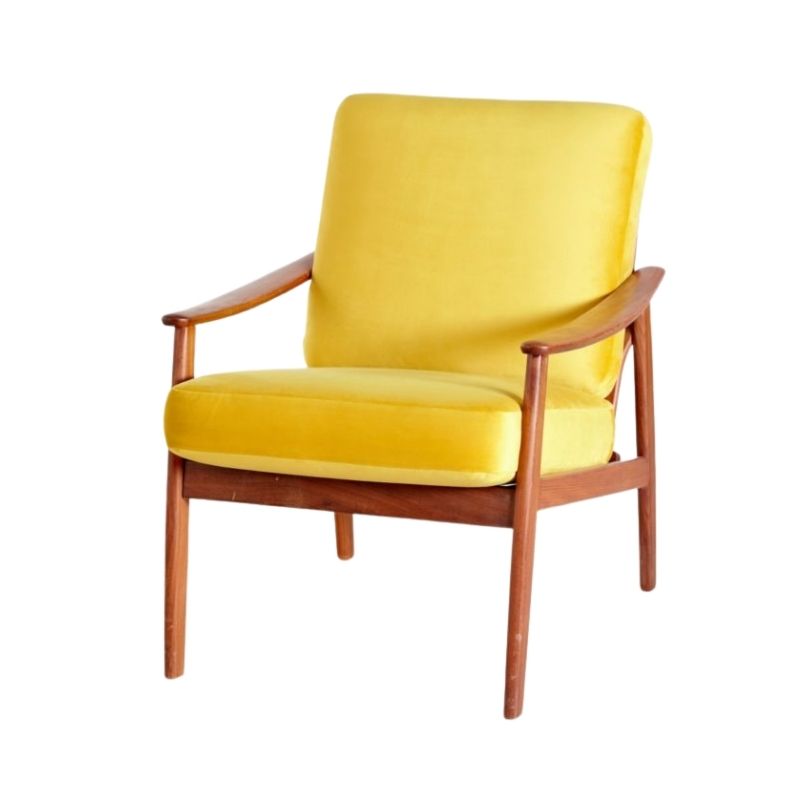
finally had time to work on the seat frame of this chair. I had to remove the jute and dozens of staples and nails used to fix it. I ordered then the eeee springs from the German shop spanky suggested, and hoped to put the springs back following the original design.
One problem I had was that the staples I bought were not holding the weight. I think the original staples were longer than those I had.
Then, a friend of mine, boat builder for passion, suggested me to drill small holes in the wood and use brass nails and rivets. He made rivets by hand, as you can see from the pictures here. another possibility would have been to buy the adaptors to fix the eeeee springs to the wood, as those used in an Hans Wegner chair and on sale on the same German shop. It would have been a more elegant solution but it would have altered anyway the original design.
Thank you all for your help with this chair. I will get new pillows as well.
Kind regards
Ernest
Dear All,
I am close to finish this restoration project. I am now seeking advices on how to put again the cloth over the frame. Leif said it should have half-inch foam, and then the cotton cloth.
While I was cleaning the frame, I noticed an old trace of the original foam, which I think was glued on the edges. Shall I do the same? Glue the new foam on the edges, and put the cloth on top, and staple it? I do not have access to a compressor stapler, but only a manual one. Would it be OK? Do the staple need to fix the foam too?
Does the cloth have any job on supporing the weight? Is there any preferred position on the frame where the cloth should be stapled? How many staples do you advices?
Thank you
Ernest
I think the purpose of the cotton cloth is to protect the cushion fabric from rubbing against the metal springs every time you sit down or get up from the chair. The springs will probably wear through the frame in time.
I would glue the foam to the wood frame at the edges with spray adhesive (in the US it's like contact cement in spray form--I don't know if you have the same thing in Europe. It's one of the few adhesives that work with urethane or latex foam.)
Normally I would staple closely, like 1 cm (1/2") between staples, but that's with pneumatic staples which are finer gauge and not a danger as far as splitting the wood. Heavier gauge staples fired with a manual or electric staple gun tend not to go all the way into the wood. You may have to tap them in the rest of the way with a hammer. I'd probably go with cut steel upholstery tacks rather than heavy gauge staples. Tacks at least have very sharp points and are less likely to cause splitting. Probably every 2 cm or 1" is ok for placement.
Make sure you put in a few at center back and center front, then at the center of each side, and gradually work your way to the corners from there, that way you will avoid ripples and creases.
If you need any help, please contact us at – info@designaddict.com


