Design Addict

Cart

credenza makover  

  RSS

M_Dennis87
(@m_dennis87)
Noble Member
Joined: 14 years ago
Posts: 268
02/05/2014 8:47 pm  

OK, so I've decided that I am going to put lipstick on a pig and try to class this credenza up a little. The plan is that the top and bottom will become two different separate pieces. Who needs a display cabinet anyways?

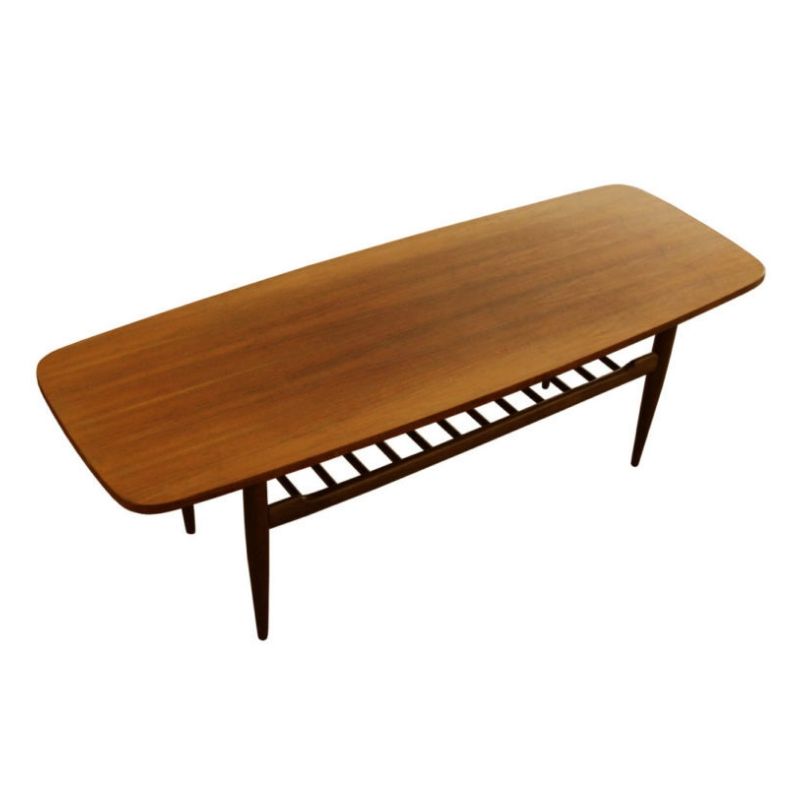
I'm mostly going to focus on the lower credenza. I'll be removing the skirt and building a separate base with proper support and adding some tapered legs that I've sourced on eBay. I've already began stripping the existing finish, after which I will stain it walnut and rub it out with some oil / furniture polish. We'll see how quickly I can get this project done since my weekends are booked until the end of time, so this will be a weeknight project over the next few weeks. For now, here is the before picture and the legs that I'll be using (I'll be cutting the ends off, of course).


Quote
M_Dennis87
(@m_dennis87)
Noble Member
Joined: 14 years ago
Posts: 268
05/05/2014 7:31 pm  

All materials in hand for...
All materials in hand for the new base. I hope to update this thread with some pictures by the end of the week.


ReplyQuote
NULL NULL
(@teapotd0meyahoo-com)
Illustrious Member
Joined: 5 years ago
Posts: 4318
05/05/2014 7:39 pm  

Cool
Interested to see how it turns out.


ReplyQuote
blink
(@blink)
Eminent Member
Joined: 14 years ago
Posts: 27
06/05/2014 2:56 am  

Yes, keep us updated with...
Yes, keep us updated with photos and how it goes.


ReplyQuote
M_Dennis87
(@m_dennis87)
Noble Member
Joined: 14 years ago
Posts: 268
06/05/2014 3:08 am  

Will do. Nice weather...
Will do. Nice weather outside means the miter saw can get brought outside and I can start working on the base.
I just went with some white oak stock for the base. I also bought a nice new 1/8" radius router bit to round off the edges.


ReplyQuote
Share:

If you need any help, please contact us at – info@designaddict.com

  
Working

Please Login or Register