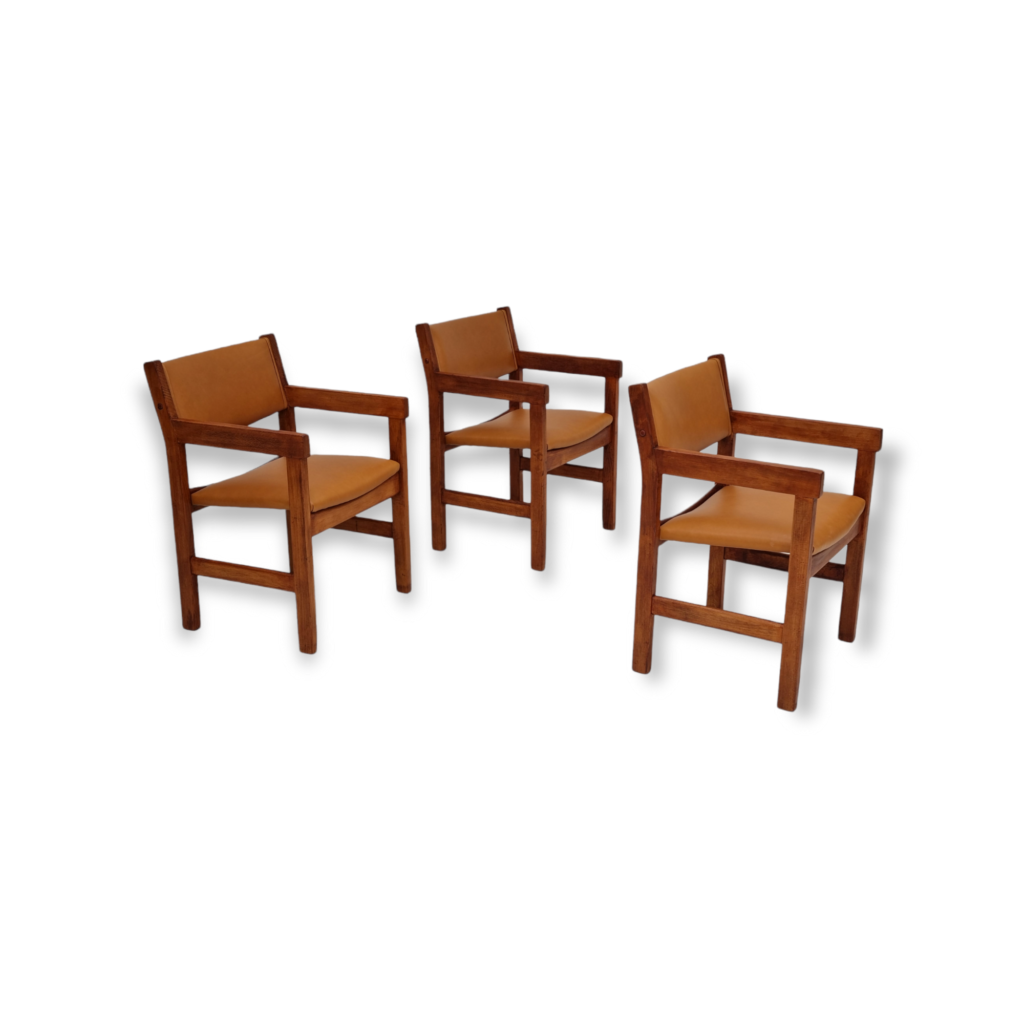
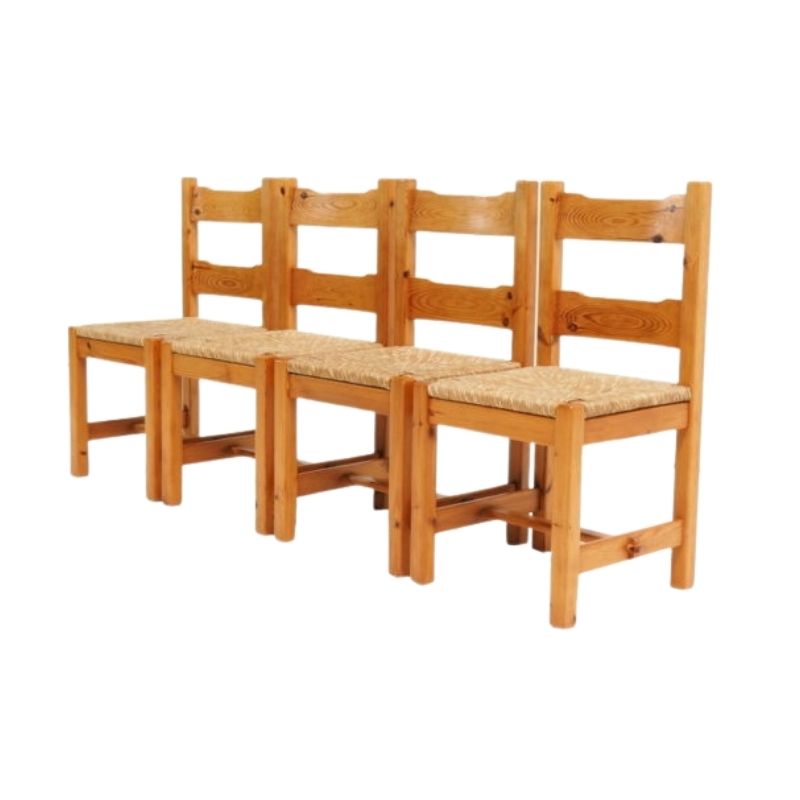
Raul, it occurred to me suddenly that the color seems to have appeared during your sanding/soap application process. If it had appeared after stripping, I'd have suspected a reaction caused by ammonia-based alkali in the stripper, but I suppose it is possible that sandpaper residue in the pores could be to blame, however improbable. It's just another variable to consider.
I think spanky and Leif may both be on a more likely track with the tannin-reaction theory, so changing the soap and water would make sense, too. Here in the US soap flakes are not common, so, from what I gather, people use Ivory brand bar soap and a cheese grater when soap finishing.
My opinion is that for all its minimal beauty, ease of application and repair, a soap finish provides the least protection and is about the least durable of all your choices. If it's the look of bare wood that you like, you might consider a wax instead of soap. A microcrystalline like Renaissance Wax is relatively hard, water-white, and would provide a half-step better protection and durability. Just a thought.
Of course, with either soap, wax, or oil, freshly-sanded oak will eventually darken steadily toward a rich nut brown anyway. It can't be prevented, only delayed.
When does the color change? If it is the sandpaper, I would imagine you could notice it turning pinkish as you sand.
If it is a chemical reaction, it will develop slowly. Perhaps you might notice it after 10 minutes, perhaps an hour. When I ebonize red oak with tea and iron acetate it takes about 20 minutes for the color to fly realize (maybe longer; I just walk away and by the time I get back it is black)
You should be able to get the soap to release staining material by wetting it perhaps with boiling water. If it is sandpaper residue or some other small foreign particle, I would think this would be a good test.
My experience with ebonizing would suggest that if it is a water facilitated chemical reaction with the tannins and some unknown chemical, the color will not reach deep into the wood, and a moderate sanding will suffice to remove it.
I stripped and cleaned both chairs too weeks ago, and the colour has been the original one in these two weeks. Hence the stripping and cleaning looks like not being the cause.
It was yesterday, after I sanded and soap finished the first chair when the colour of the wood has changed. I thought it would return to the natural oak colour after fully dry, but it has not.
Following your recommendations, I will try to remove the pinkish color, from less to more aggresive:
- 1st I will try to remove it cleaning it with boiling demineralised water and, when dry, sanding it with 220 sandpaper (not the 3M purple sand paper, a different one)
- 2nd, in case the 1st test doesn't work, I will try with a wood blecher ( http://tinyurl.com/o78clm8)
I will keep you informed about the results. Thanks for your time!
Good approach, Raul. Liberon Wood Bleacher is simply a pre-mixed oxalic acid solution and may well work to remove the pink-ish blush without altering the natural color of the wood. If, after three applications, the stain persists, a two-part catalized wood bleach is your final alternative. These, however, are particularly nasty and hazardous to use and can remove natural color from the wood.
You don't want to hear this, but I'd also recommend sanding up through the grades to 600P before applying a final finish. Especially on areas that will receive the most handling. It will make a difference.
Bon chance!
Wish I had caught this thread at the beginning.
My advice would have been to restore the lacquer finish. As it turned out, perhaps the owner would now agree with that assessment ?
Without being able from my own expreriece to have predicted the outcome in all its troublesome detail, it nevertheless would have occurred to me to caution that changing horses in midstream can't be counted on to provide satisfaction. That is, once the original finish had been applied to the oak, the fate of these chairs was (literally) sealed. I can't imagine that any amount of stripping, sanding, wire brushing, etc, would remove all the lacquer from the pores of the wood -- and those open pores were apparently the appeal to the owner when he sought to achieve an oiled or soaped finish.
I'm impressed with the amount of trouble that dedicated collectors will go to, to achieve their aims. Perhaps it is the aims that need to be assessed ? My own experience tells me that no two different methods -- much less an almost unpredictable mix-and-match of means and materials -- can ever reproduce exactly a given result achieved originally otherwise. That said, there's no saying that a result which pleases the owner can't be achieved, sooner or later ? It may, however, have little to do with an original factory finish !
I'm a "less is more" kind of guy; easier and simpler is best. Maybe I'm just lazy ? In any event, my position appears at the end of a long career during which I often feared to dive in "where angels fear to tread" -- though I've done my share of inventing on the fly . . .
And we all learn from the experieces of others. Have we all learned something with this project ?
SDR, is there a way to restore a lacquer finish? From my experience with it and everything I've read about it, it chips off as it wears. As opposed to just wearing down evenly, I mean. So if you spray lacquer over the old finish, the chipped areas will show up as unevenness in the new finish...I think? I haven't done it so I don't know. Maybe sanding works but then you have to get all that dust off because even the tiniest specks will mar a lacquer finish.
I can say that in my experience it is pretty easy to remove 100% of a clear lacquer finish with lacquer thinner or acetone. The lacquer absorbs the solvent and turns to gel and then to liquid once it's saturated. Then you wipe it off with clean paper towels saturated with the solvent until the wood is free of traces of lacquer.
I've done this on pieces that I've ebonized with India ink, which only adheres to bare wood. The ink went on perfectly. I've done it with oak with no problem.
It's a pain in the butt to do because the solvent evaporates so quickly, but it does work.
Yes, finish removers destroy lacquer and other finishes quickly -- I'm not aware of a professional finisher who uses just thinner to remove lacquer. But perhaps the chemicals are an issue for some. Fixing a worn and chipped lacquer finish shouldn't necessarily require the removal of all the finish, it seems to me; wouldn't it be enough to remove damaged finish where necessary and sand the whole piece, then spray new lacquer -- assuming we're talking about a clear finish ?
I wouldn't attempt finishing without the availability of compressed air. But a tack cloth works well (I made my own, last time, by wetting a clean rag with paint thinner.) Oak is a special case, wherein the open pores fill with finish which I suspect remains after even the most throrough stripping . . .
I really shouldn't be speaking to finish procedures, as it's the thing I know least about. But I'm learning to get a good finish with clear poly. I re-did some café tops last year; I stripped the old ffinish, sanded with an orbital sander to 150, then rolled and brushed out three coats of poly, sanding with the orbital after every layer with 220 paper -- because I was finishing outdoors and couldn't control the air-borne specks. The result was a super-flat flawless finish . . .
Flat surfaces are easy !
Points taken!
Using chemical strippers may be more efficient than acetone or lacquer thinner for stripping lacquer, in some respects. For me, not so much---I just go outside on the concrete driveway and go at it with a respirator, paper towels and maybe some foil to wrap around the soaked paper towels that are wrapped around the furniture parts (it retards evaporation). No sanding, no compressed air, no tack cloths.
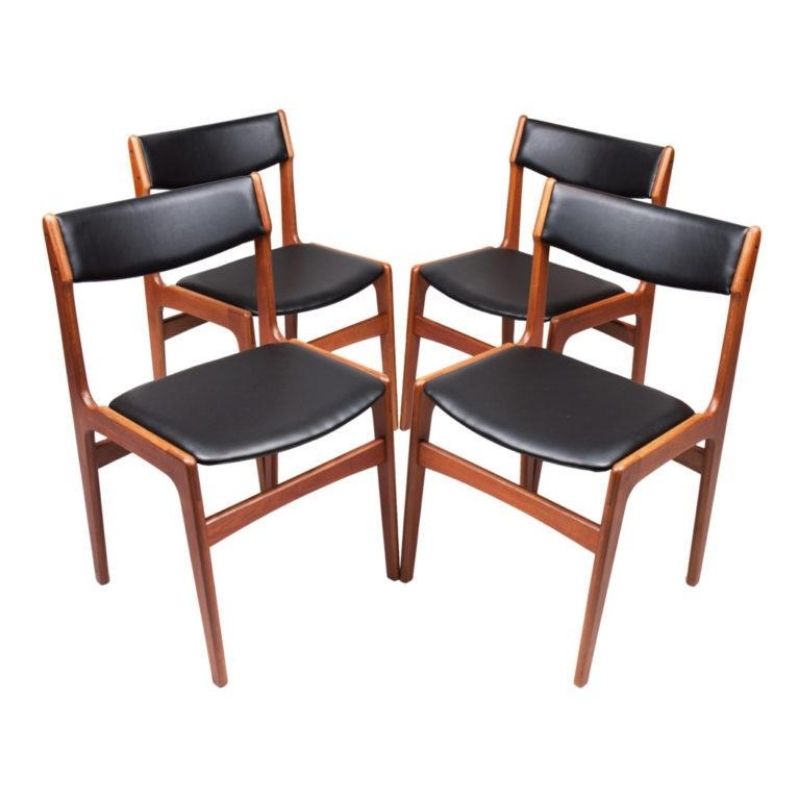
I have a set of Swedish dining chairs with paper cord seats and frames of beech and teak. The original lacquer finish is scratched and chipping and looks awful. Someday I will get around to stripping them all and then I'm going to do rub-on polyurethane. I used it on my wenge coffee table top and really liked how it turned out.
Cool. Everyone needs to use techniques that work for them. There's more than one way to strip a cat. (What ?)
I tried rub-on on a table top -- but without enough experiece I wasn't pleased: I couldn't get the edges of my patches to blend. It would make more sense for a chair, as a starter ? I like the patina . . .
Isn't that a characteristic of polyurethane--that you can't blend the edges of it at all? It's hard to touch up. I put it on a new wood top so I didn't have that issue.
I also used it on new jatoba once and had to do a LOT of coats before it had an even sheen. Like 8, I think? Only had to do 2-3 on the new wenge table top. It looks like a good oil finish but I don't have to worry much about spills and drips. Not that I don't have coasters on it all the time but with a 6-year-old grandson, it's nice not to have to play Drip Police.
I only tried it once, on a raw piece of walnut made for a table cover. I followed the directions, which called for doing a patch at a time. I was experimenting with a scrap of the same material. Maybe if I'd tried to do the whole surface, by wetting it first with thinner to get it to spread ?
I think I'd do better with regular poly, and steel wooling it down to a matte ?
If you need any help, please contact us at – info@designaddict.com


