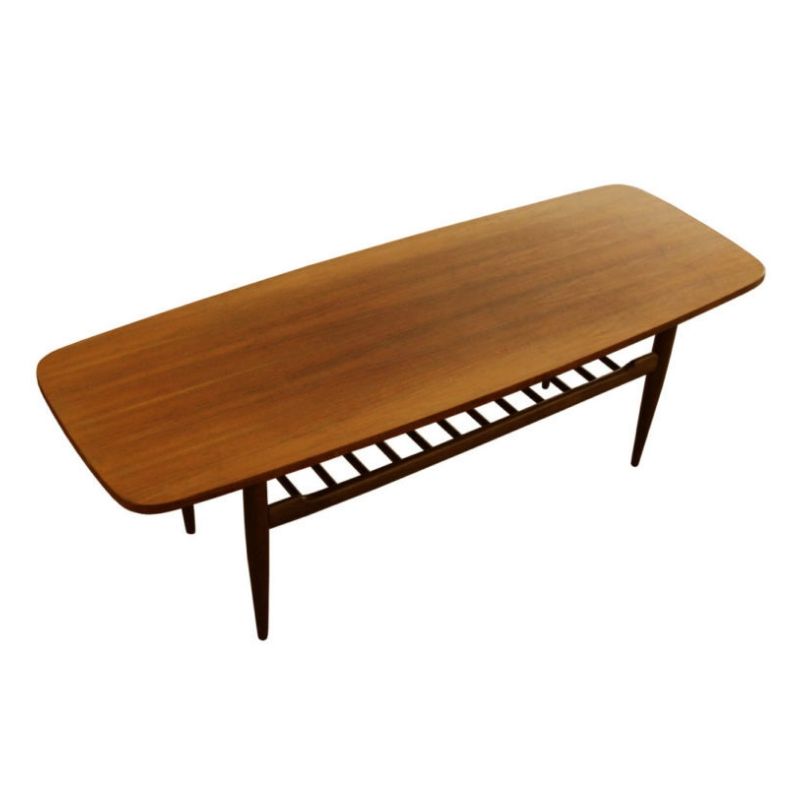
Help! So I got this old Eames dining table. Herman Miller, Aluminum group, 54", dates from 1979. Looking at the underside of the top it appears to be walnut, however it has a vaneer/ laquer/ or something that is "yellowish" or "honey". Any ways, the top has some gouging and the major damage is four eruption to the table top that occured when someone attempted to affix the base with screws that were too long. I have never done this kind of work but I would really like to fix it because I really love this table.
I want to strip it, sand it, fill gouges etc. and then finish it with something I can brush on. I dont have a workshop space to apply laminate or anything like that. Plus I am really interested in justing letting the original walnut show itself.
Can someone point me in the right direction? What I really want is step by step instructions! This because i dont want to mess the table up by trying to fix it. Any guidance much appreciated.
Thanks!
Steven
San Francisco
Perfectly Fixable
It's not a complete loss, although it will never look as good as a brand new top. (but it doesn't sound like that's what you want anyway)
First step is to remove the finish. Lightly sand as much of the finish off as you can. I wouldnt use an electric sander as you might go through the veneer. Use a medium fine to fine grit and go with the grain. This should help some of the gouges too. Be careful around the spots where the screws popped up.
They are the second step. You can try burnishing them down with the back of a spoon, or tamp them down gently with a hammer. A little bit of glue in a fine syringe and some weight should hold them down. For more support you can fill the holes on the underside with wood filler.
Once this is done you can put on a polyurethane finish product like Minwax. A few coats of this should even out the gouges and provide protection. If you want a flat finish put on 2-3 coats of the gloss and then buff it down with 000 steel wool. Dont get the semigloss finish as it contains particulates that will dull the color and pattern of the wood.
And while you've got the elbow grease out you might devote a couple of hours to polishing up the base with some aluminum polish and a bit of pastewax at the end.
Good luck!
No, in fact --
four "eruptions" from below, in veneered material, can not and will not be repaired with "a little glue and some weight." Sorry. The problem is that the substrate, whether plywood (doubtful), particle board (equally doubtful) or MDF (likely), once expended, simply cannot be compressed back to its original thickness -- certainly not with any equipment available to the layman. So, attempting to make this happen without peeling back the veneer and removing some of the expanded substrate material, is a no go. And how would you temporarily peel back the veneer around the damage in order to scrape down the erupted material, and then re-glue the veneer, without doing a great deal of new damage ?
The top is ruined -- as ruined as would be a Tiffany vase that was dropped on a granite floor. I'm sorry if you have been led to believe otherwise. Sanding the infected areas will only leave a bare spot with a feather-edge of veneer surrounding it; this area will not take any finish in an even way, even assuming the appearance was acceptable. Routing out the area of damage, filling with a patch of substrate and fitting some closely-matching veneer, is the only conceivable repair, in my experience, and I don't think you're going there. The time taken to do that would be worth more than a new piece of veneered MDF -- which is readily available. So I'd go with the advice of replacing the panel.
You're in San Francisco. Take the top to Thomas Fetherston, or Charles Denning, or George Slack, and ask for a price on repair or replacement. Tell them Steve Ritchings sent you. Then get the manufacturer's replacement price (if any), and you'll know what to do.
Disagree
SDR, I must respectfully disagree. I (unfortunately) did the same kind of damage on a veneered desk surface by grabbing the wrong screw. The result was that the veneer on the top was pushed up in flat planes as the screw dug through the MDF substrate. MDF is a composite material with no grain to is, so it was easy enough to tamp it down with a hammer, compressing it into a flat enough surface. I simply tamped down on top of the broken veneer. I then inserted some glue with a syringe, like I described above, covered the area with waxed paper, and weighted it with a book and a 35lb dumbell. There was no need to peel the veneer back, and a little light sanding took care of any glue that seeped out of the cracked areas.
The result was far from immaculate, but the surface area was again usable; none of the veneer near the eruption had fallen off, so it all fit back together like a jigsaw puzzle. Yes, you can still see where it was damaged, but the actual function of the surface has been repaired.
And, worst case scenario, he attempts a repair at the table and it doesnt work, then he can buy a new top. But if the purpose is to keep the original top to the table I don't see why he shouldn't have a go at it.
Incidentally, a broken vase can be repaired.
Photos are always helpful.
One persons pinhead blemish is anothers festering crater.
If the screws used have a tight thread they would push up enough fibers
to prevent glue and weight to help much. A long point on the screws and
not much penetration may just lay the veneer flush when backed out.
Take out one screw, put glue in the hole, put in a proper length screw and see
if that spot with proper pressure and weight goes away? Worth a try anyway.
If the ugly finish you describe was done after the wrong screws were used,
the finish pooled away from the raised veneer making it look worse? I think
we are all just guessing...
(I visualized a vase in a million pieces beyond repair)
If you need any help, please contact us at – info@designaddict.com


