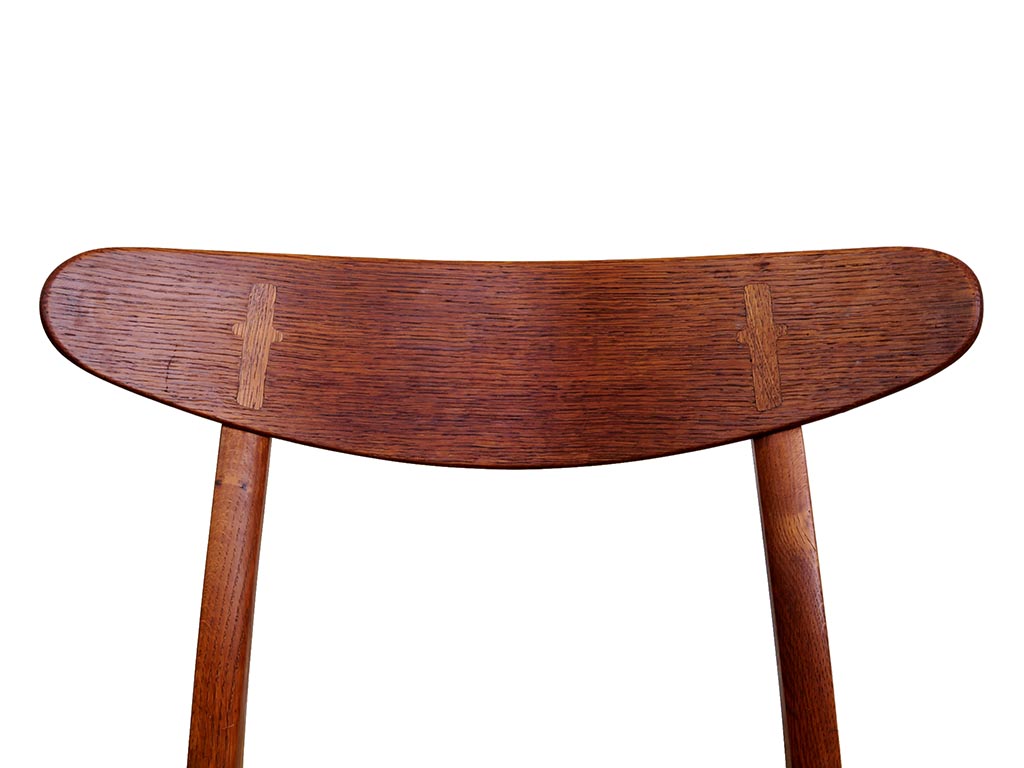
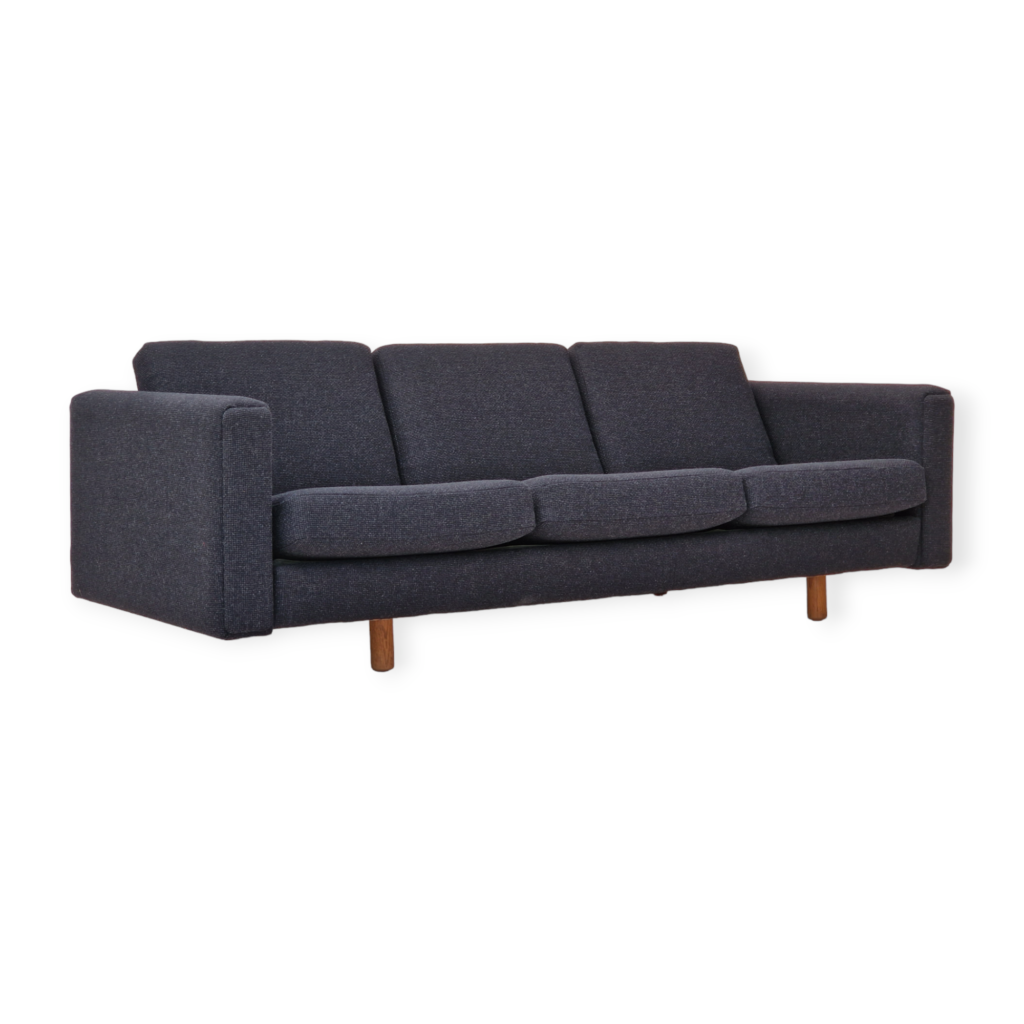
The next phase is to keep an eye out for a single oak CH30 (either upholstered or not), so I can swap this good chair out to keep in the personal collection, and upholster the remaining four.
Another option is to do a 1" square veneer repair on a second chair, with scavenged veneer from the two badly damaged chairs. There may be some grain matching issues, but there's almost no downside, as the fallback plan would be to upholster the seat anyway.
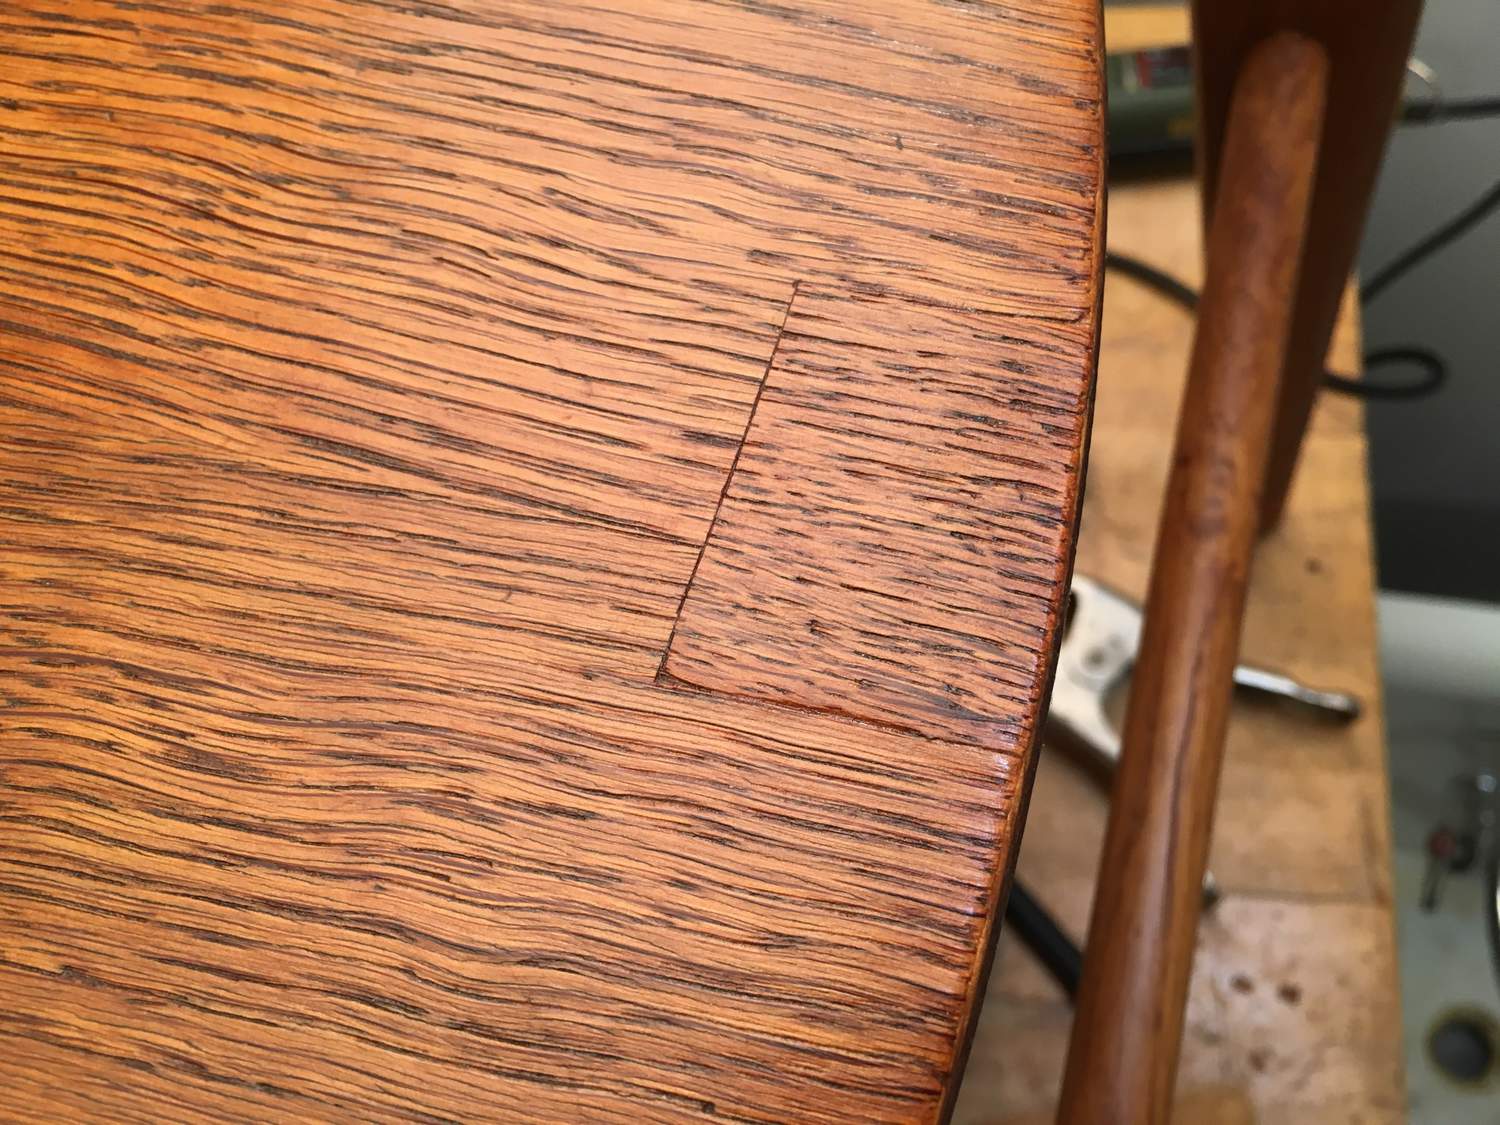
I decided to attempt the veneer patch repair today.
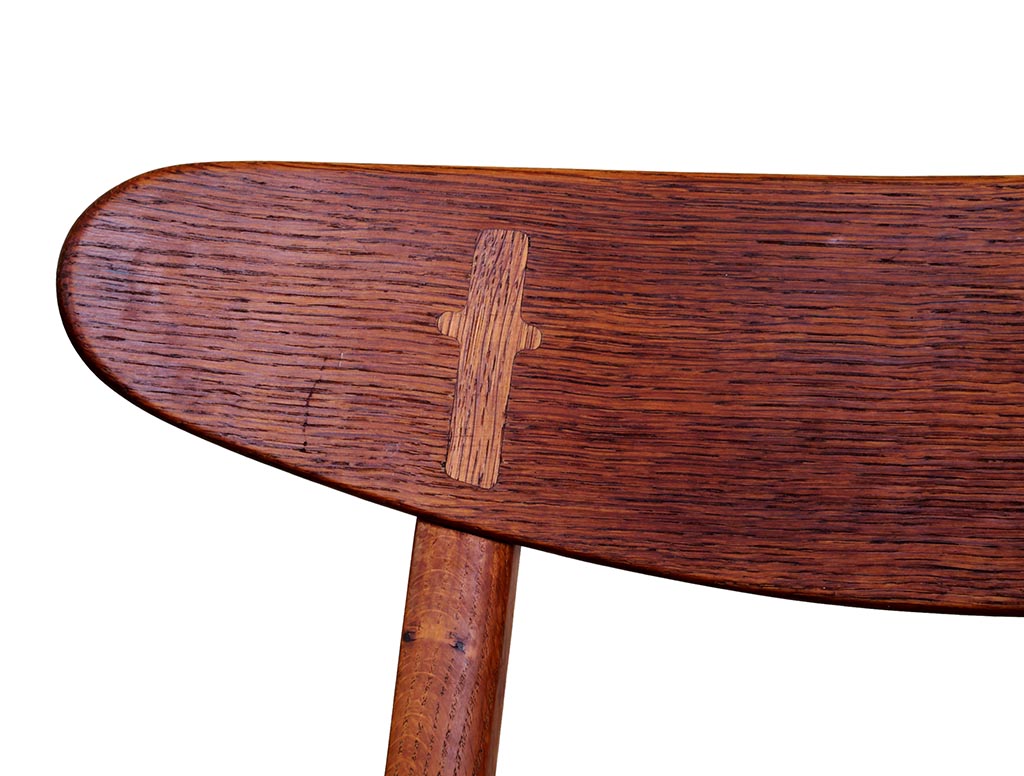
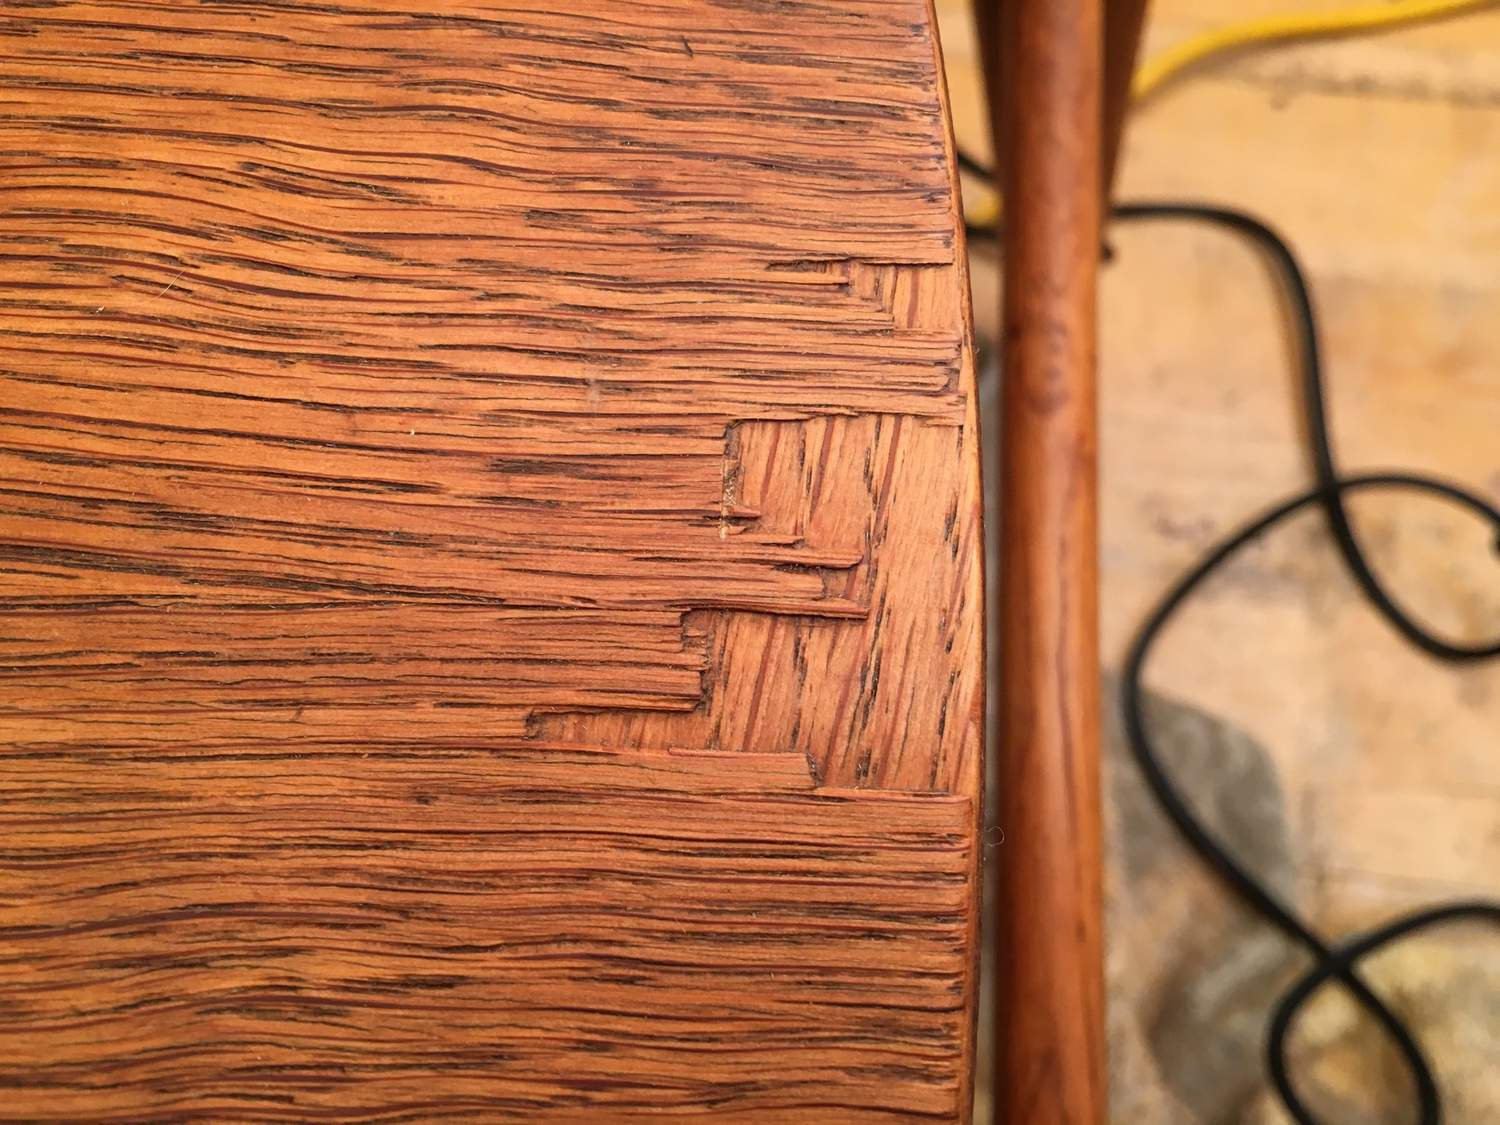
While I wanted to minimize the amount of veneer to remove around the damaged area, I quickly realized that the cleanest final appearance would be best achieved by using one piece of replacement veneer. Initial attempts to cut L-shaped veneer pieces ended up with the piece splitting in two along the grain. So I decided on roughly a rectangular shape (it ended up being slightly trapezoidal.
I was able to find a grain pattern from one of the other chair seats that was a somewhat close match to the missing veneer. After a lot of tiny cuts with a chisel and a Proxxon rotary tool, I was able to achieve a decent fit on three sides; then glued and clamped.
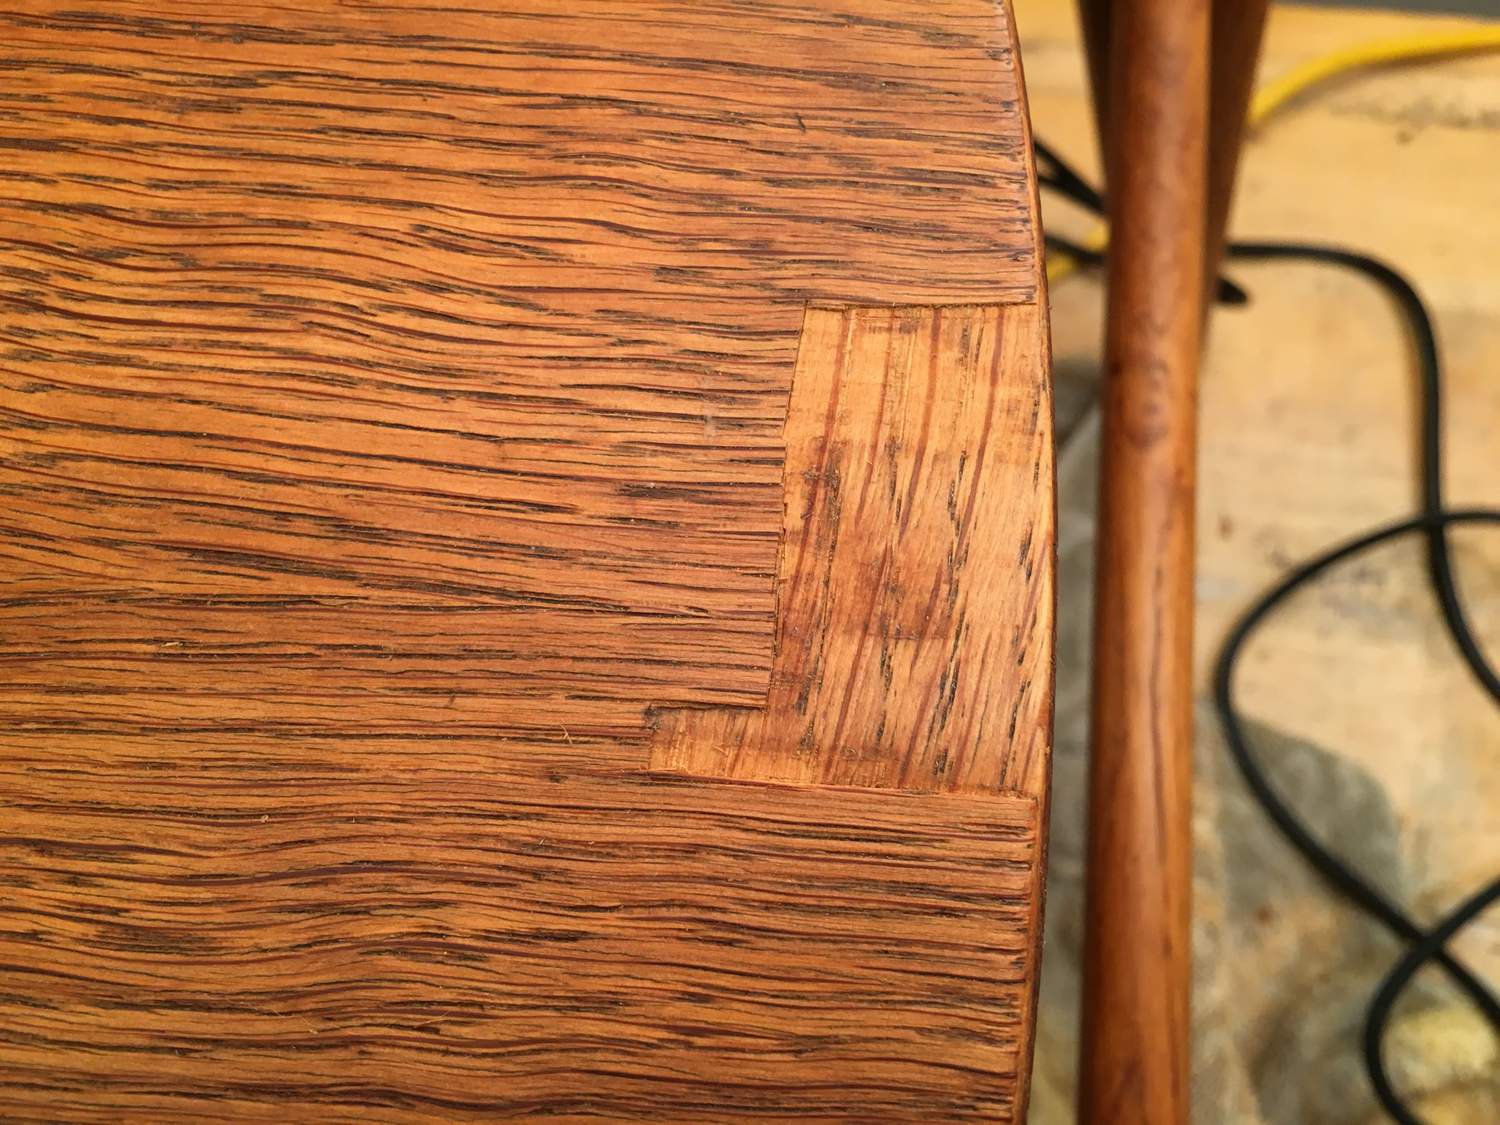
After the glue dried and clamp removed, I trimmed the back edge with the Proxxon, then followed up with a light sanding effort to match the wear of the edges on both sides.
Then a little oiling/waxing of the whole seat to help blend the wood finishes together.
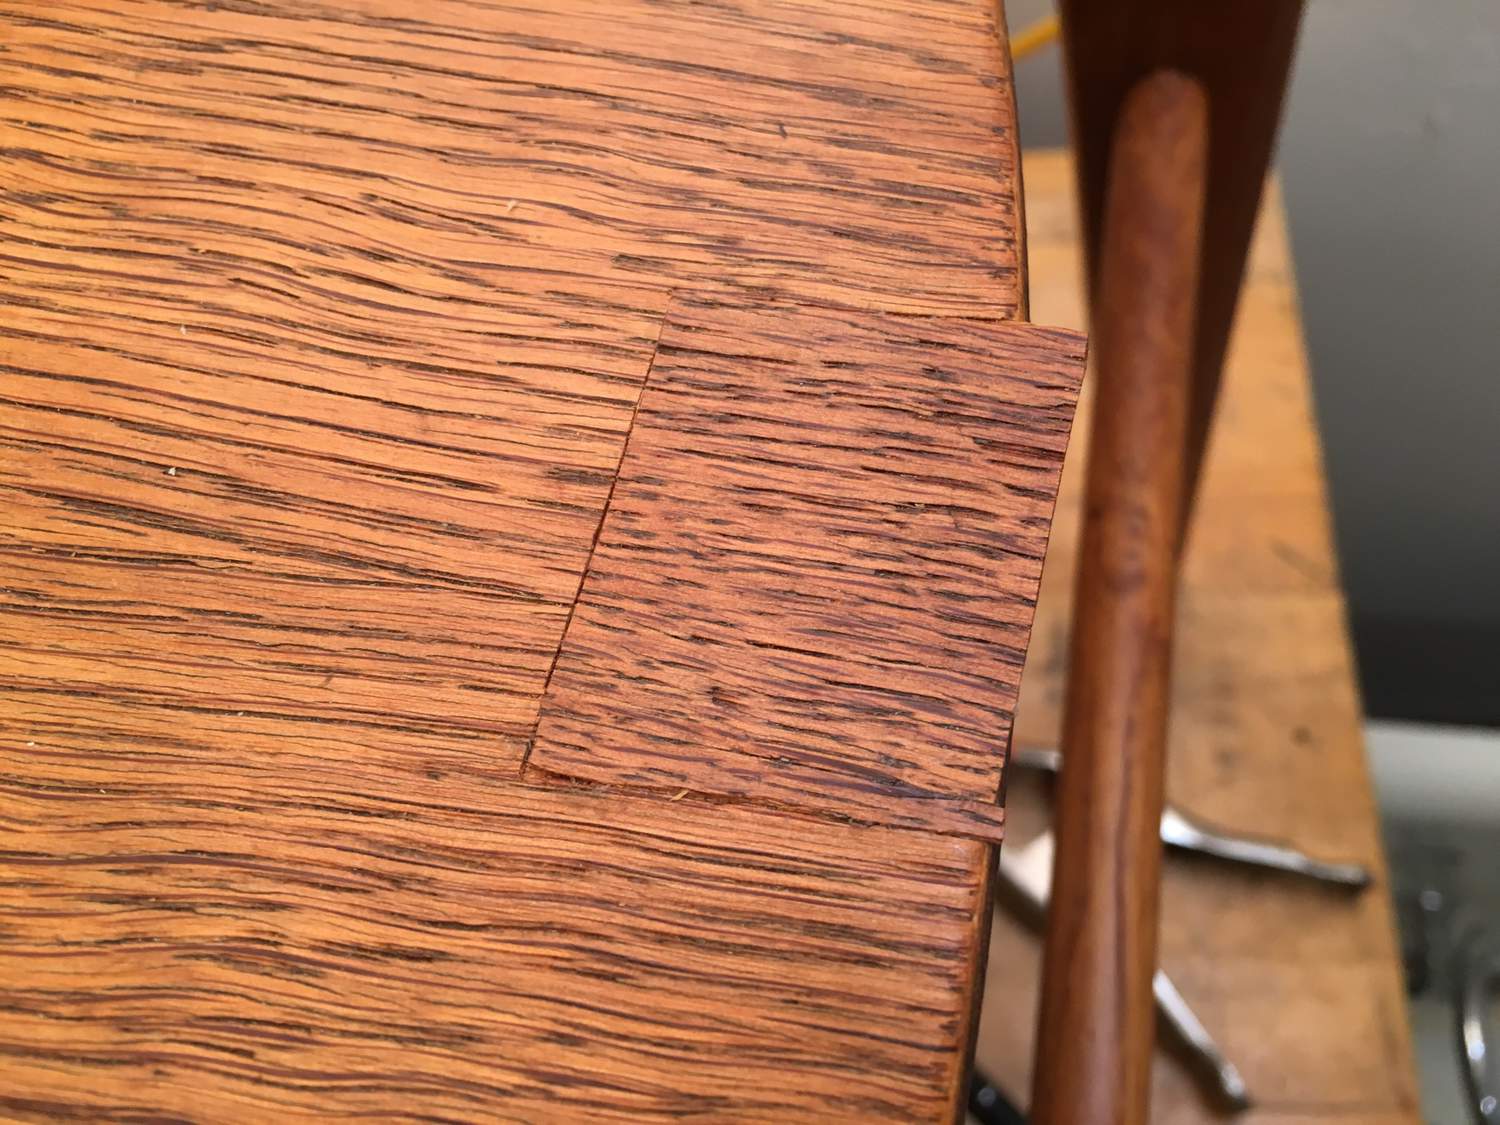
As I never had any expectation that this repair would be invisible, I'm mostly happy with how it turned out. The splice line across the grain is the most obvious part of the repair, and the grain is not a perfect match. However, as this was only my second veneer repair attempt ever, I'll happily take it.
Now I've got two chairs worth keeping the wood seats exposed, so I'll probably upholster the remaining two and sell those off as a pair.
There have been a lot of items I would have liked to keep, but just don't have any more room in the house. I've been using to first CH30 for the last few months as a side chair around the house, and I can probably find a spot somewhere for the second one. No space for a set of four though.
I may also list the other two chairs as is, for anyone who already has an upholstered set of 4 or 6 CH30s and are looking to expand their set by two. They could then upholster on their side to match.
I like this patch. It already looks old. It reminds me of repairs I've seen on old furniture (usually on upholstery because that's what I notice) that were neat and unobtrusive and just an interesting part of the history of the piece. I appreciate repairs that blend in totally but there's something honest about ones that show if you really look at them. (Not that invisible ones are dishonest---just that I like seeing how someone dealt with a problem with skill and care, I guess.)
Anyway--well done!
Not sure why I hadn't come across these before, but there are Youtube video links on the Carl Hansen website that cover the construction of quite a few of their current production models.
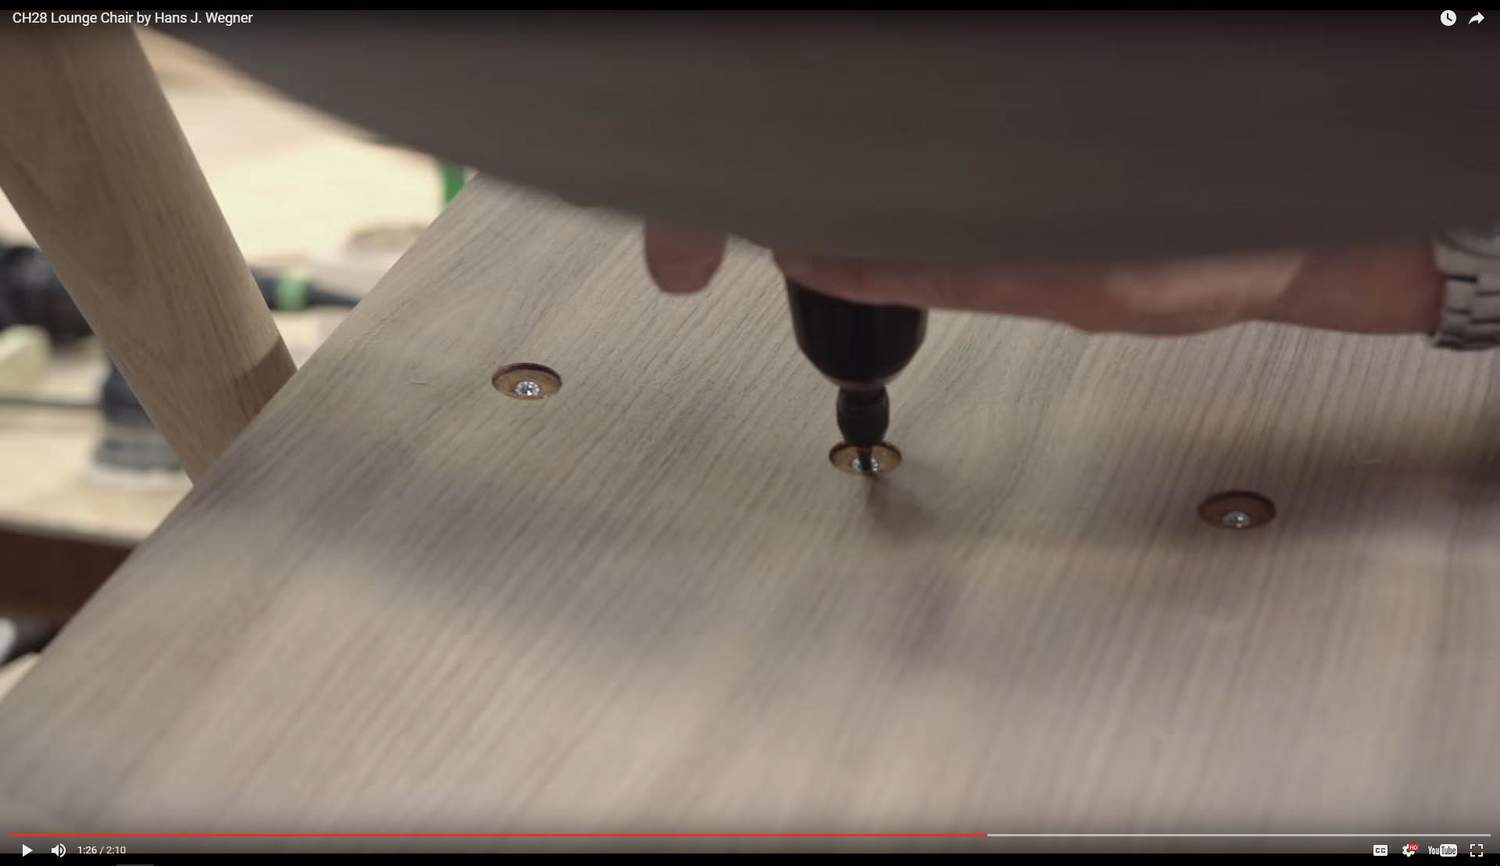
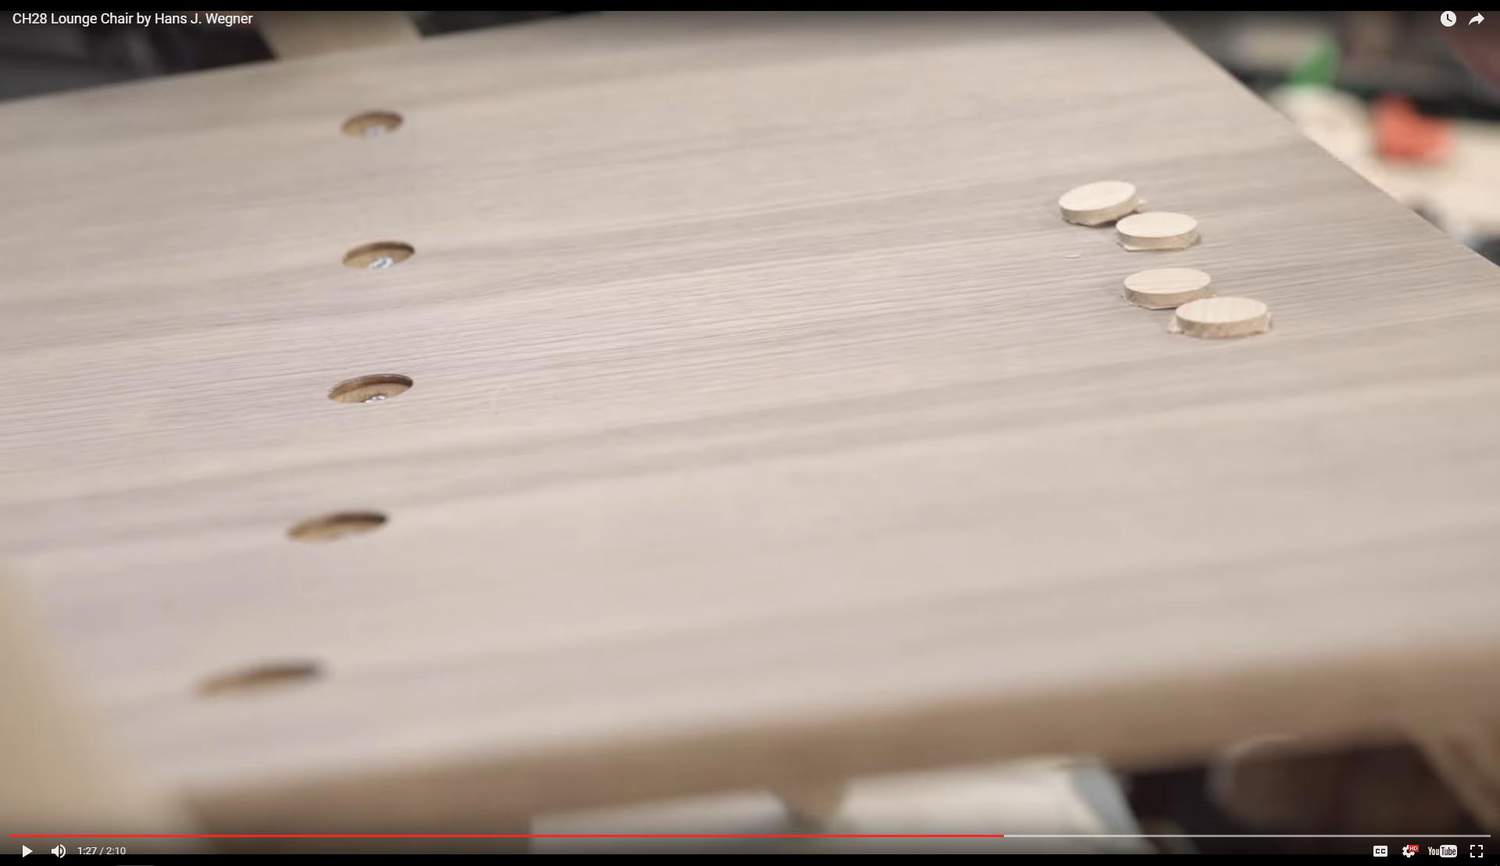
The video for the CH28 lounge chair actually shows the sequence of creating the wood button caps over the screws (as discussed earlier in this thread). After the seat has been screwed to the frame, the caps are glued into the recess. However, the cap is thicker than the depth of the recess. A Dremel hand router is then used to make the cap flush with the seat face. This explains why the cap is so perfectly matched with the seat.
https://www.youtube.com/embed/JrgW-AvpnzQ?rel=0
I love videos like this.
If you need any help, please contact us at – info@designaddict.com


