Hey there, my name is sean,part time lurker, first time thread starter.
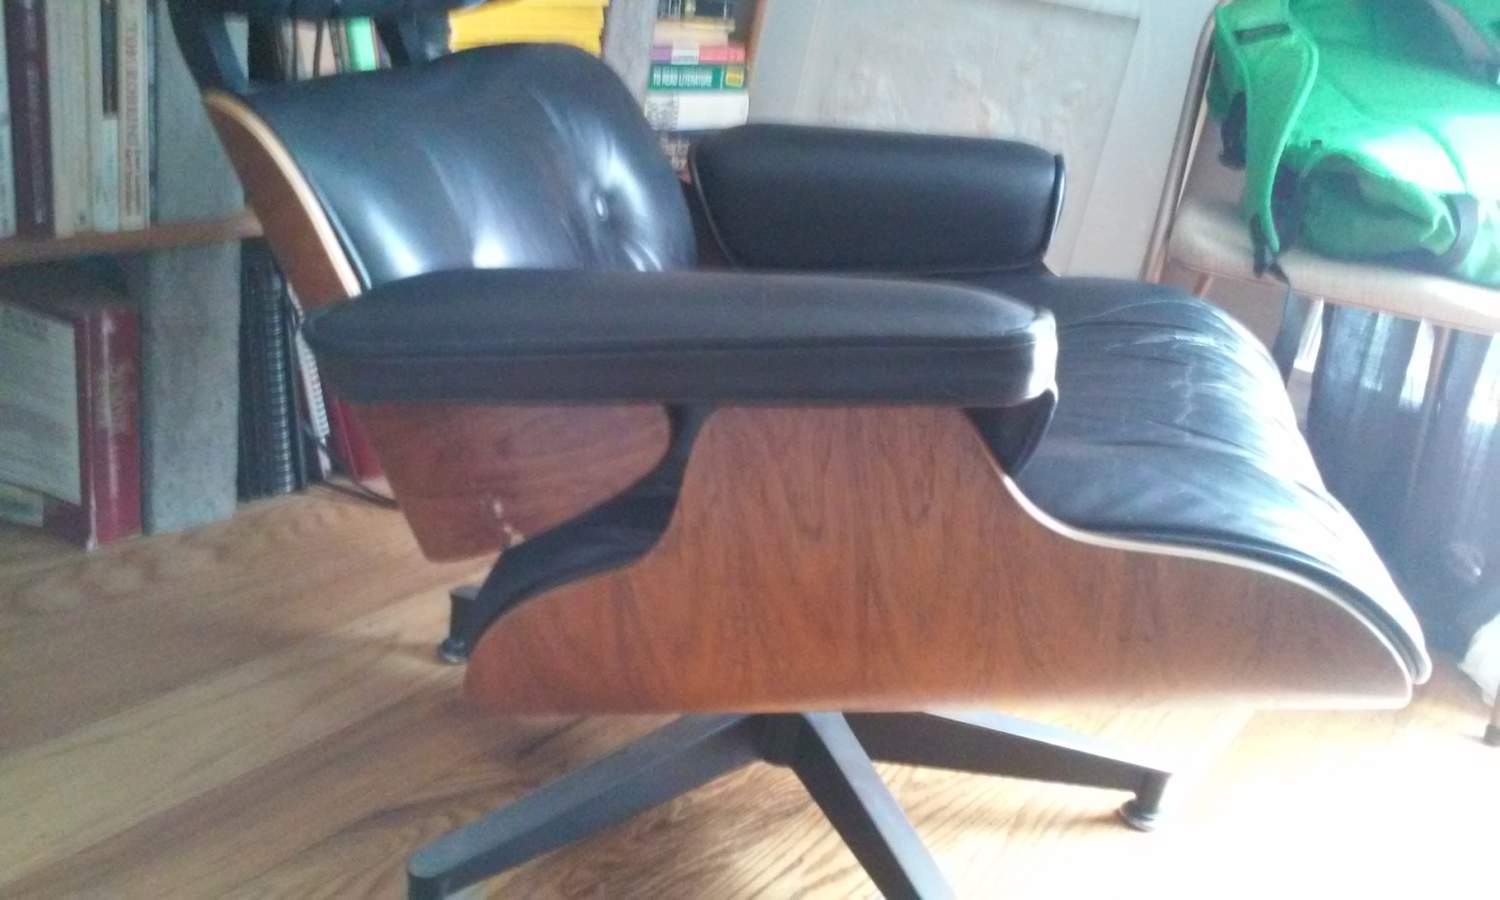
I have recently been given the remains of a once lovely eames lounge chair.One of the shock mounts came undone and,well... So i have a chair with a broken lower back panel.
I am kind of a poor workin stiff as they say, with mouths to feed and house. By all rights i should not be in possession of such a fine piece of history. Upon doing some research i have come to find that a replacement panel will cost nearly one thousand dollars.Way dear for my pockabook.
I have followed an old thread posted by POACH. It was a fiberglass fix that looked within my skill set. The technique is well documented but i need to remove the rest of the old shock mounts to do the fix. The mounts themselves seem to be in good shape and i would like to reuse them. Wondering if there is a method of removing them intact.
Any help would be appreciated.
thanks
sean
Try gentle heat, like from an electric hair drier. Warm the shocks thoroughly and try to wedge a dull putty knife in there and pry slowly. If that doesn't work, you'll have to sacrifice the old mounts and chisel them off in pieces. Tedious process either way.
The only mod to poach's fiberglass repair technique I'd suggest would be to use layers of woven fiberglass cloth and vary the orientation of the weave rather than use mat made from chopped fibers. West System epoxies has excellent tutorials on their site for making structural fiberglass repairs.
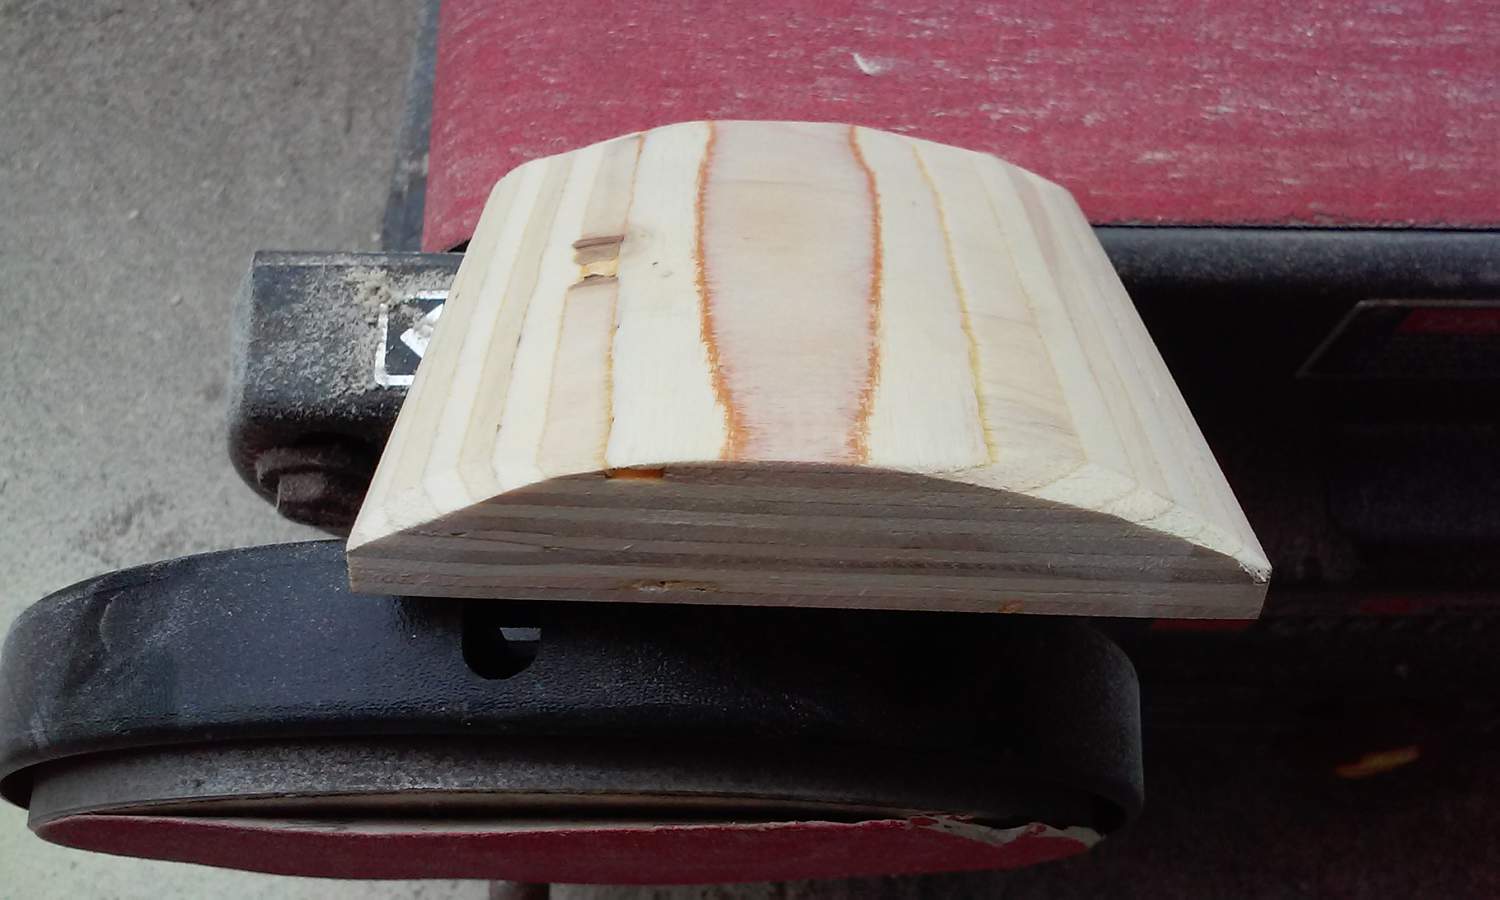
Make templates to help locate new shocks before completely removing old ones.
Prepare surfaces properly, use PC-7 mixed well and be careful to not squeeze it all out when clamping. Allow at least a couple days to fully cure before reassembly/use.
I haven't used either, but new shocks from Hume or Modern Conscience look good.
Nice job on the fiberglass repair, Sean. Appears good and strong.
A pro would probably use colored shellac burn-in sticks to fill the losses at the crack, but those are a bit pricey and involve a learning curve. You could probably use just about anything, but I'd suggest something toned to the lighter background color followed by inpainting with artist's oils using a fine (#0000) brush and working gradually darker with tiny grain-oriented, parallel strokes. If you mess it up, you can simply wipe it all off with a rag wetted with acetone and start anew. If you want to get really anal, you could also scratch some grain texture into any smooth areas of the fill before inpainting. Every detail helps.
Also, just a reminder to roughen and clean the fiberglass thoroughly with acetone to remove any amine blush before gluing the shock mount. (But you already know that, don't you?)
Looks good to me so far. Feel free to offer any tips or thoughts that might help the next poor SOB that faces this challenge along the way. Thanks for sharing your experience!
thanks for the props tktoo
i want to add some more photos but i will have to do them through my phone,haven't figured that one out yet.
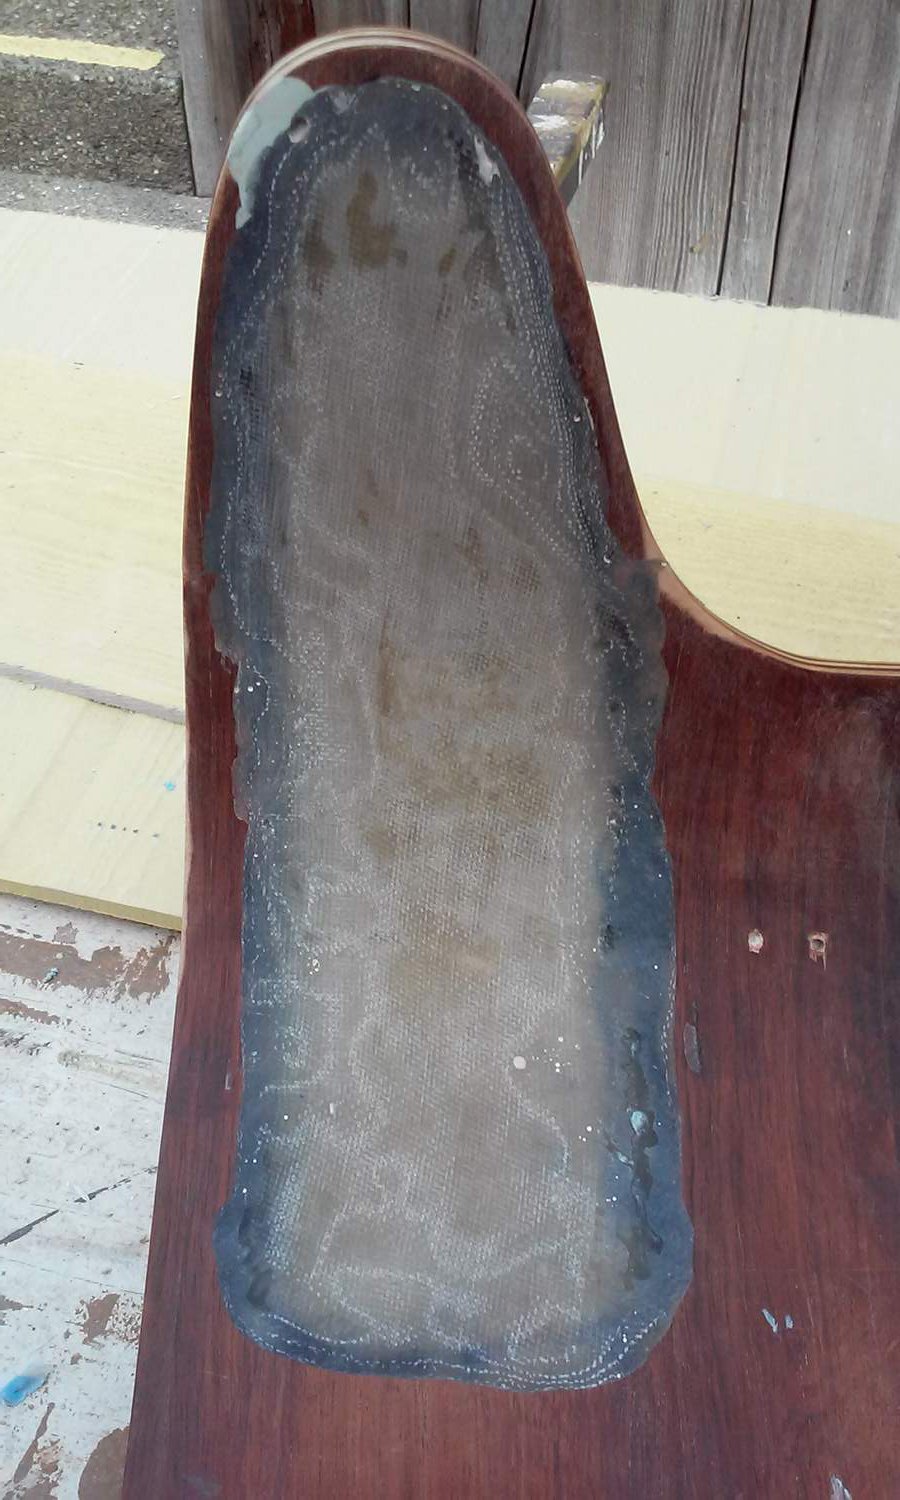
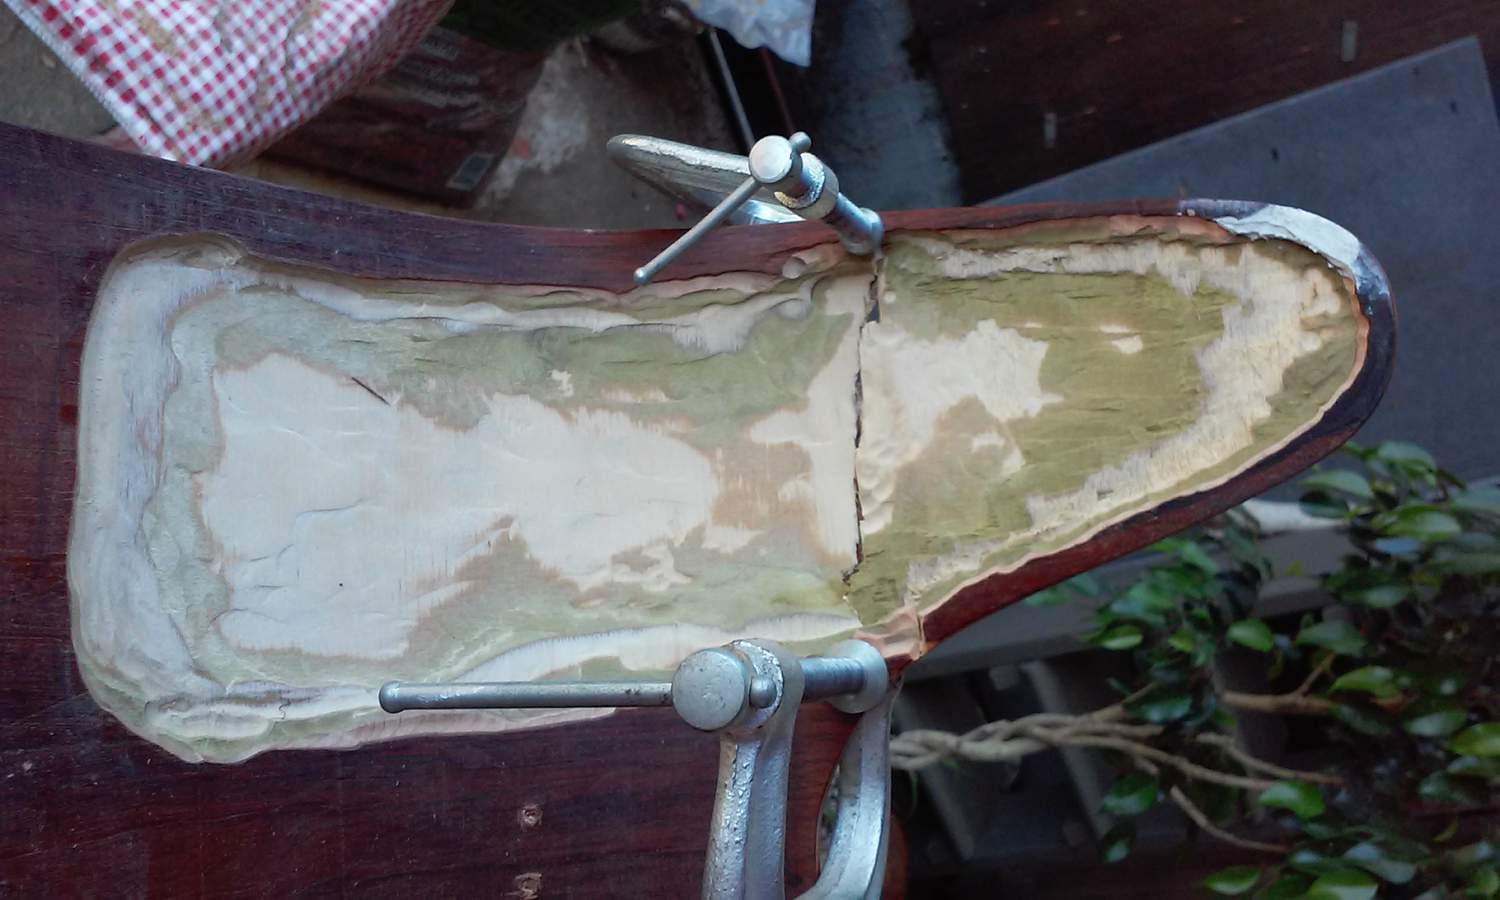
but i have a few.As for tips, a big one is the custom router base. all i did was remove the stock base and replace with a piece of plywood that i had sanded to ruffly the same ark as the panel,this greatly reduced the risk of routing through the whole mess. Also the core box router bit is a good call for around the edges. Just (as poach says) take your time. Little by little. This chair has five layers of ply and they are different colors so you can use them as a gauge when removing material. I went down to the last one before the veneer,i didn't want to go much deeper then that. Clamp everything as well. When working on the small broken off piece, i ended up finishing with a sharp chisel, that damn router is so violent,you can see i went out of the lines one the tip of the ear,of which i filled in. luckily that will be hidden.
I also took tktoo advice and used the woven fiber glass. one more thing when you are routing is to gradually reduce the depth as you get to the edges, i am told that that helps the strength of the patch,load transfers and all that stuff. When i cut out the fiberglass i gradually made them larger because of the depth change so just match them up to how much material was removed at that particular strata. Have plenty of pieces cut out before you start and WEAR GLOVES. I think i put maybe twelve layers of fiberglass in there.
Mask everything off that you don't want that resin on,nasty stuff,you might want to do that outside.
Oh and when i got the two pieces cleaned up i was worried about fitting them together and maintaining the proper ark but luckily there was enough material on either edge that matched up,so i glued and clamped them together so they were mated and solid before the fiberglass. Just take your time with the fiberglass but work swiftly. mix small amount of resin and use the lesser amount of hardener to increase working time.
I took two batches to complete the job.
Well that is where I am at the moment. I need to get some p7 epoxy,that seems like the recommended adhesive.
One more thing that tktoo recommended was to make a template for where the shock mount is located,this will save you time in the end.
i will post more pictures later.


If you need any help, please contact us at – info@designaddict.com