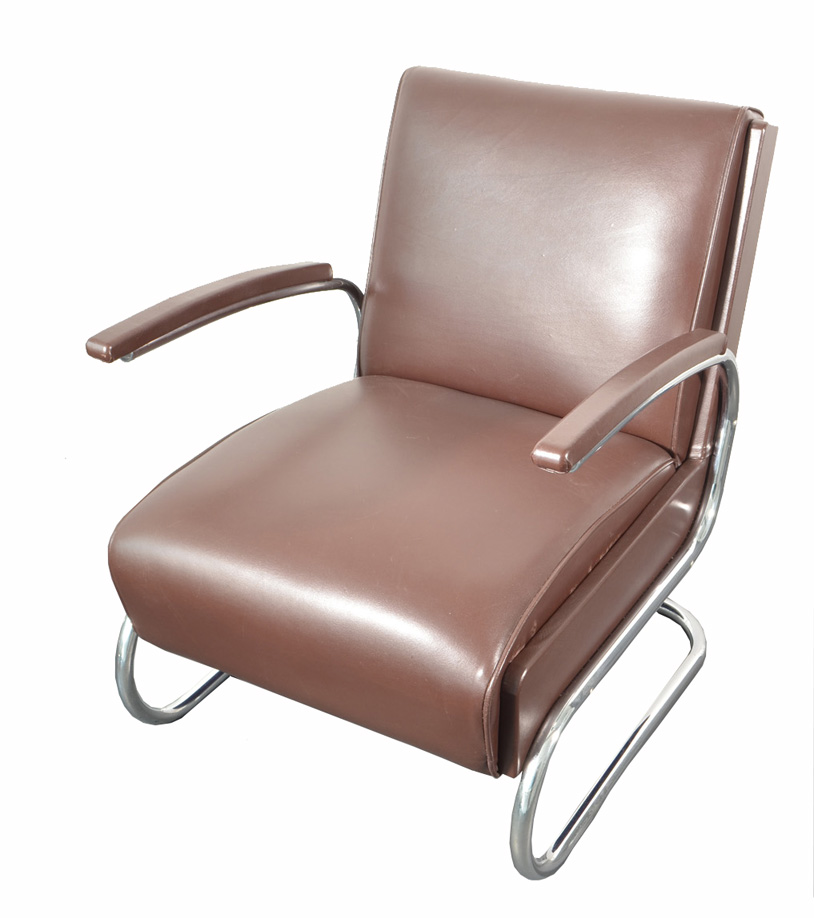
Hi all, just wanted to get some advice on how to repair a chip on my LCW. It's not that bad and I don't want to spend a couple hundred dollars to have someone repair for me. I just want to see if there're simpler ways to make them damage less obvious and I'm not expecting a perfect repair. Any advice is appreciated! 

.
A simple solution would be to match the color of the exposed ply to the veneer. A good hardware store will sell waxy-ish type wood sticks in various colors... it looks like a big pencil crayon and is designed for nicks and scratches.
Yours looks like a very modest amount of damage, even if the color is not exact it should blend enough to make the chipped veneer less obvious, and I believe is not so permanent as to be easily removed if desired.. of course, not a repair but a camouflage...
There is sure to be better suggestions than mine...but you did ask for simple:-)
(edited spelling)
.
As above really, wax fillers tend to look better than hard fillers, and they don't crumble over time. If you can't get an exact match (you can heat and mix the wax) its usually better to go very slightly darker. Another option is to build up layers of clear lacquer which is more permanent but more involved and prone to f ck ups.
..............................
Find something else to worry about, life is too short, etc.
If you can find the missing chips, glue them back on.
Touch up with a marker, tack a glide in each leg to raise up off floor slightly to prevent further chipping.
It ain't rocket science, sheesh. (spits on ground)
The wax filler stick
is best employed with a heat source. An ordinary hair dryer will work in a pinch; a home iron is also useful. I use a smooth putty knife as the principal tool for applying, working, and trimming the wax. Heating the knife first by applying it to the iron allows one to cut a chunk of filler off the stick. A smooth surface for mixing two colors is useful. Applying heat from the hair dryer facilitates mixing, and liquifies the wax enough so it fills the patch area easily and thoroughly.
A heated knife then smooths the filler, and at the end it removes excess wax from around the repair. A clean knit rag will smooth the resulting patch. Mineral spirits applied to the rag readily wipes away excess; use care not to erode the new patch with excess liquid.
I have not tried applying touch-up pens to the wax filler; I suspect it would have minimal effect. The pens are intended to color wood directly or hard-film finishes and stains.
Paste wood filler which dries rapidly to an absorbent surface is intended only to repair wood prior to finishing. Wax fillers and professional burn-in sticks are meant for repairing wood already finished, as in this case. Of course, the repair will be vulnerable to further damage because it is much softer than the surrounding wood. But it will make a decent cosmetic repair.
It doesn't sound like objectworship is being particularly worshipful of furniture objects -- in this case, anyway ! His repair recipe is unlikely to meet with approval by conservators, I'd say. Quick and dirty is an unfortunate response to a serious inquiry for assistance . . .
No Apologies-
Quick and dirty is the most practical method to repair such a slight blemish on a common chair in daily use. Of course, you can spend time to "properly" match and fill and sand or whatever, and then just it chip it up again with normal use, knock yourself out! Such minor flaws are well within my personal parameters of acceptability, however, and I would (and do) personally choose to concern myself with other things.
I have also chosen to not kill myself over the ding inflicted upon my automobile in the parking lot during a shopping trip at the grocery store. That is the way the cookie crumbles.
Just wait until the sun consumes the Earth in a huge ball of fire, it'll be no big deal then-
Touching up a
ragged edge with a tinting pen would do very little to improve the appearance of this damage, in my opinion. An acceptable cosmetic solution, for a piece in everyday use, might be to sand enough material, at an angle (perhaps 20-30 degrees from the plane of the front of the leg), to remove the chips -- and repeat the performance on the other front leg, leaving a nice straight bevel. This could be done in 30 seconds with a belt sander in the hands of a professional. This would create a termination detail not seen on other LCWs -- but who would notice ? Not many.
Symmetry is an aspect of order and perfection, acceptable to the mind's eye. Perfection is desired because it means there are no distractions from the intended effect of the design. As makers we work very hard to eliminate such distractions. Users of the objects we make are responsible for maintaining that state of perfection, if possible -- until the Day of Rapture, anyway . . . !
That...
is a tough sell SDR, in the interest of symmetry, to convince someone to plane down an undamaged leg on their lcw :-)...although I always find your perspective on these matters very interesting.
I also would let it be, I find nothing distracting about a little veneer chipping...what I find far more distracting on lcw's is strong symmetrical repetitive graining.
That aside, could Dun not tint the ply first, then wax?
.
Why would you tint it then cover it with a coloured wax? Sorry thats just utterly pointless. As well as irreversible. If it was mine I'd use a wax filler stick and forget about it - its very unlikely to need redoing for a long time. Fine that that objectworship is above such petty bourgeois concerns and can add not worrying about veneer chips to similar lack of concern about denting his motorbike and no doubt squeezing his spots and wiping his ass
If you need any help, please contact us at – info@designaddict.com


