Thanks for that link. I will watch it for sure.
I have gone through most of the design addicts threads about danish cord and also have the Cainers handbook (which I got at a estate sale a few months ago for 50 cents hoping that I could get some danish paper cord chairs one day)
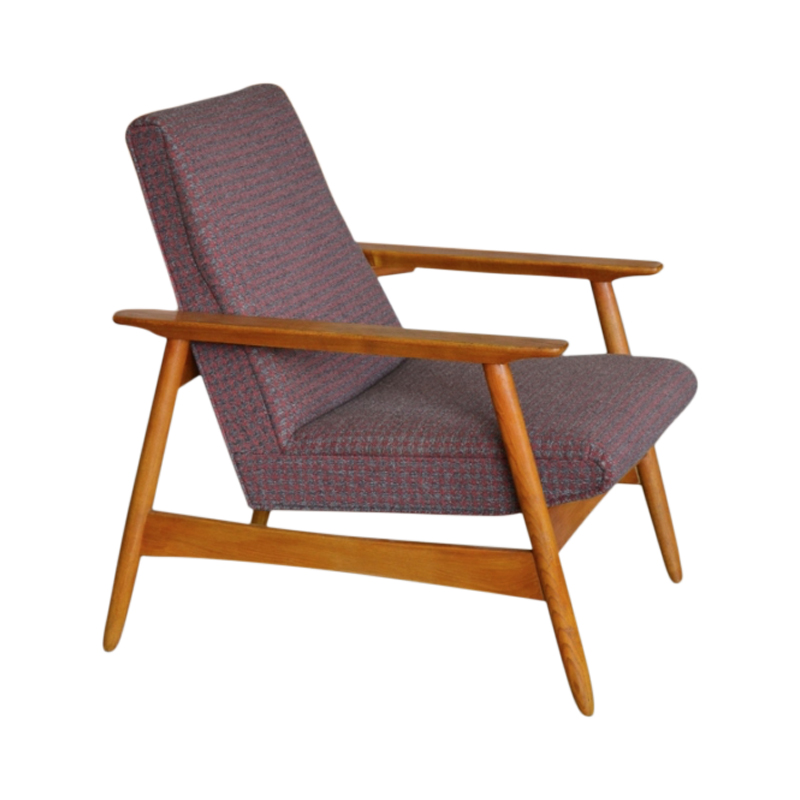
Hopefully this will be very rewarding for me as I can't wait to get them around my table (which I don't think will look right for them so I need to figure that out as well as I have a latter made danish table by brdr furbo)
One rail only has dowel pins, no tenon. The adjacent rail has a tenon. When it is assembled the tenon goes into the leg first. Then the holes are drilled for the two dowel pins into the leg and through the tenon. This locks the tenon into place.
It is possible to remove the tenon first, but it requires damaging it. I did that once.

Don't get the paper cord currently offered by Frank's. It is a thinner diamater, which means less paper, which means not as durable. They are supposedly going to go back to better quality cord but for now I would buy from The Caning Shop in Berkely, CA. It costs more but it will last longer and you're only doing a few chairs anyway. If you had a set of 8 or 10, then the difference would really add up, but for just two or three...not really worth it in my opinion.
And yes, Frank's L-nails are cut staples. Get the real thing from The Caning Shop as I recommended upthread. Other places sell them as well but he has the best price.
Tip for tapping in new nails: hold the nail with needlenose pliers and use a tack hammer to tap it in. Hardware stores carry tack hammers and they're only around $5. The small head makes it easier to get at nails (and tacks) in tight corners. Plus you can use the magnetic end to pick up a nail that has fallen on the floor.
Thanks spanky
Sorry for missing the suggestion uptread about the nails. I'll order everything from them then.
So I am predrilling a shallow small hole just to get the nail started right? Thanks for advice on the tack hammer I will deff pick one up
I was gonna use a rawhide hammer when it came to taking the chair joints apart and putting it together. Would you forgo the softwood spacer block as it doesn't leave marks?
My pure oxalic acid wood bleach finally showed up today. Oh how amazon prime failed me with shipping 2 day.....
I mixed it with hot water and got to scrubbing with a cleaning brush and wow, the difference you could see right before your eyes
What went on as a whitish water came off blackish brown and it's was a beautiful transformation.
I did both of the 2 worst chairs and took a picture of it compared to the other midway. I still am going to do another application of it as there is a few darker spots but the difference!!!
I noticed that too. But there was also a layer of mossy like krud from them being in the dirt
on some surfaces
The 2nd time around I just going to let it sit like you said since all the grime is gone.
I didn't know you are suppose to let it dry on the wood. I let it sit on for about 15-20 mins after the light scrubbing and then washed off and dried what I could with a towel
The strechers (are they bleech wood?) Cleaned up a little but not that much
Haven't finished them yet. I ended up letting the chairs sit for 3 months before I started messing with them after the oxfolic bath. two of them are ready for the nails and paper cord, kinda been putting it off
But the worst chair, I steamed apart. About 2 months ago I found a commercial Jeffy steamer at a goodwill for 4$. Pretty nice steamer I use to have when I was doing bent lamination in the college shop. When syeaming the joint , half of the dowel pegs where broken or very soft so I drilled them all out using the method where you start with a small bit, and work your way up 3 or 4 sizes till you are left with just a skim of the dowel pin that can be pulled away. Pretty time consuming when you have to do a entire chair. The chair back also broke off in fabulous moller style where all of the stress cracks. Also both of the side chair railing are kinda rotten. The wood is soft enough where I can dig my fingernail into them. So I kinda got held up and distracted by other projects like house remodels, clutch replacements and other projects. I am not sure what to do about the rotten side rails? Do I make new or can I apply a wood hardener?
Don't mean to hijack the thread, but I just realized that I never posted my repair effort to a snapped chair leg on one of my #75s.
The snap had happened long ago (before I got my hands on it), with the jagged edges of the split wood worn a little smoother over time. A previous repair effort with a drilled diagonal wood dowel had also failed. Combine that with a difficult location near the side stretcher, and I was not very optimistic of getting a tight fit for the repair.
The repair piece insert is a hanger bolt, with wood threads on one side and bolt threads on the other. I had initially planned on doing a PVC-pipe-guided drill effort, a la tchp's excellent repair job for a Round Chair from last year. However, the stretcher location and non-round cross section of the leg at this location made it impractical.
After a few months of debating, I finally decided to . . . (gasp) . . . eyeball the drilling effort.The "hip" portion of the leg received an exact diameter drill hole (first smaller pilot bit, then exact size), with the wood screw end then screwed tightly into place. I then drilled a similar sized hole into the leg piece, following by shaving of certain sides inside the hole as required to best accommodate the the machine thread end of the hanger bolt. I used a two-part epoxy glue (Loctite, I think), once the fit was as good as I was going to get. The epoxy was good for filling in all of the extra space between larger shaved hole and hanger bolt, and the machine threads were great for ensuring a strong grip.
Unfortunately, I didn't have a failproof aligning system in the clamping set up, and the leg cured a little out of line.
Despite the slightly misaligned leg, the repair was structurally solid. I then filled in the repair creases with a mixture of sawdust, wood glue, and stain, followed with a little oil and steel wool finish.
From a repair strategy perspective, I am pleased with the hanger bolt / epoxy approach. The next time, I will have a better clamping setup to ensure a straighter set. And I am always looking to improve my sawdust/glue/stain matching skills.
Before/After photos attached. Note in the 2nd and 6th photos, you can see the previous repair with the angled wooden dowel. I'm not sure how anyone thought that spindly dowel was a good solution.


If you need any help, please contact us at – info@designaddict.com